Order Sync from Acumatica to Magento
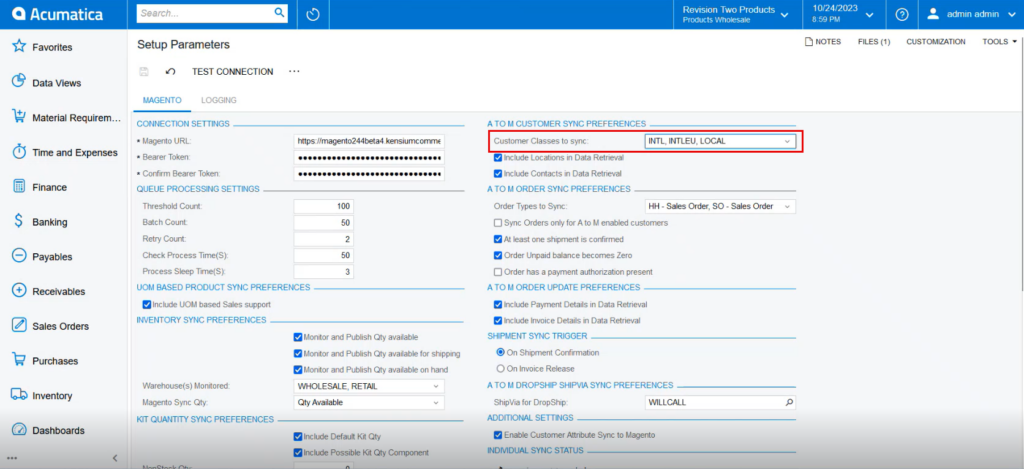
To sync the Order from Acumatica to Magento you must configure the [Setup Parameters]. The Customer Class should be defined. It is extremely important because the connector will not pass the data from Acumatica despite mapping.
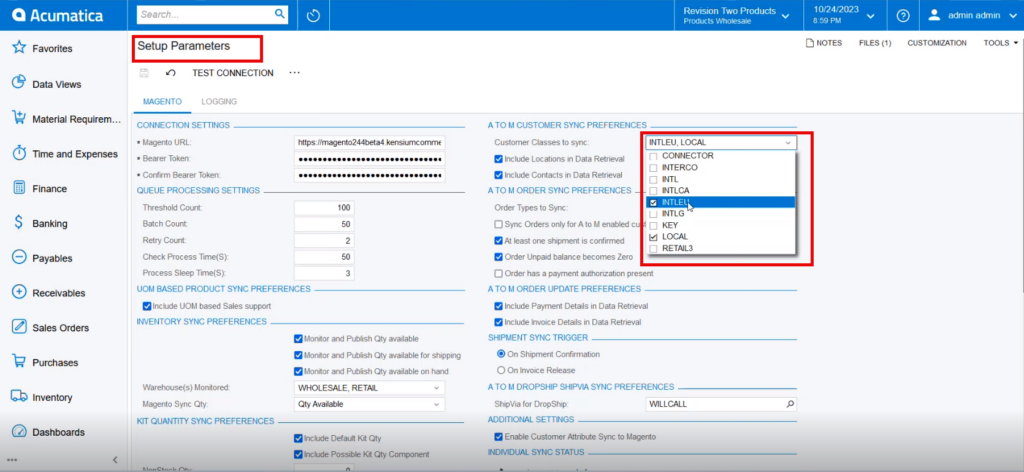
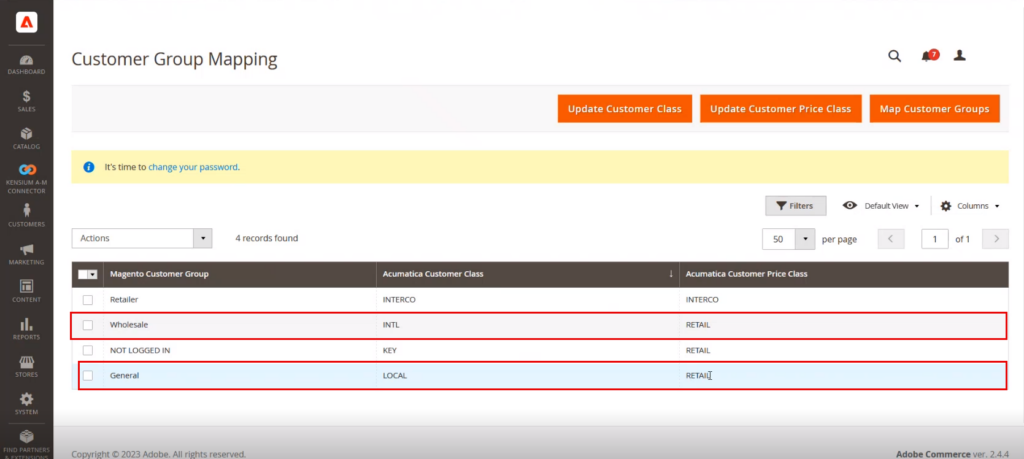
You need to create a customer with the above-mentioned customer class to sync the order. So, the customer will be created with Wholesale Magento Customer Group because here the customer class has been selected as International.
Now you need to check the Acumatica connector logs. Go to Magento Connector (left panel) Reports Connector Logs the following screen will appear.
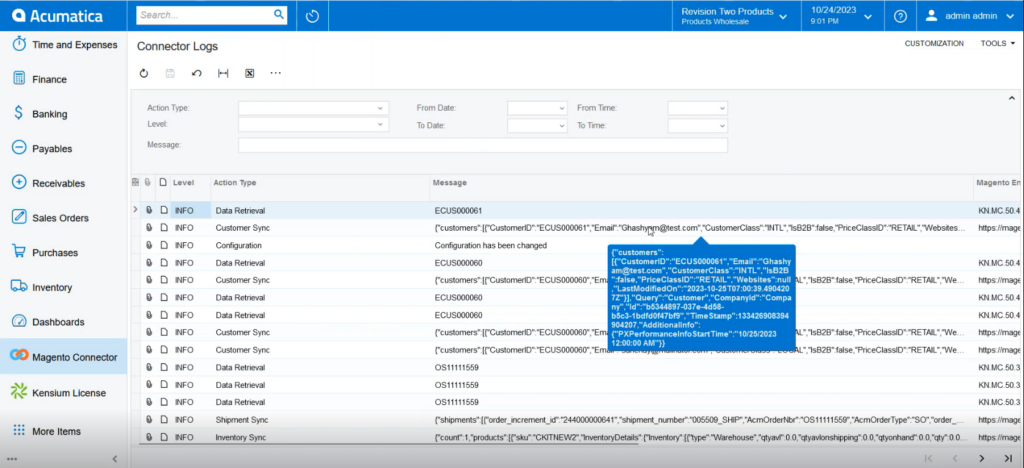
After passing through the Acumatica, you need to check the same in the Magento Connector Logs.
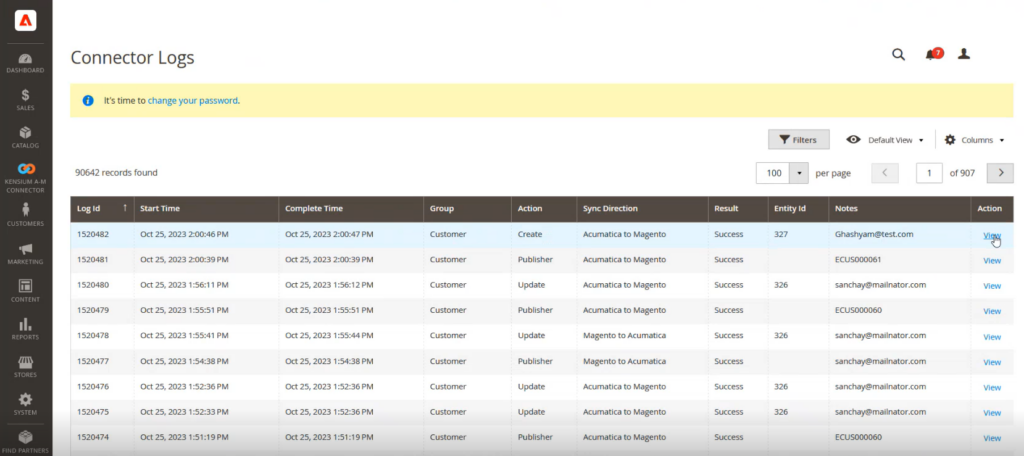
From the view option, you can go to the entity id and view the details.
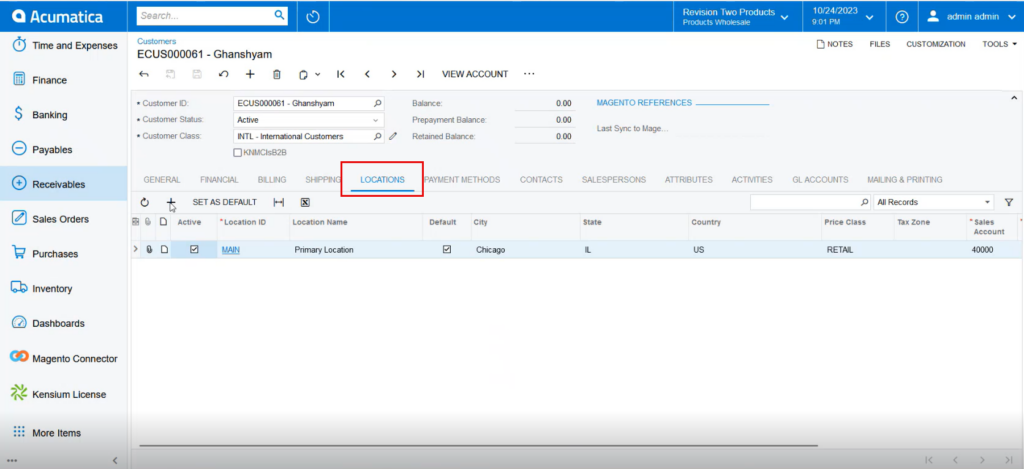
In Acumatica, you will have the option of creating a location id under the location tab.
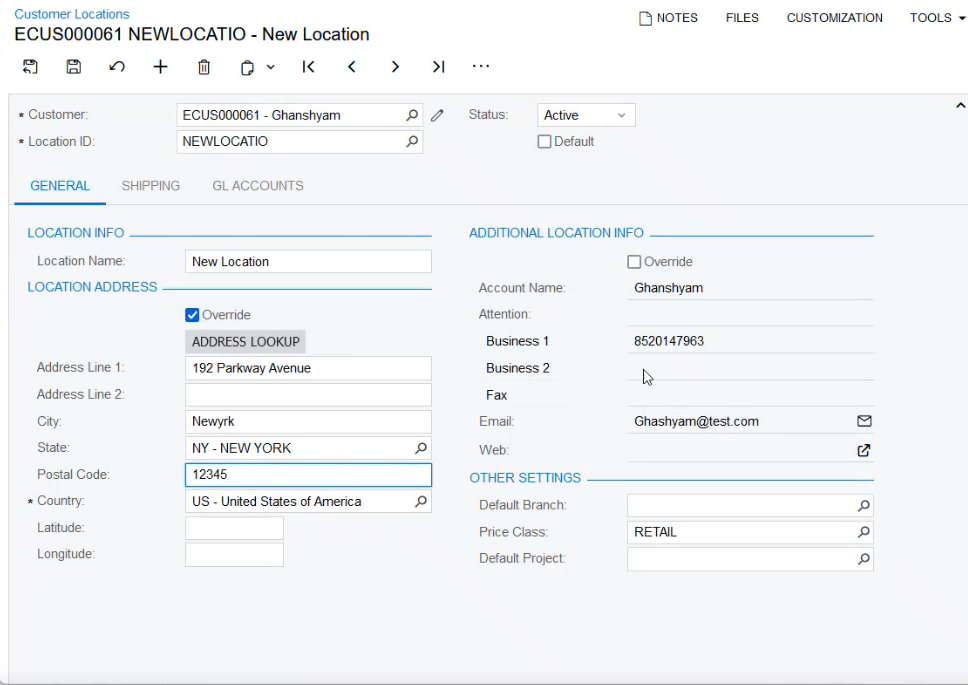
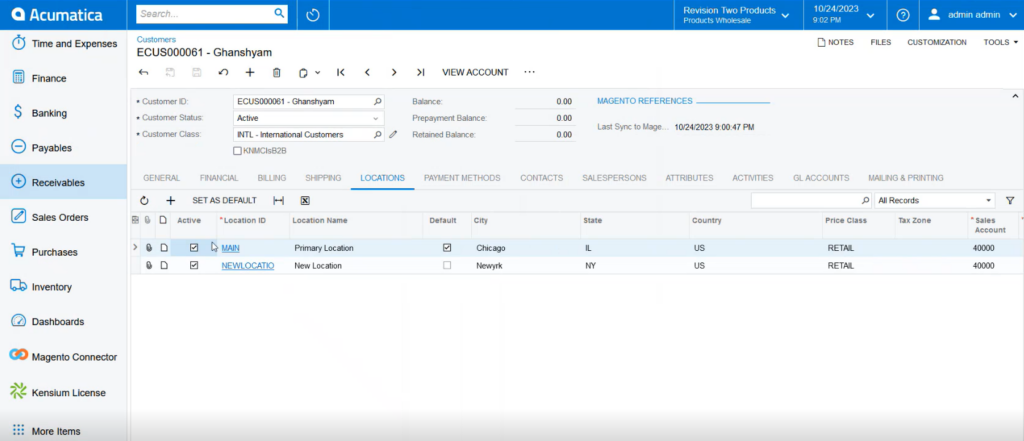
The new location creation will create multiple addresses. The multiple addresses will be displayed in the grid.
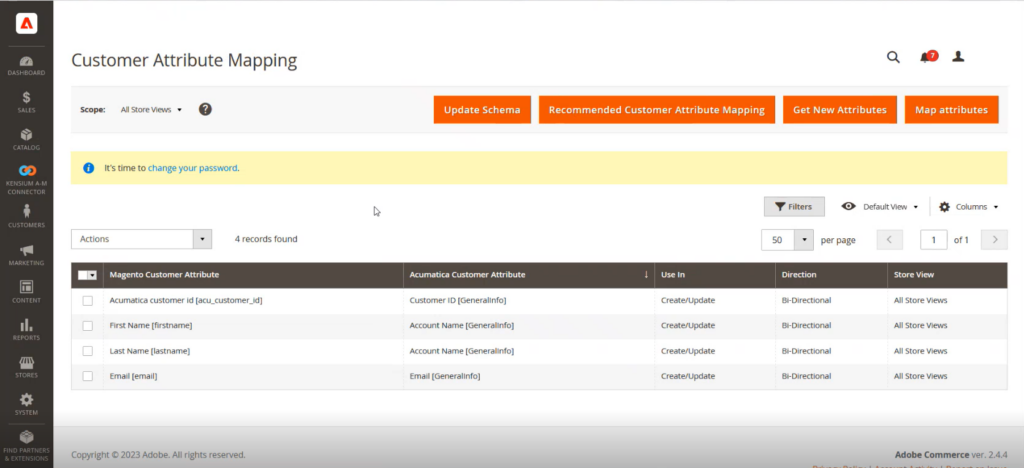
So, following this process, a customer in A-M and M-A is going to sync with the Billing and the Shipping Address with multiple locations. You need to ensure that you are choosing the correct customer attribute as shown in the following screenshot.
You need to map the attribute in Magento.