


OAuth in Acumatica to Magento API Calls
We have introduced OAuth-based authentication for Acumatica to Magento API calls instead of using Bearer Token.
OAuth is a widely used authentication protocol that allows users to grant limited access to their resources without sharing their credentials. It’s commonly used in scenarios where third-party applications need to access user data from a service whereas Bearer tokens are short-lived tokens issued by an authentication server. They are included in API requests’ headers and provide access if they are valid. Security measures like HTTPS are crucial when using bearer tokens to prevent interception.
In Magento, we have introduced the option to select OAuth in Acumatica Connection Settings. This configuration will be used for Acumatica Login.
Follow the steps:
- Log in to Magento with a valid credential.
- Once you logged in successfully to Magento click on the Kensium A-M Connector and click on Basic Configuration under Configuration.
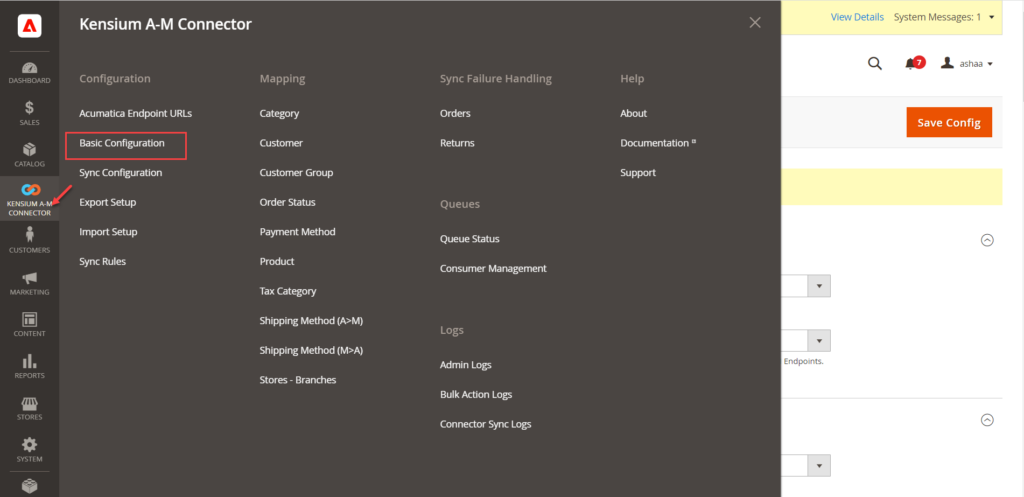
You will be redirected to the following screen.
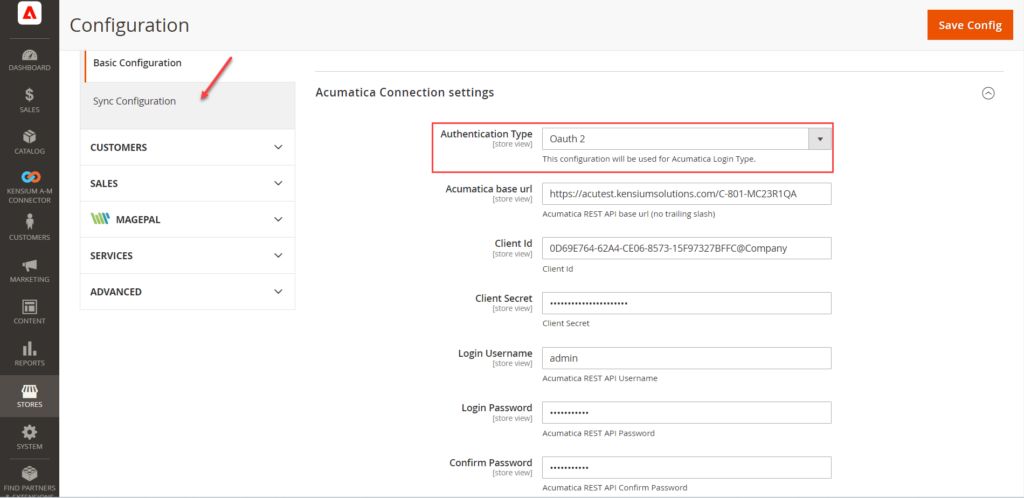
- From the drop-down menu select Oauth2 instead of Login.
- Enter the Acumatica base URL. The Client ID, Client Secret, username, password and other relevant details will be generated from Acumatica. Once the Client ID and Cand client Secret ID are generated from Acumatica you need to copy and paste them into the respective field.
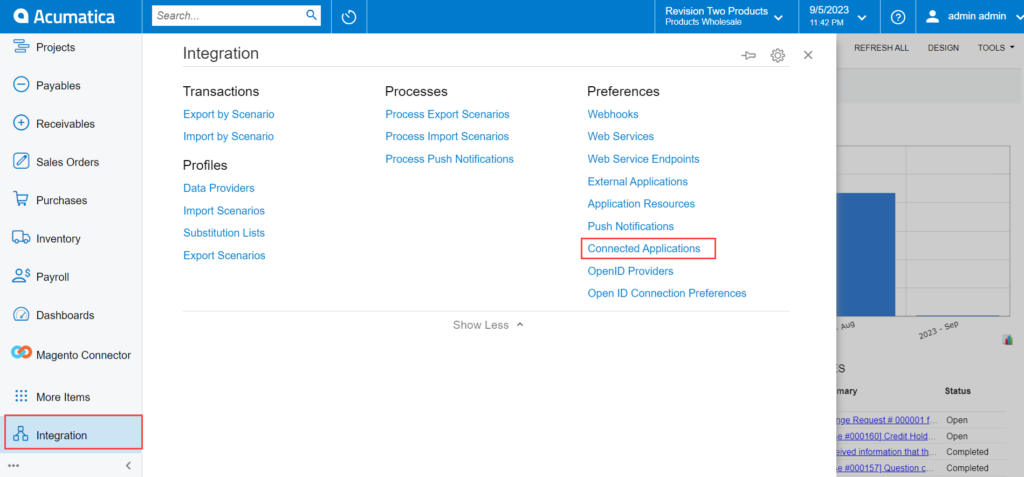
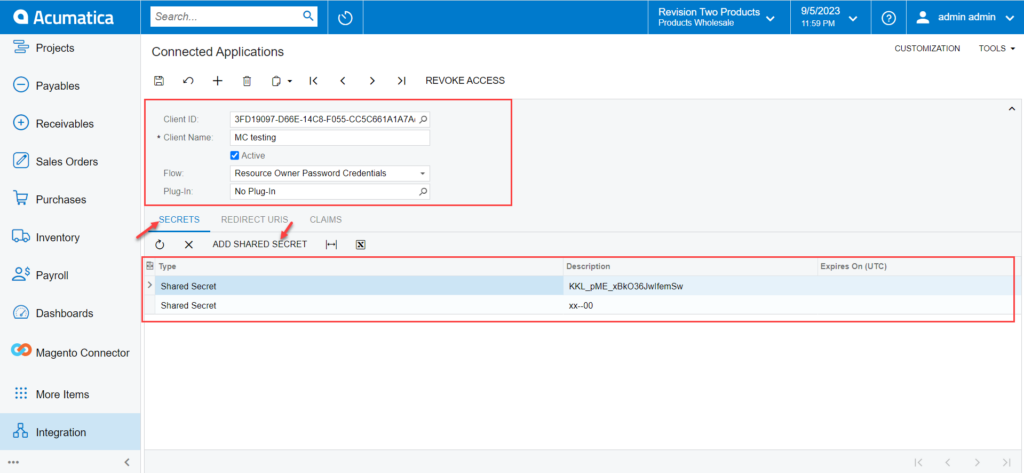
Login to Acumatica with valid credentials. After the successful login click on the [Integration] from the left panel as shown below. Under the Preferences on the Integration page, you will have the option for [Connected Application].
On the connected application the following details are available. Follow the steps as described.
- Client ID: This is system-generated.
- Client Name: Select the Client Name.
- Active: The option should be checked.
- Flow: Select the flow from the drop-down as [Resource Owner Password Credential]. The application will provide you with other flows as well.
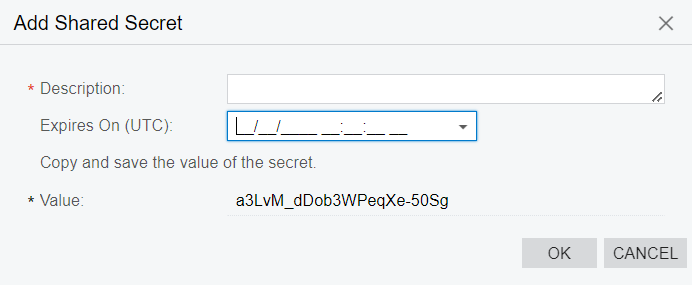
- Add Shared Secrets: You need to click on Add Shared Secrets. A [Value] will be created by the application. Simply copy the value and paste it into the [Description] field. After completing this process, it will be displayed in the grid.
Now, you need to go back to Magento and enter all the details like client ID, Client Secret, Acumatica URL, password, and other details.