


Mapping of Stores and Branches
You need to map the stores and the branches by applying the following process:
Step 1. Go to Kensium A-M connector and click on the Stores -Branches under the mapping section.
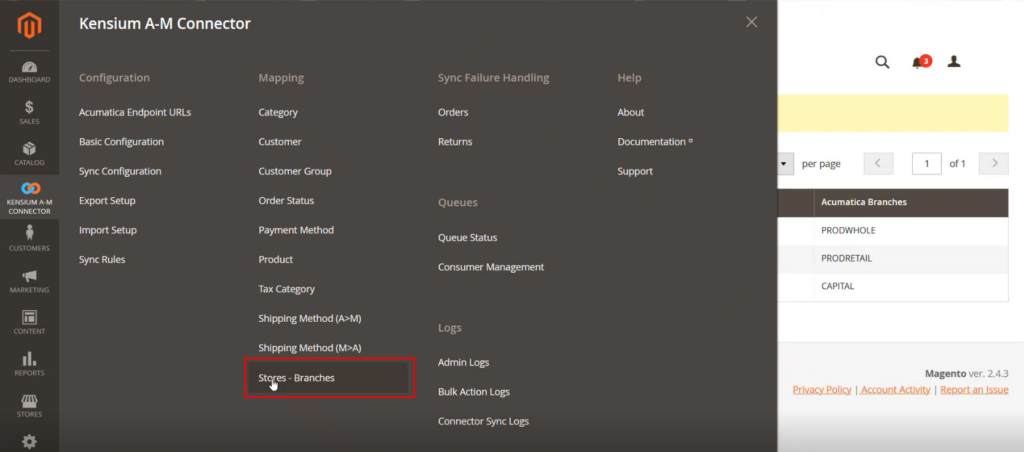
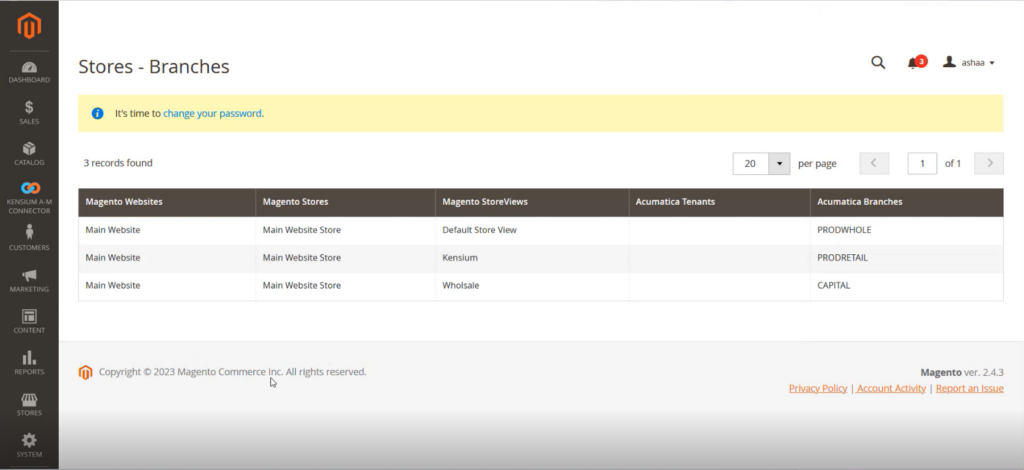
Step 2. Similar to the Product Mapping you need to click on the option and the following screen will appear.
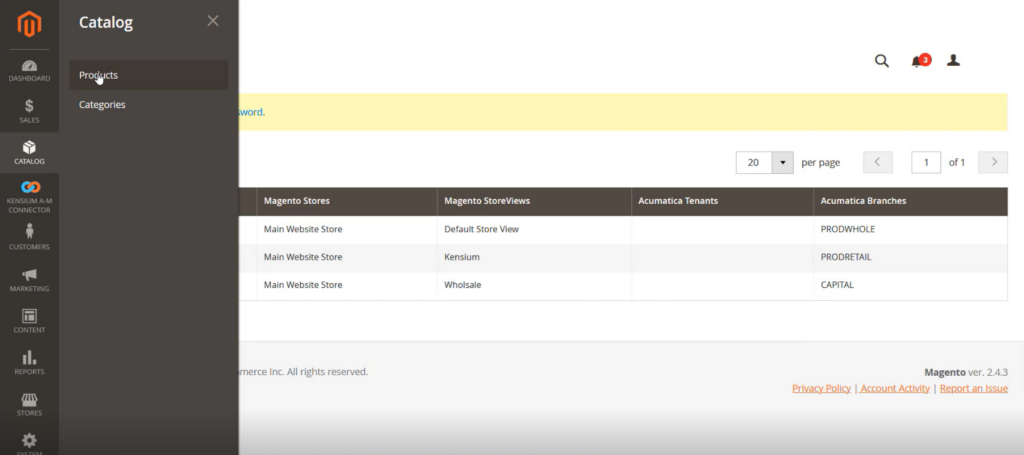
Step 3: From the Catalogue go to Products.
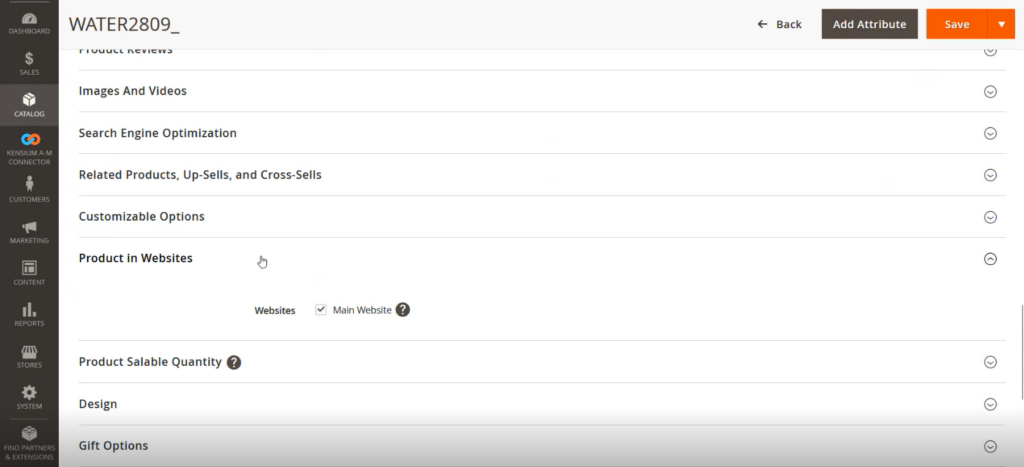
Step 4. In the Product Summary, you will be able to see all the product details.
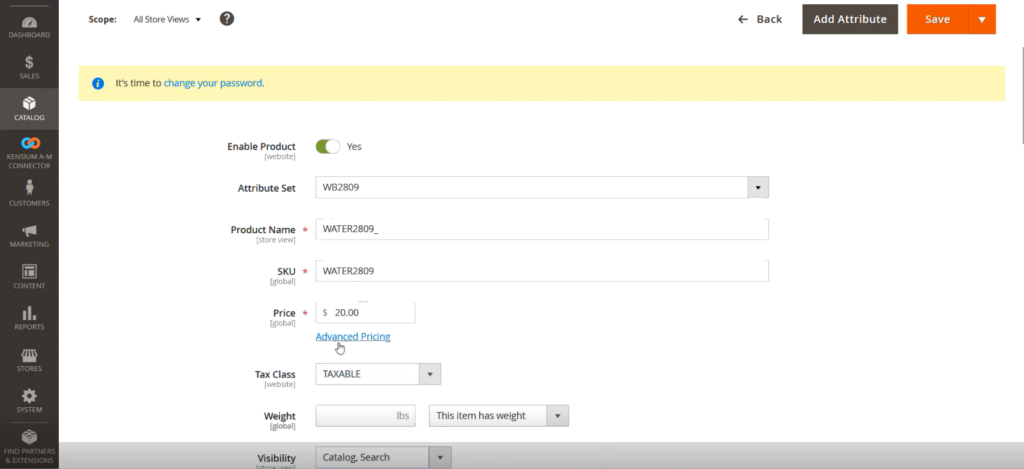
Step 5. Under the [Products in Website] you will get the option. If you have added the product concerning the website, you will see the checkbox. The check box will be checked because all the products are added to the main website. In the case of multiple websites where the product belongs to that website should be checked. In those cases, the website where the product is available should be checked and the rest would be unchecked. So that indicates that the specific product belongs to the respective store.
In Acumatica if you create a product and the product is assigned to any warehouse and the warehouse is mapped to Magento Store then only the website will be selected here.
This is how the data is segregated into Sotes and Branches mapping. If the product is available in multiple stores those websites would be checked.