Managing Customer Sync from Magento to Acumatica
In this section, you will be able to view the steps for the customer sync from Magento to Acumatica.
Follow the steps of the Customer Sync form M-A.
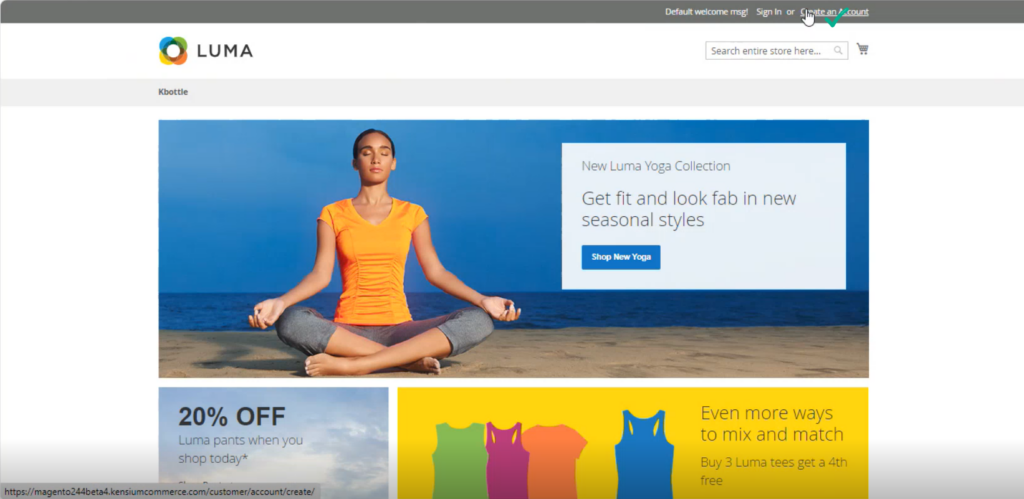
Step 1. Go to the front end of the Magento and click on the [Click on Account].
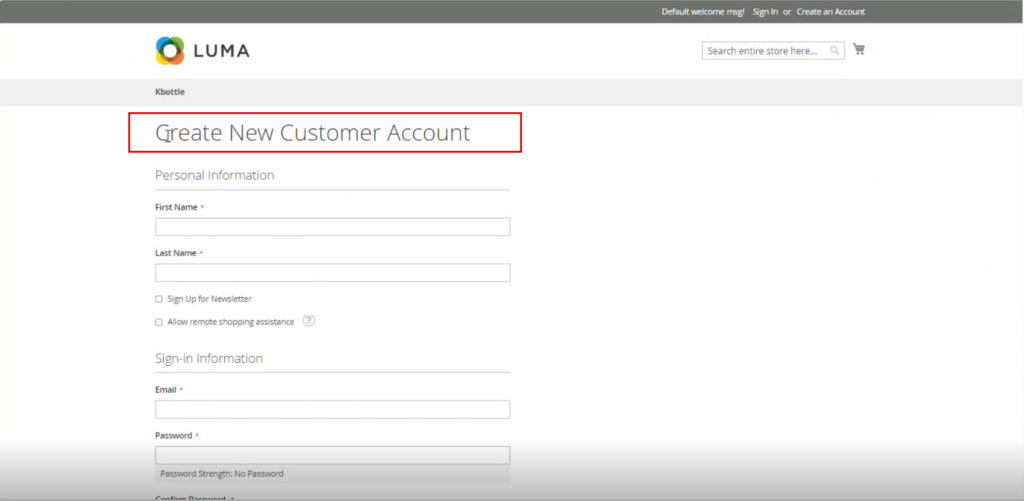
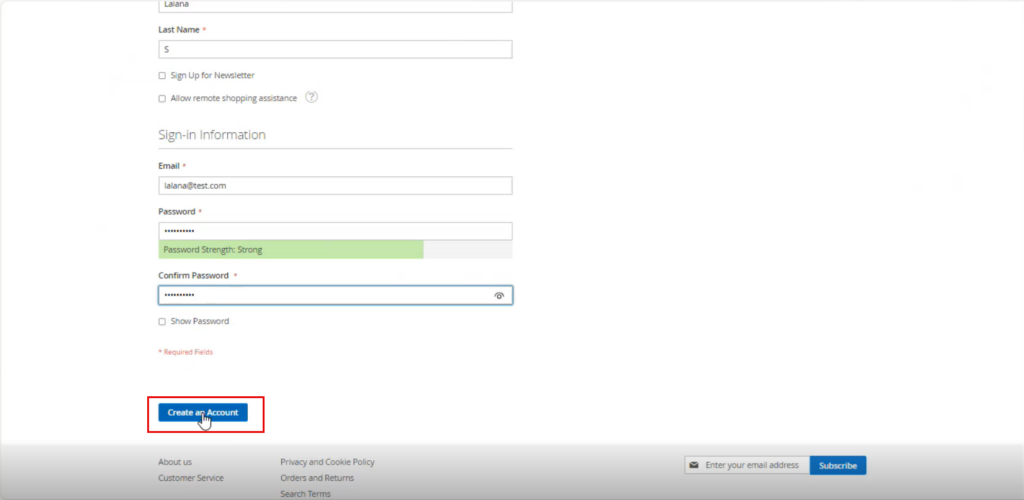
Step 2. Upon clicking on the [Click an Account] you will be redirected to the page where you need to fill up the required information. This includes Personal Information, Sign-in Information and other details as shown in the screenshot.
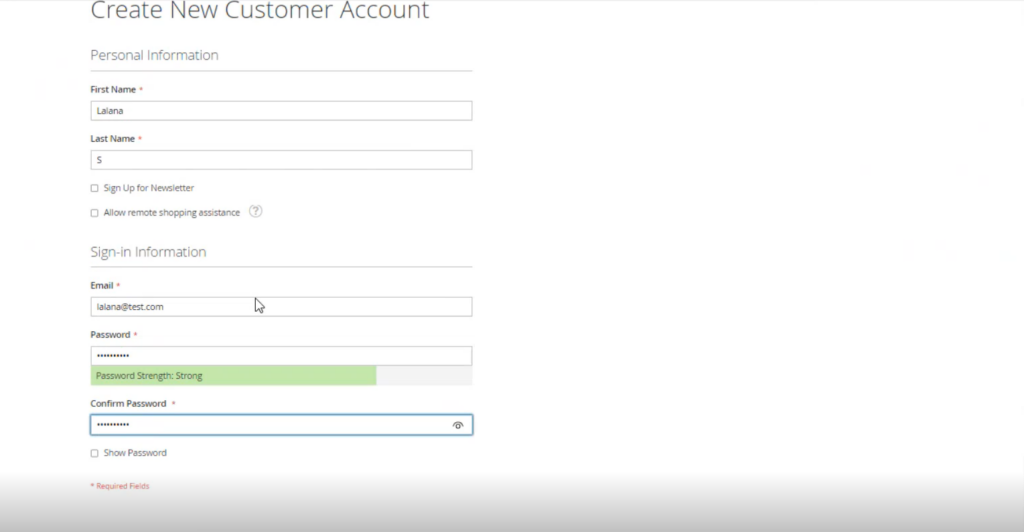
Step 3. After entering all the basic details, you need to click on [Create an Account].
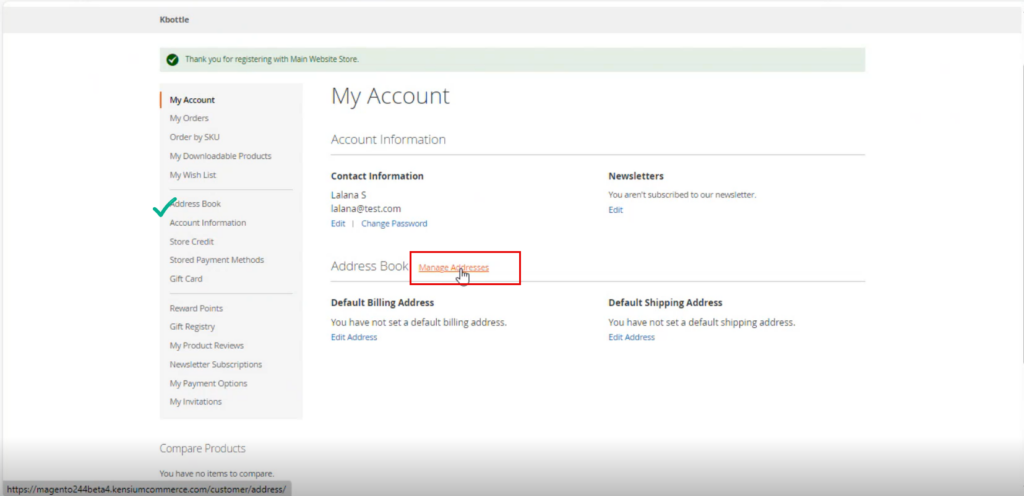
Step 4. After entering the basic details for account creation, you need to enter the Address details in the [Address Book] Section. Click on the [Manage Address] link as shown below.
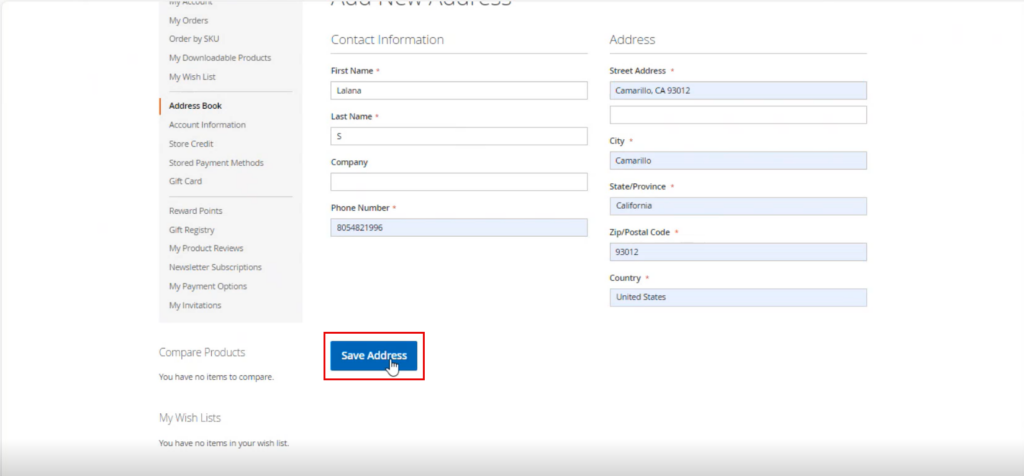
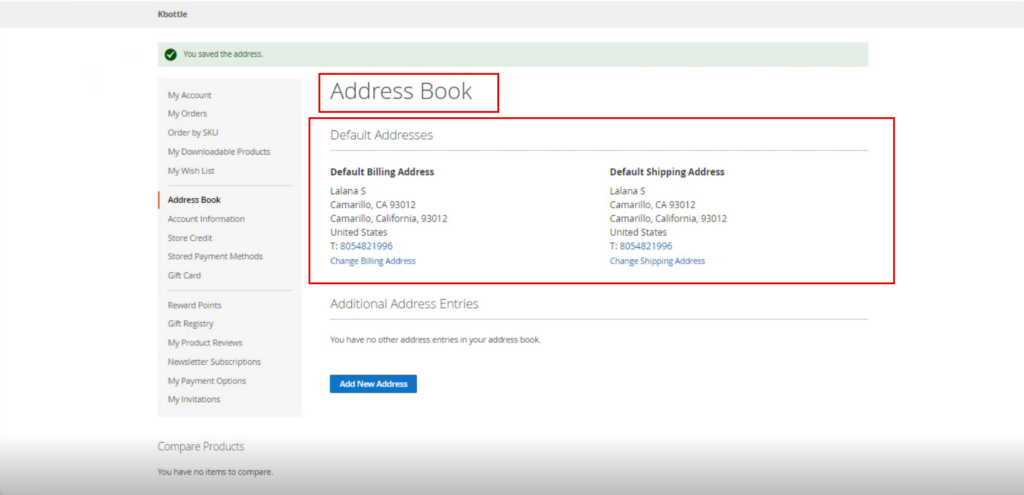
Step 5: After entering all the address details click [Save Address].
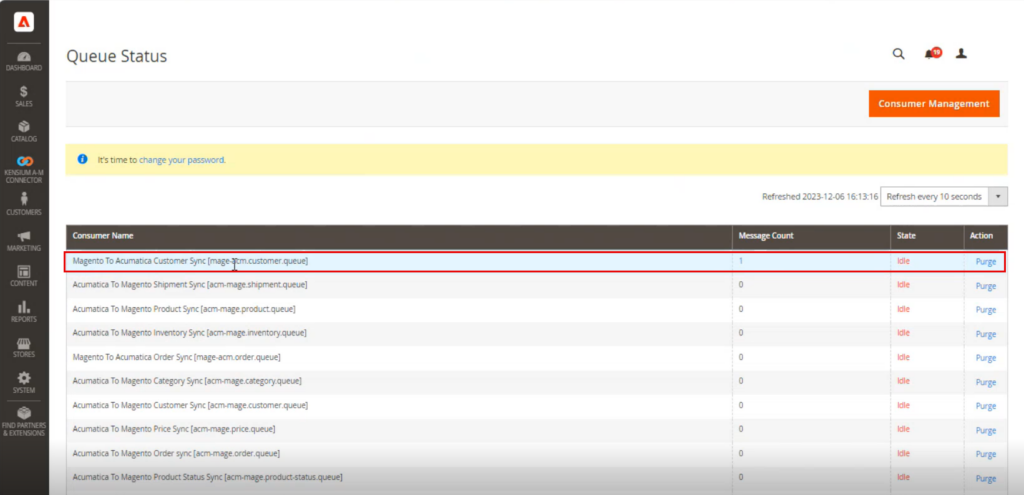
Step 6. Now go to the [Consumer Management] in the Acumatica [Queue Status]. The customer that you have created will be displayed here. It should be displayed in the Message Count first.
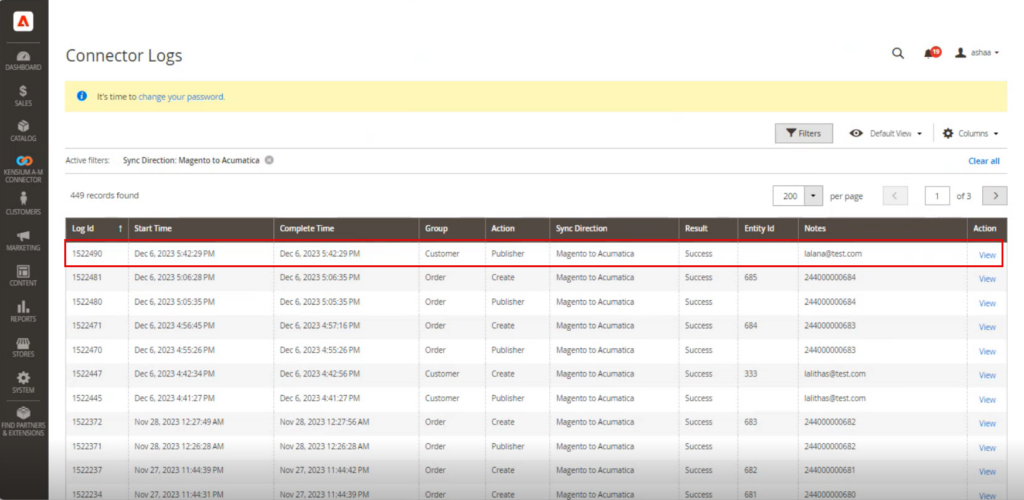
Step 7: Go to [Connector Logs] of Acumatica. Once the count is clear you can view the create log.
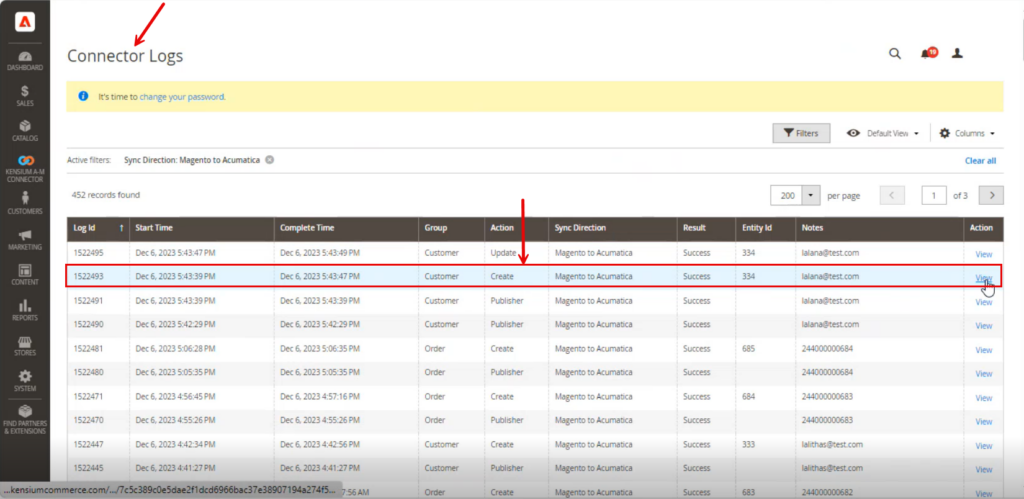
Step 8: Upon clicking on the [View] button, you will be redirected to the following screen with the Entity ID and the Developers Log.
![Click on the [Entity ID]](/wp-content/uploads/2023/12/Click-on-the-Entity-ID-1-1024x497.png")
Step 9: Upon clicking on the [Entity ID] you will be redirected to the Customer section in Magento in the backend.
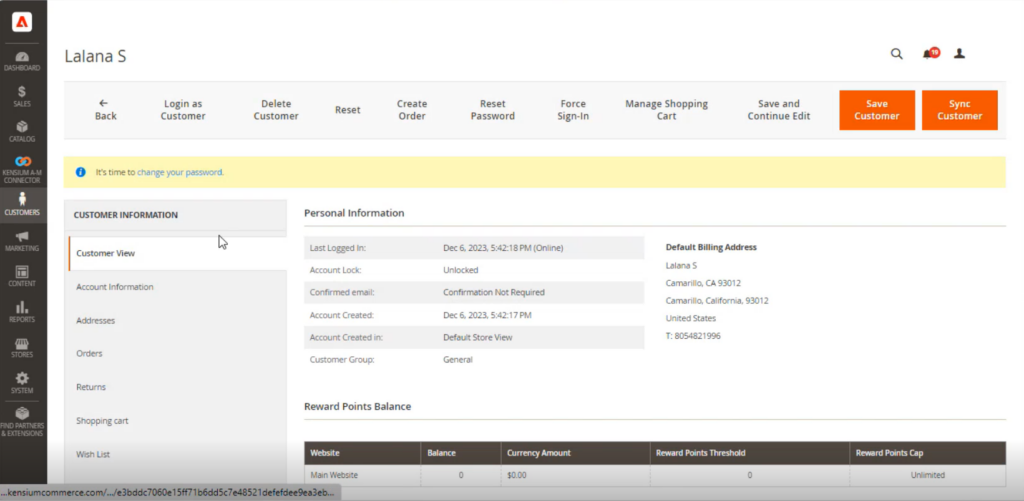
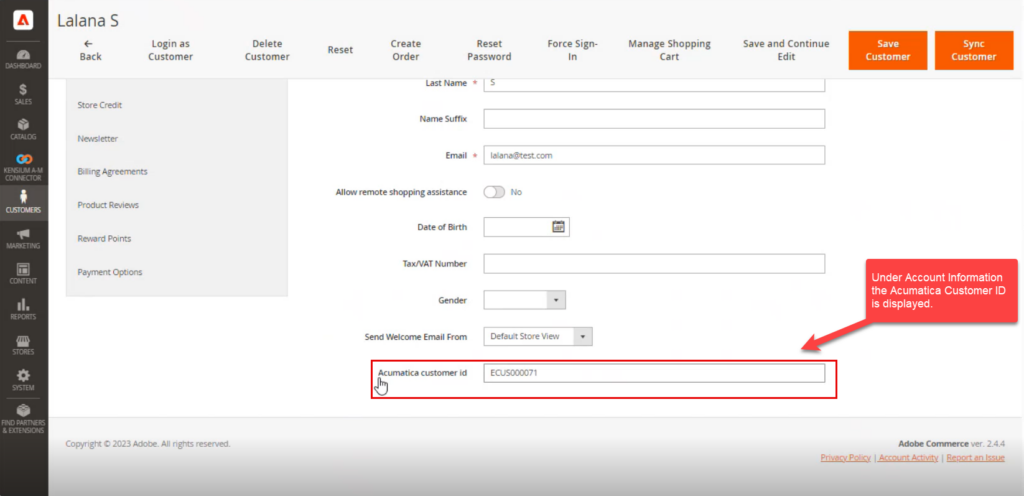
Step 10: Go to the [Account Information]. Lastly, you can view the column for the Acumatica customer ID. With this ID, the same customer has been created in Acumatica from Magento.
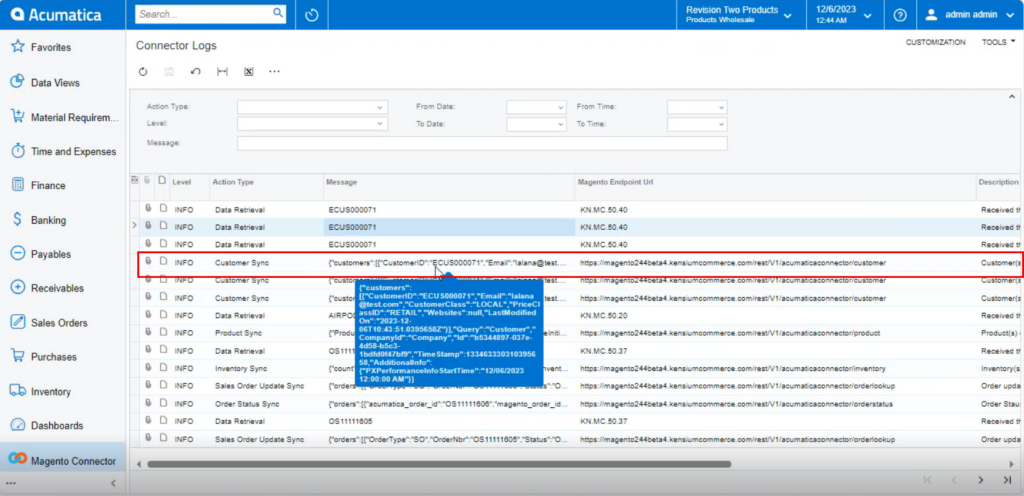
Step 11. Go to the Acumatica Connector Logs and you will be able to view the customer in the log as shown in the screenshot.
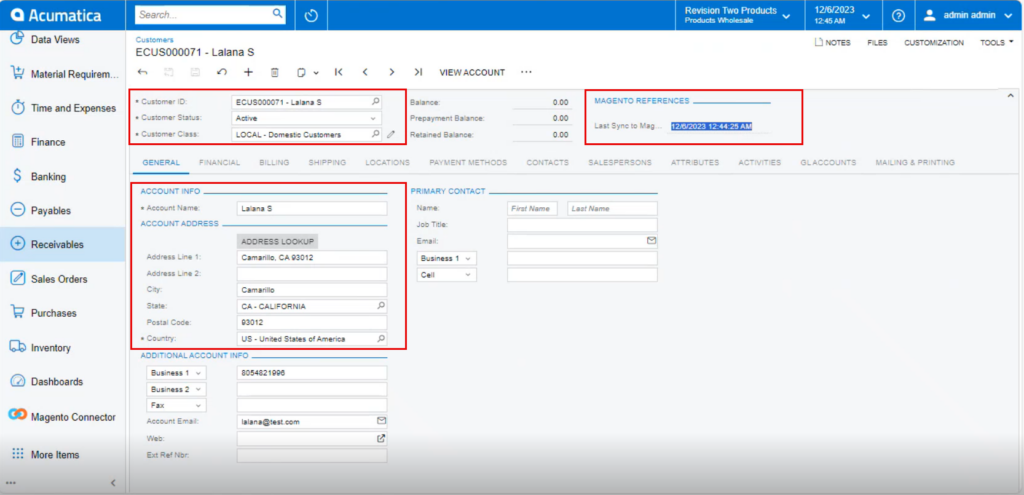
Step 12: Go to Customer Screen in Acumatica. The Customer which you have created in Magento and synced into Acumatica will be displayed. From the Magento Preferences, you can see the sync. Time and preferences.