Price Type in Acumatica
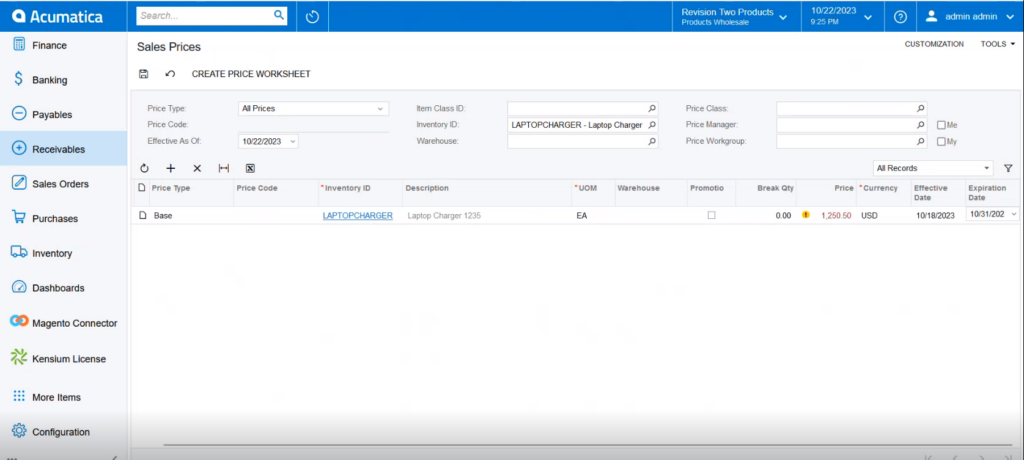
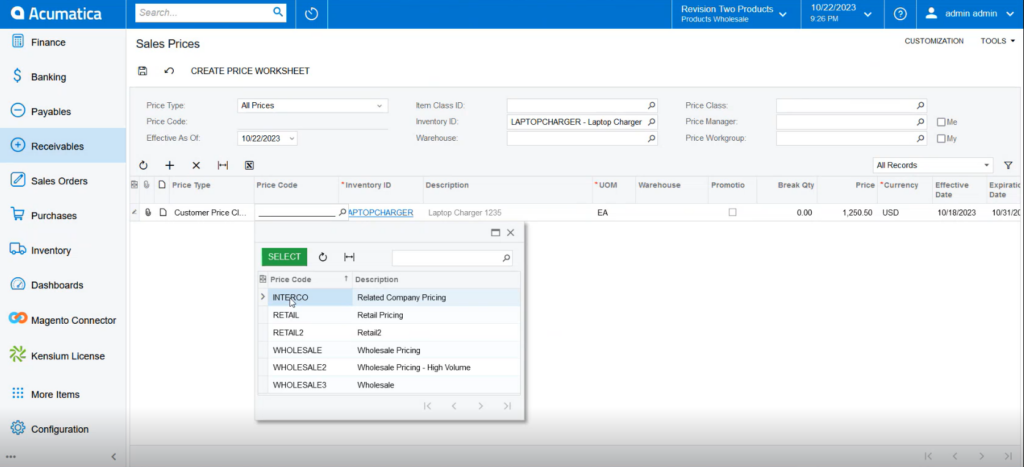
Step 3. On the Create Price Worksheet select the Stock Item. On the [Price Type] Acumatica provides 3 options.
- Base
- Customer
- Customer Price Class
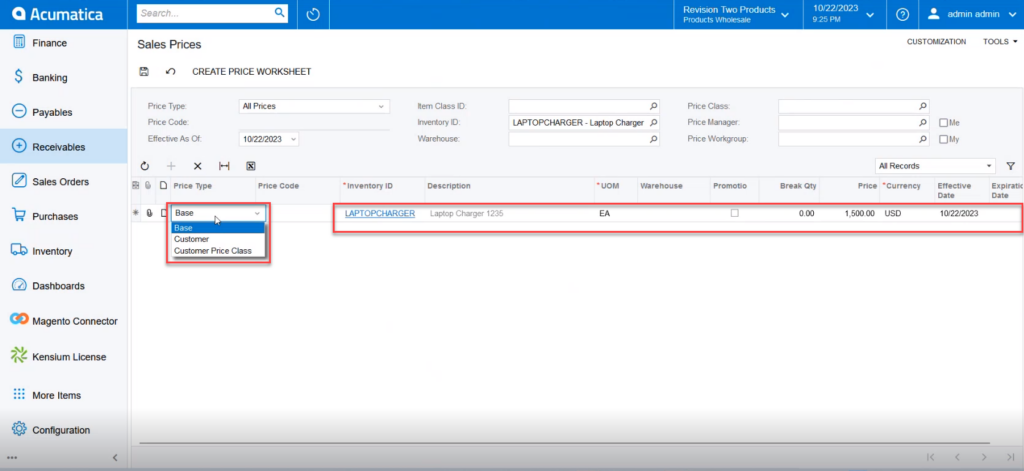
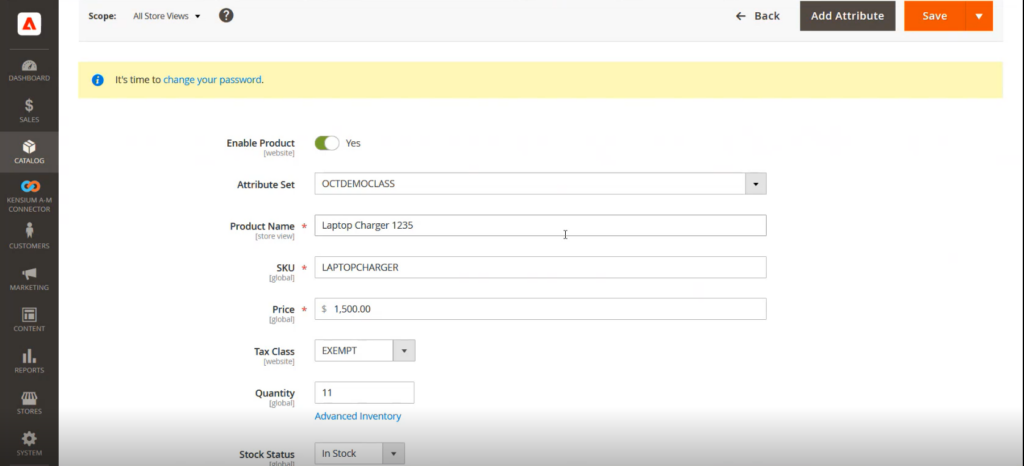
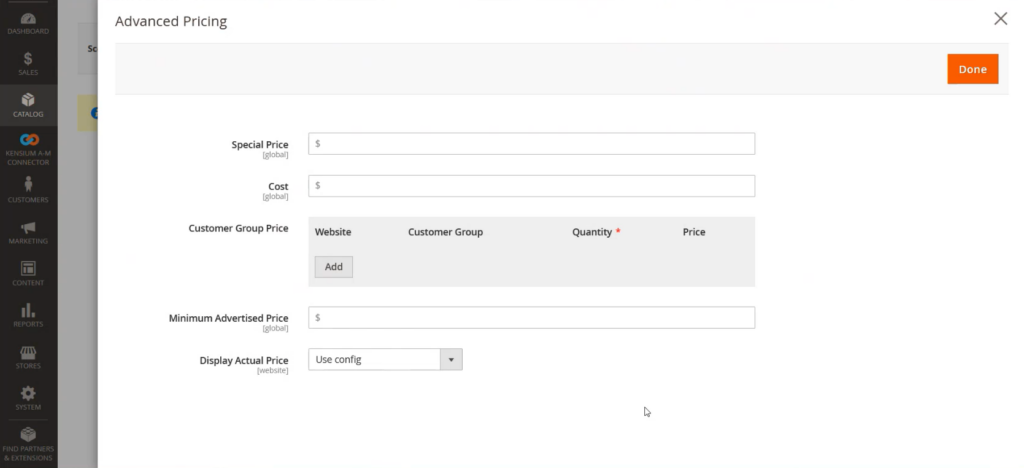
Step 4. Base (Directly on the Product)- In base you can directly change the price from the grid. You can set the date range for how long this special pricing will be applicable.
Step 5. Customer (Based on the Customer Loyalty or Regular Customer)- For Customer loyalty or regular customer you can offer a special price. You just need to select the Price Type as Customer select the Customer name and enter your desired price against the Stock Item along with the date range.

Step 6. Customer Price Class: Under the same customer class, you can apply the special price against the stock item within a range of time. For, if you have Customer Class International, all the customers who are within this class the price will be applied. You need to select the Customer Class from the lookup. This option is not for a single customer. As far as the range of customers who fall under the class the special price will be applied.
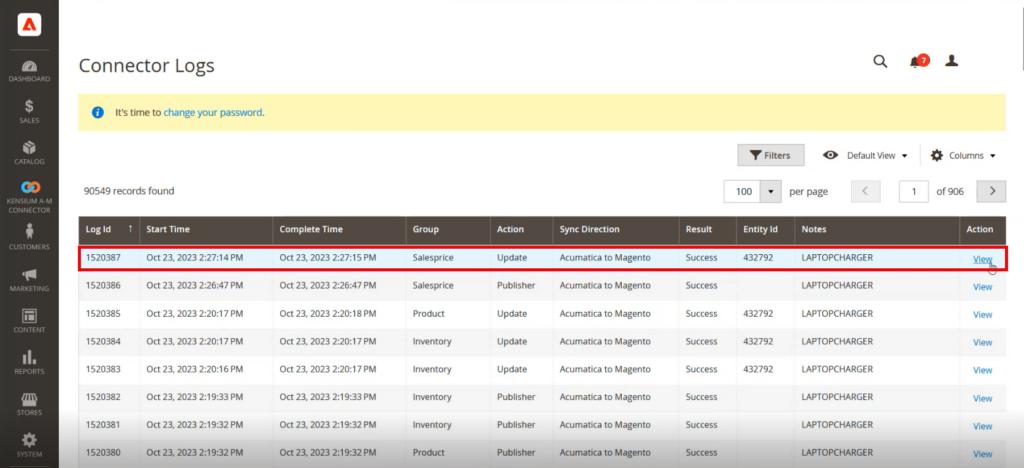
Step 7: Go to the Acumatica Connector Logs and check the Sales Price Sync. So, all the values including the date range SKU and special price will be pushed and synced with Magento.
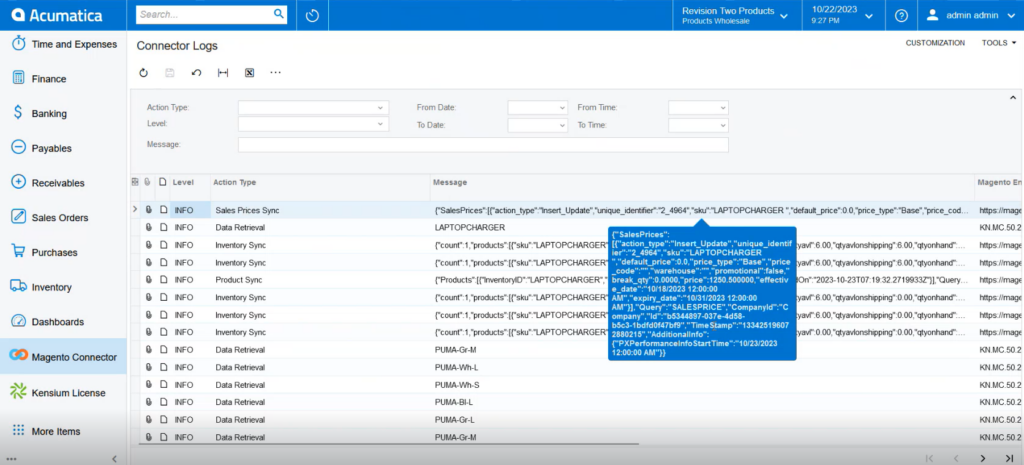
Step 8: Go to the Magento Connector Logs and on the connector log you can view that the price is published and updated.