Creating Item Class in Acumatica
To create an item class in Acumatica you need to go to the item class and fill in the details. After creating the item class in Acumatica, you need to save it.
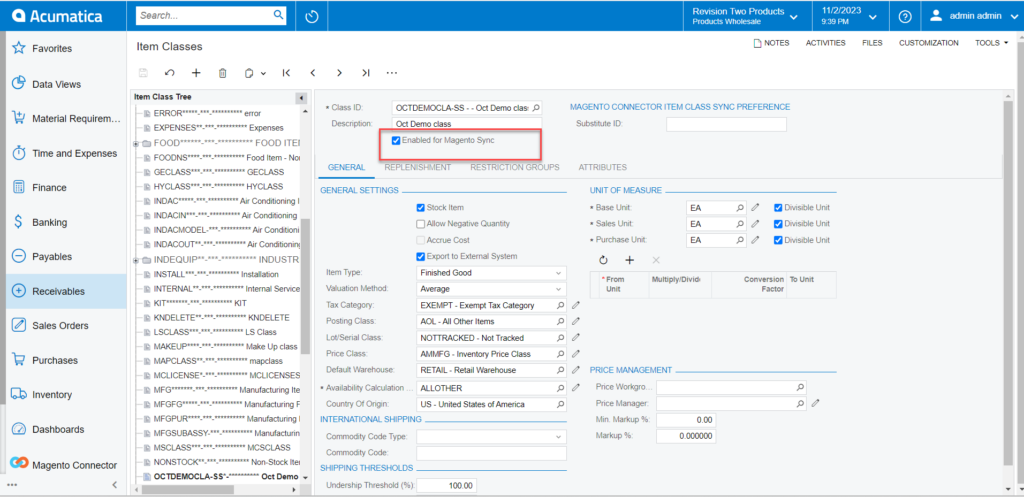
The checkbox for [Enable for Magento Sync] should be checked. This option comes from the [Inventory Preferences] within Acumatica.
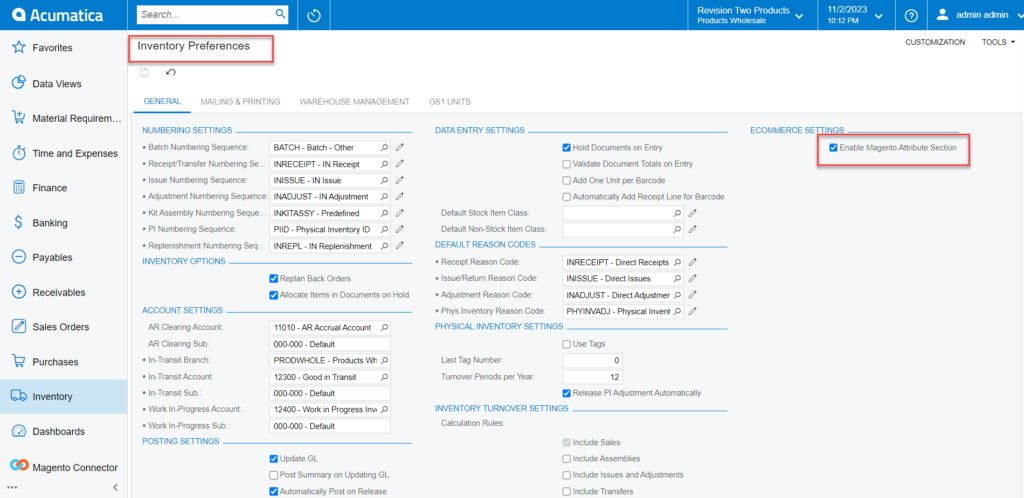
If the above-shown checkbox under the Ecommerce Settings is unchecked or disabled, then you won’t be able to see the option [Enable for Magento Sync] irrespective of Item Class, Item Sales Category or in the Products.
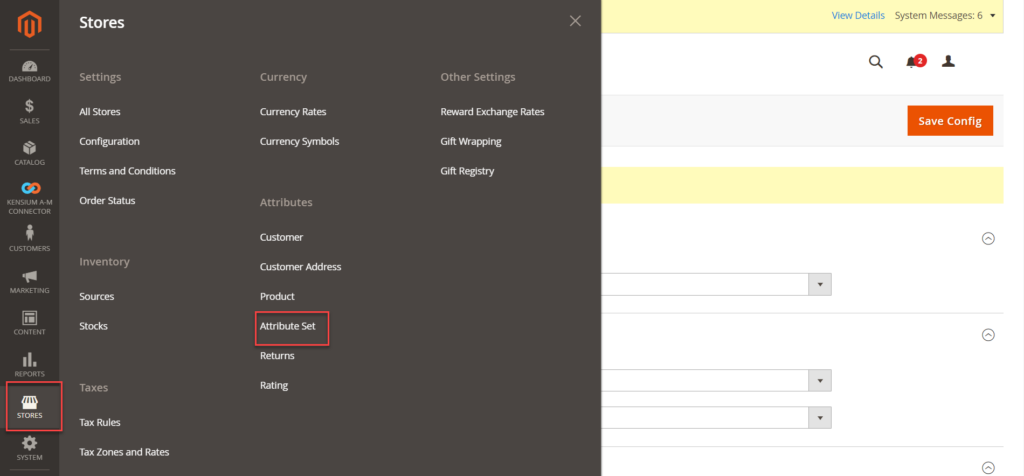
In Magento, it will automatically sync. Go to Magento and click on the [Store] on the left panel and under Attributes you will find an option [Attribute Set].
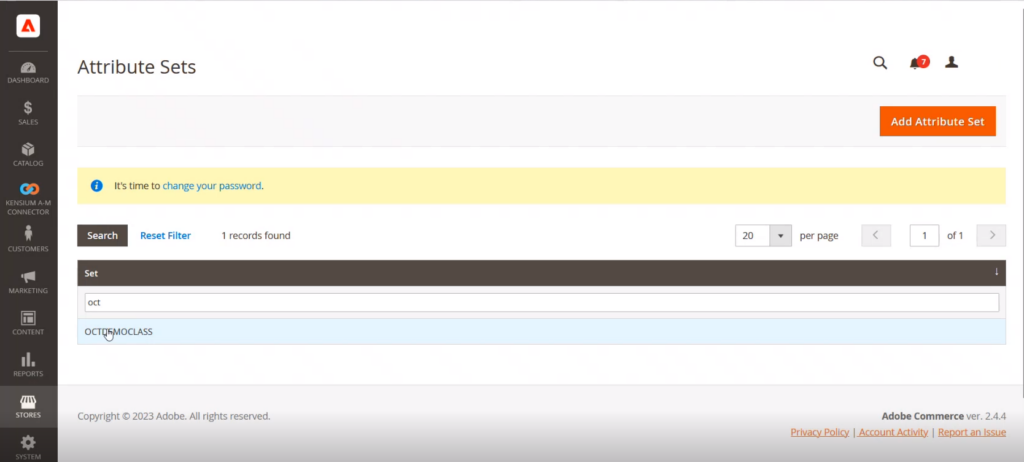
Upon clicking on the [Attribute Set] you will be redirected to the following screen.
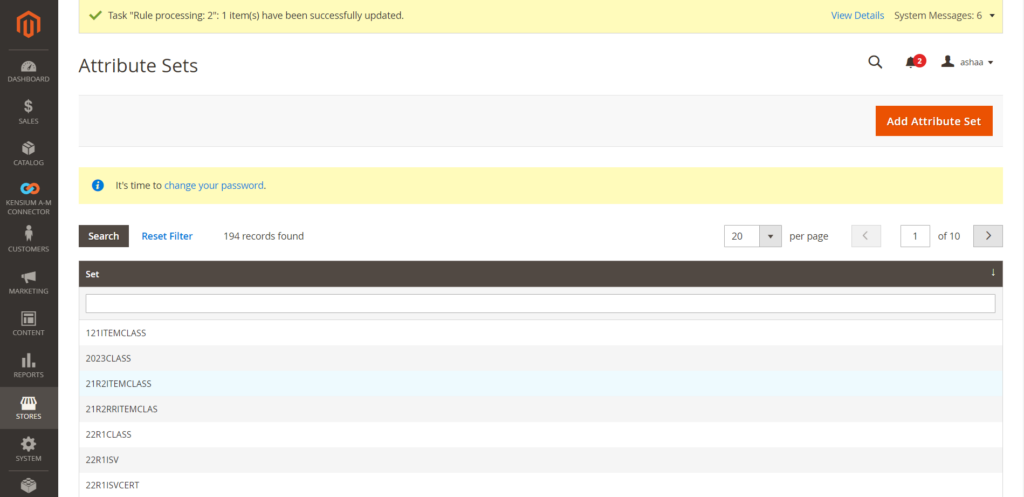
You need to search for the Item Class that you have created.