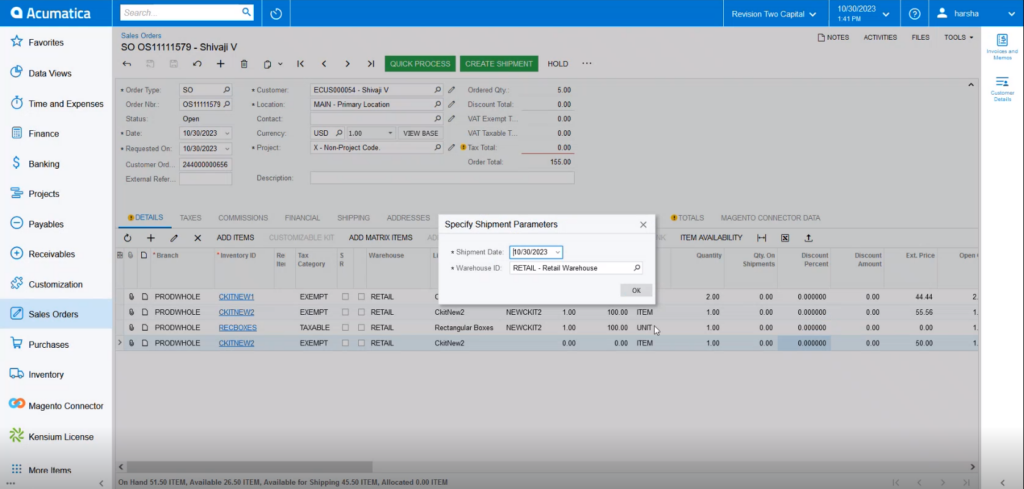
Creating Shipment from Acumatica
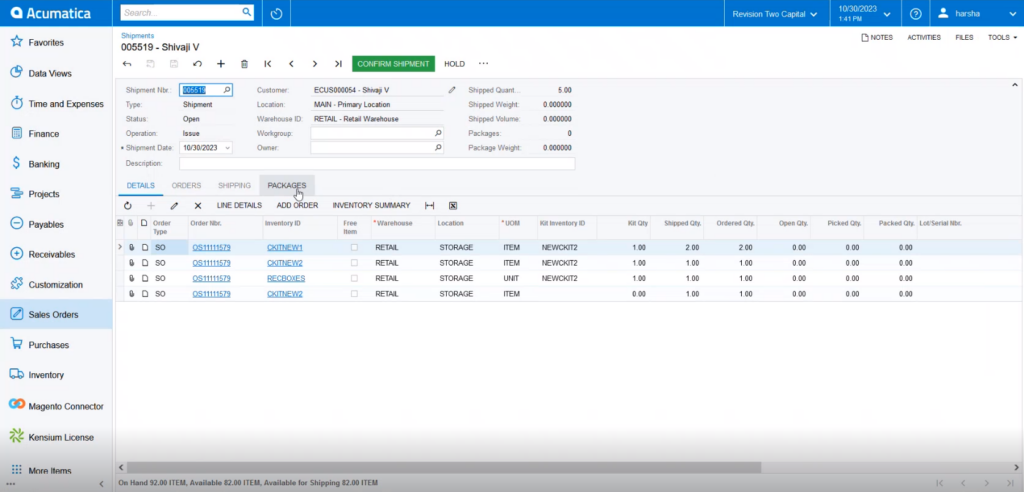
You can create the shipment from Acumatica by clicking on the [Create Shipment] button.
![Fill up the pop-up with relevant information and click OK](/wp-content/uploads/2023/12/Fill-up-the-pop-up-with-relevant-information-and-click-OK-1024x489.png")
![Confirm Shipment screen](/wp-content/uploads/2023/12/Confirm-Shipment-screen-1024x492.png")
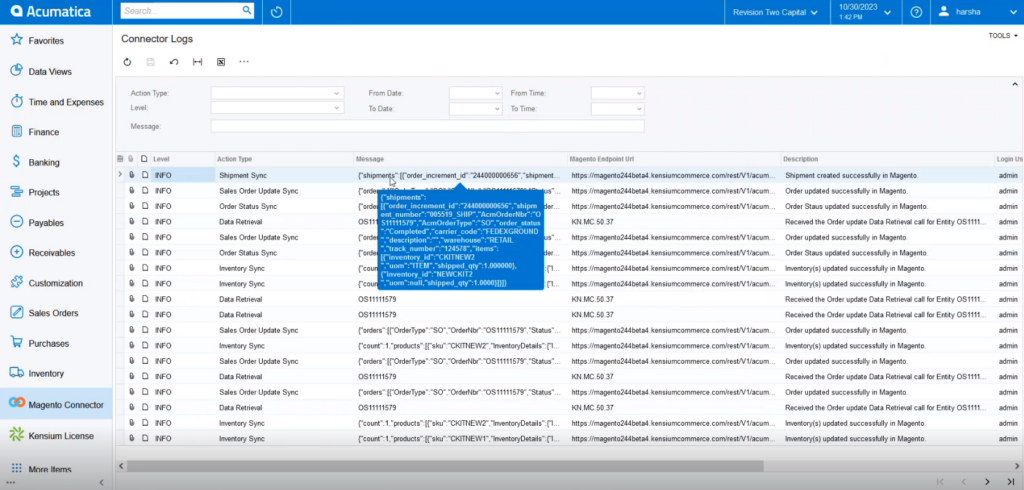
On the connector logs of the Acumatica, you will be able to view the Shipment Sync with all the details.
![Shipment Synced in the Connector Logs](/wp-content/uploads/2023/12/Shipment-Synced-in-the-Connector-Logs-1024x490.png")
![Shipment Publisher record in the connector log](/wp-content/uploads/2023/12/Shipment-Publisher-record-in-the-connector-log-1024x494.png")
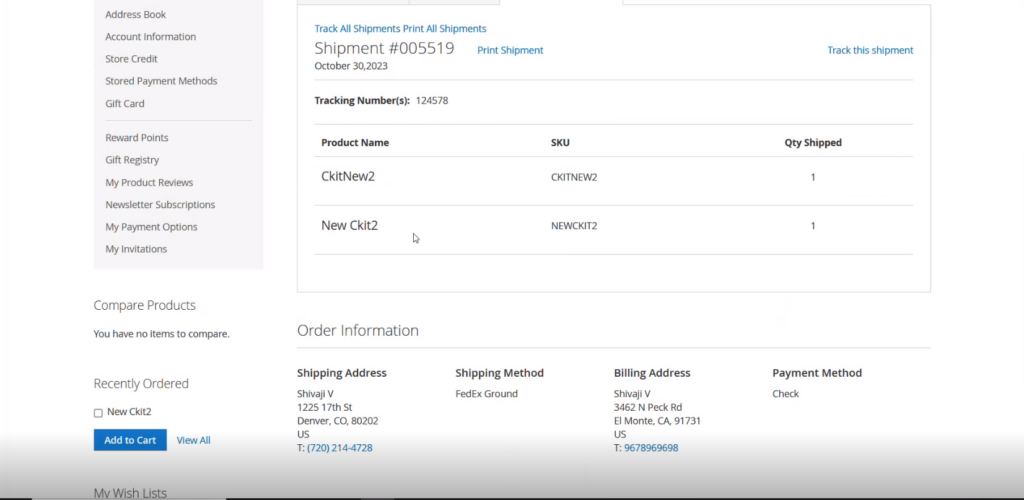
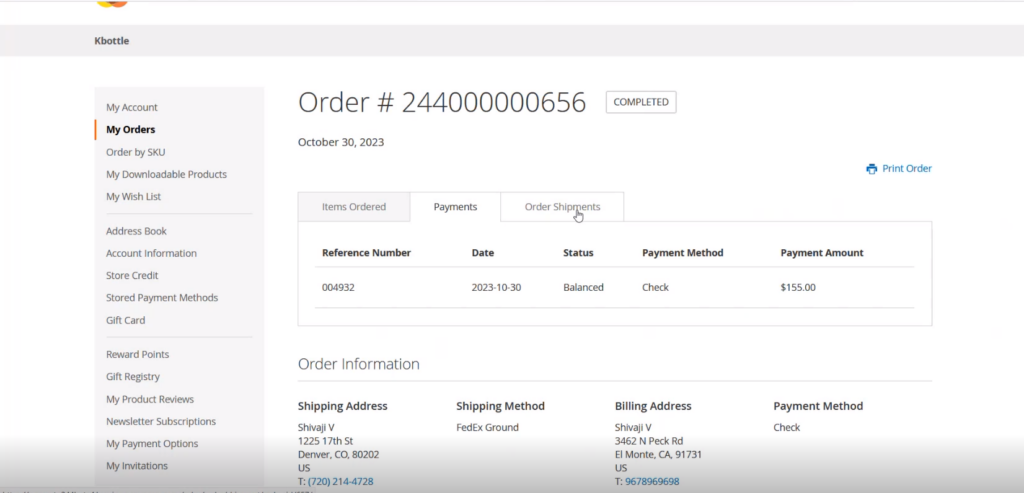
On the front end of Magento, you will be able to view the [Order Shipment] tab which was created in Acumatica and synced successfully to Magento.
![Order Shipment on the Magento Front End](/wp-content/uploads/2023/12/Order-Shipment-on-the-Magento-Front-End-1024x493.png")
From Magento, you ordered one item, and the second item was successfully added to Acumatica and synced to Magento. That data is reflected here. [Tracking Number] refers to the number which you have entered in Acumatica in the Reference Number column.
![Order shipment details](/wp-content/uploads/2023/12/Order-shipment-details-1024x500.png")