Managing Category Schema
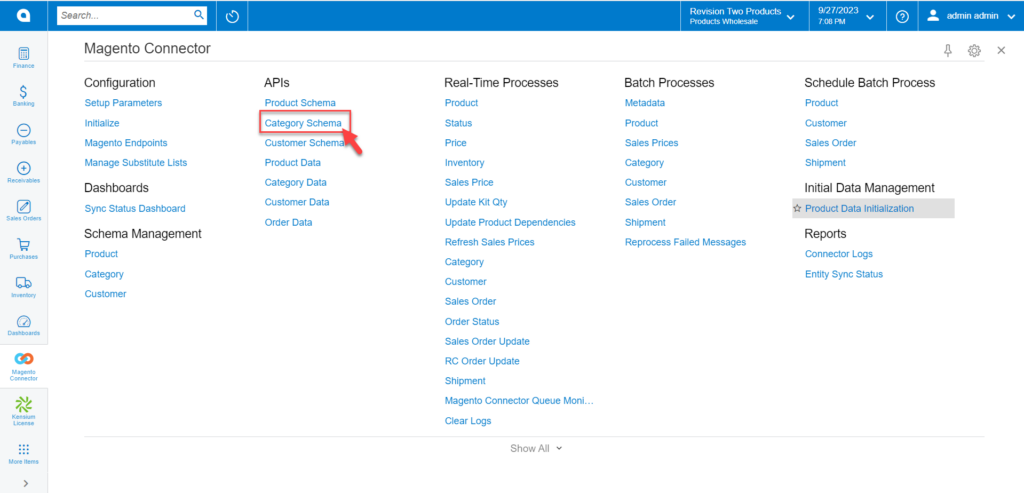
By clicking on the Category Schema under the [APIs] in the Magento Connector screen you will be redirected to the Category Schema API screen as shown in the following screenshots.
![Click on the Category Schema under APIs](/wp-content/uploads/2023/12/Click-on-the-Category-Schema-under-APIs-1024x493.png)
![Category Schema in the API screen](/wp-content/uploads/2023/12/Category-Schema-in-the-API-screen-1024x492.png)
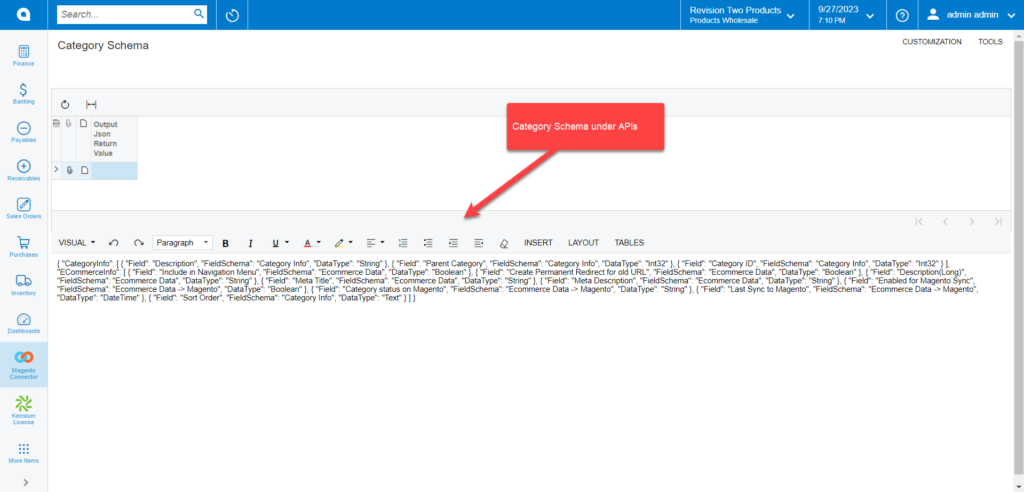
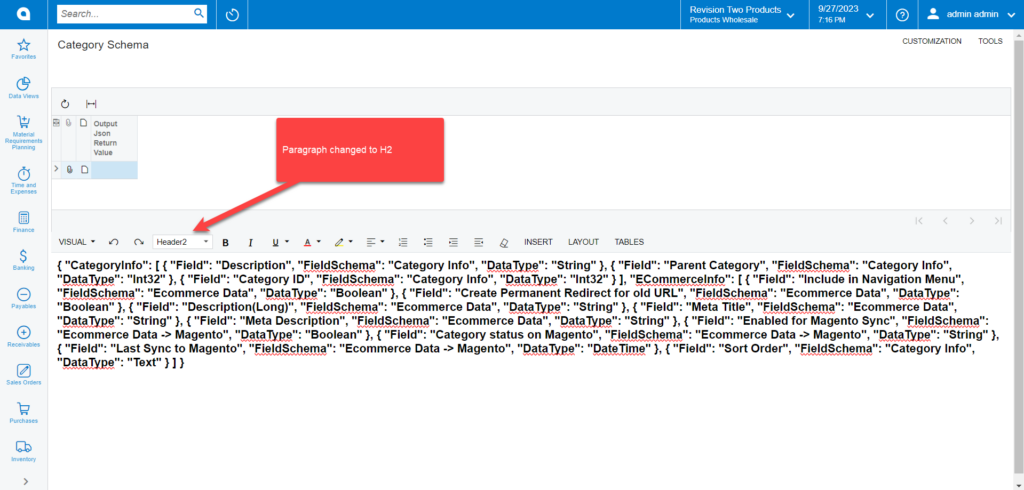
You need to change the content from [Paragraph] to [H2].
![Text changed to Header 2 from Paragraph](/wp-content/uploads/2023/12/Text-changed-to-Header-2-from-Paragraph-1024x490.png)
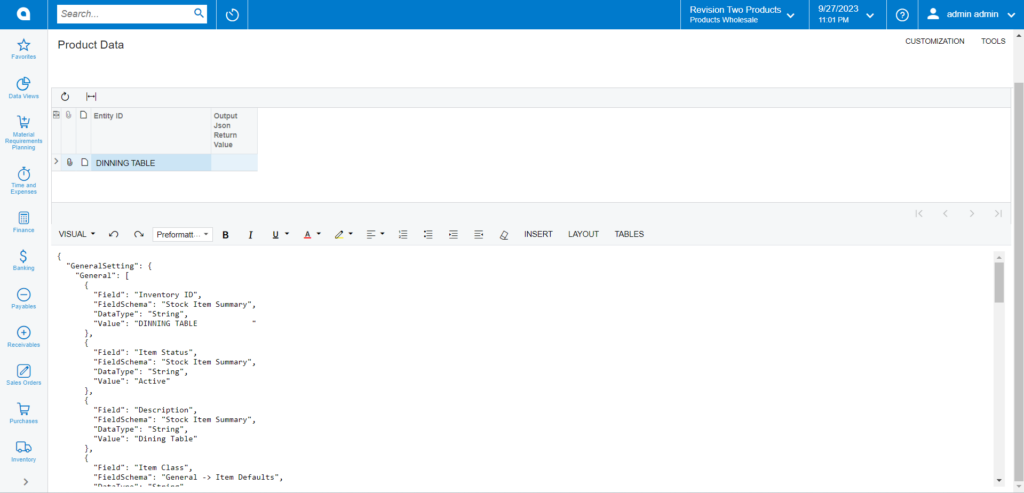
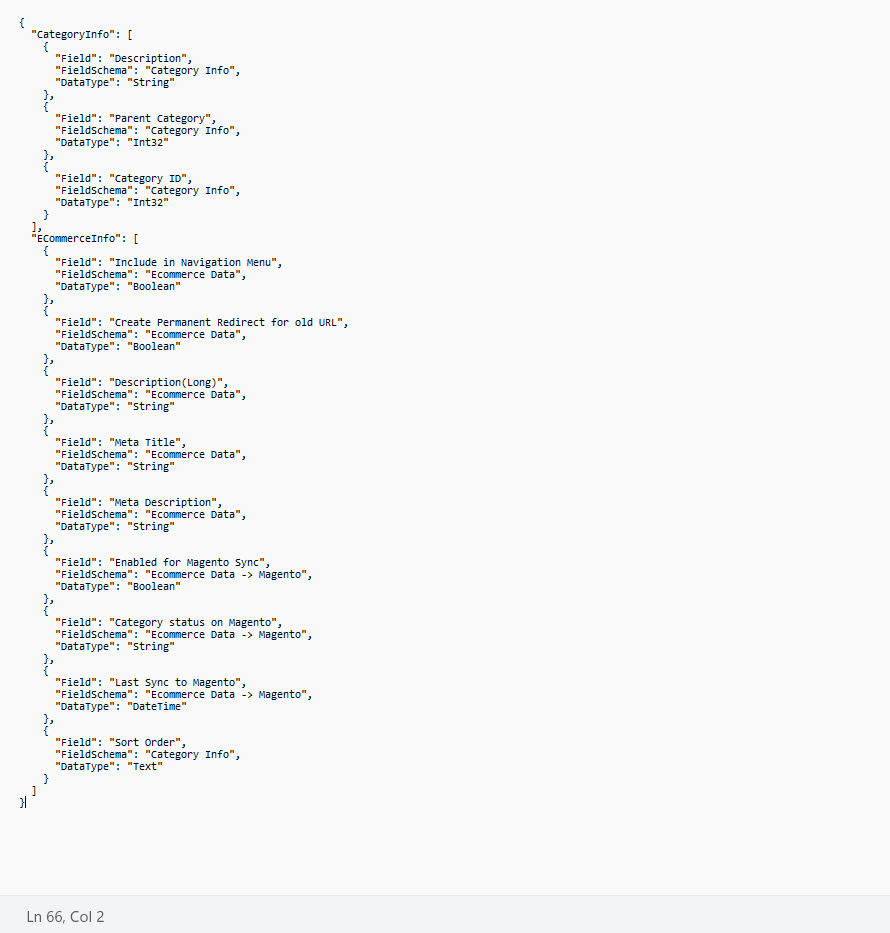
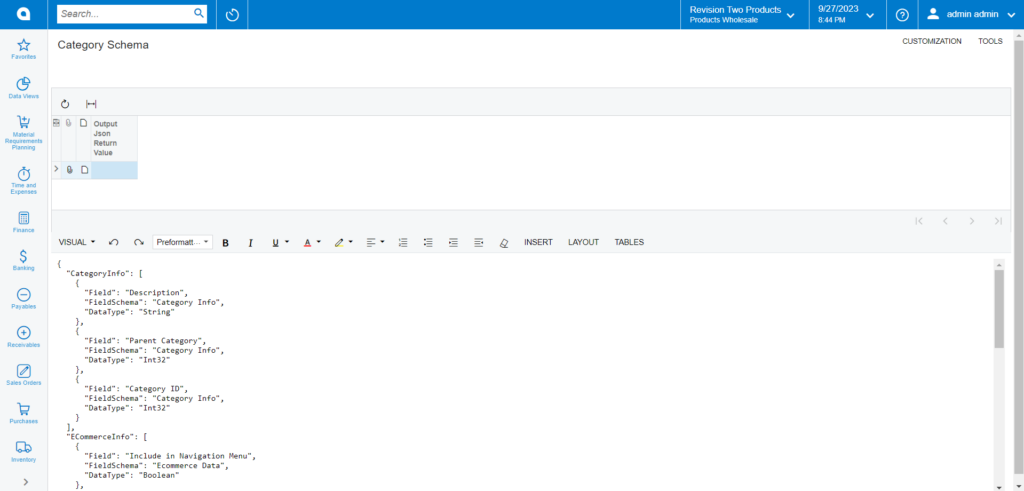
Select the [Preformatted] option to convert the API schema into JSON format.
![Preformatted option to convert the text into JSON](/wp-content/uploads/2023/12/Preformatted-option-to-convert-the-text-into-JSON-1024x491.png)
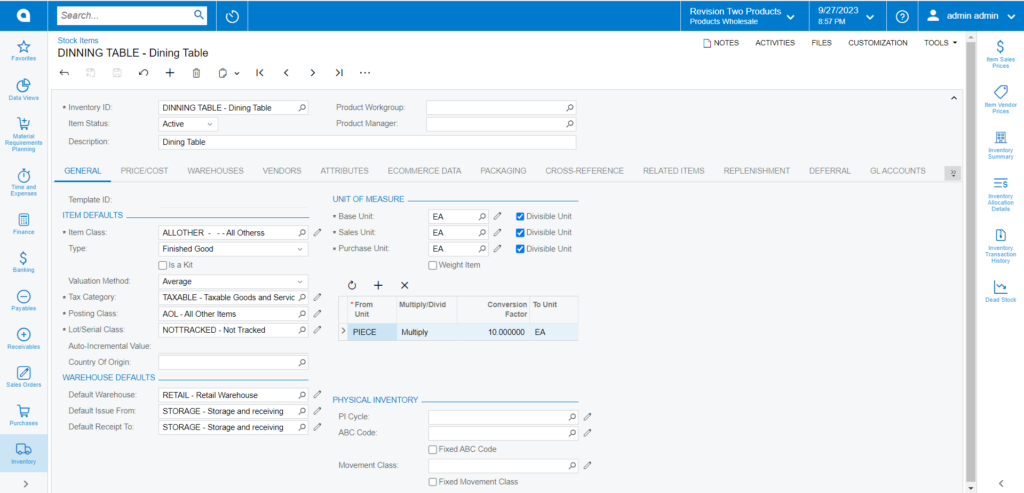
Before you click on the Category Schema, first create a product to see how the data is getting passed to Magento Connector in the Category Schema.
Here we have created a product [Dining Table] in the Stock Item. Note that you must choose an Item Class for Magento Sync. If you have already created a product, make sure the item class is selected for the Magento sync.
![Product browse](/wp-content/uploads/2023/12/Product-browse-1024x493.png)
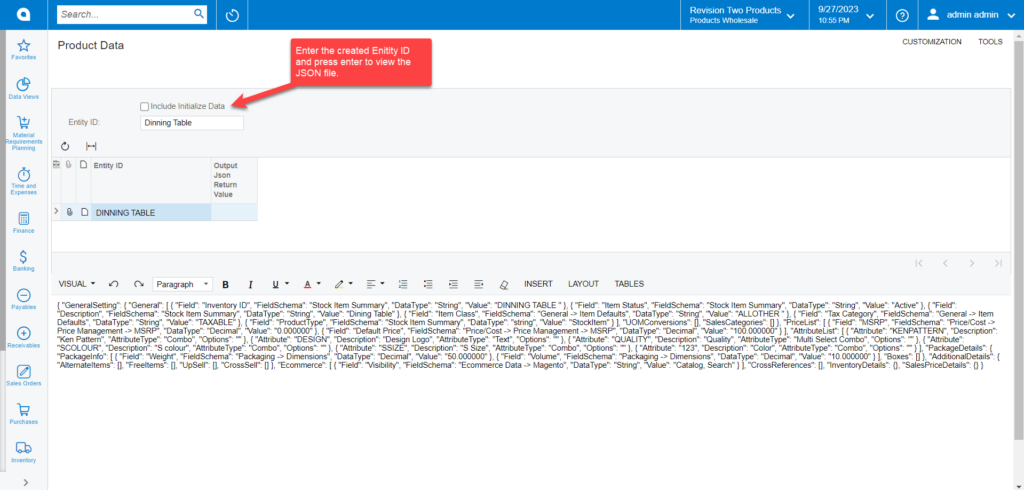
From the [Product Data] API you need to enter the product name in the Entity ID.
![Include the Entity Data and press enter](/wp-content/uploads/2023/12/Include-the-Entity-Data-and-press-enter-1024x490.png)
![The JSON file shows](/wp-content/uploads/2023/12/The-JSON-file-shows-1024x493.png)
![The JSON file shows](/wp-content/uploads/2023/12/The-JSON-file-shows-1.png)