Real-Time Process (Commerce Connector)
The scheduler for the connector is automatically built during initialization. The data will always be processed automatically by the schedulers. If the scheduler is inactive for any reason, you must select the [Real Time Process] option.

These consist of the Following Options.
- Master Data Sync
- Product
- Template ID
- Kits Items
- Pricing
- Inventory
- Sales Prices
- Order
- Order Status
- Shipment
- Entity Delete Action
- Clear Logs
Master Data Syncs
If the sync doesn’t work through the schedulers, you can use this option.
- Click on the [Master Data Syncs], and you will be redirected to the following screen.
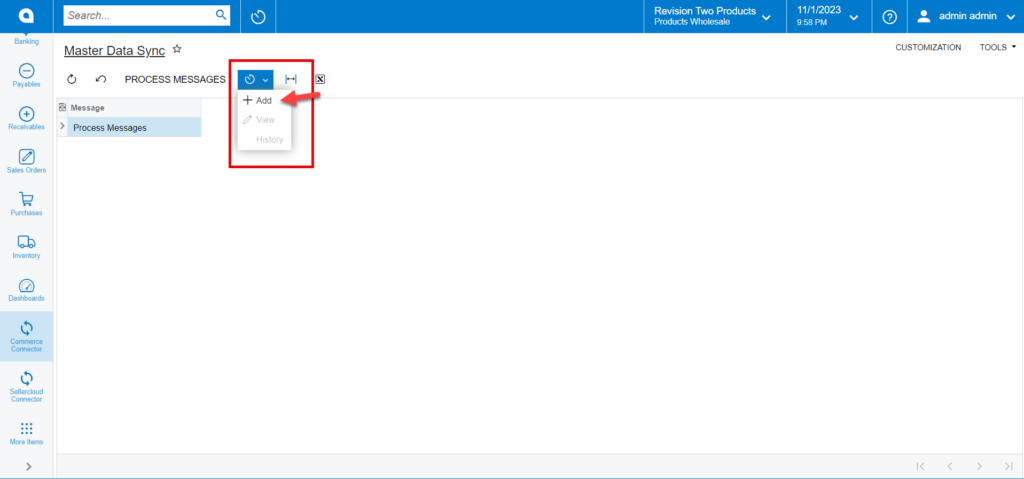
- You need to click on the [+] Add icon, and a new screen will pop up as shown below.
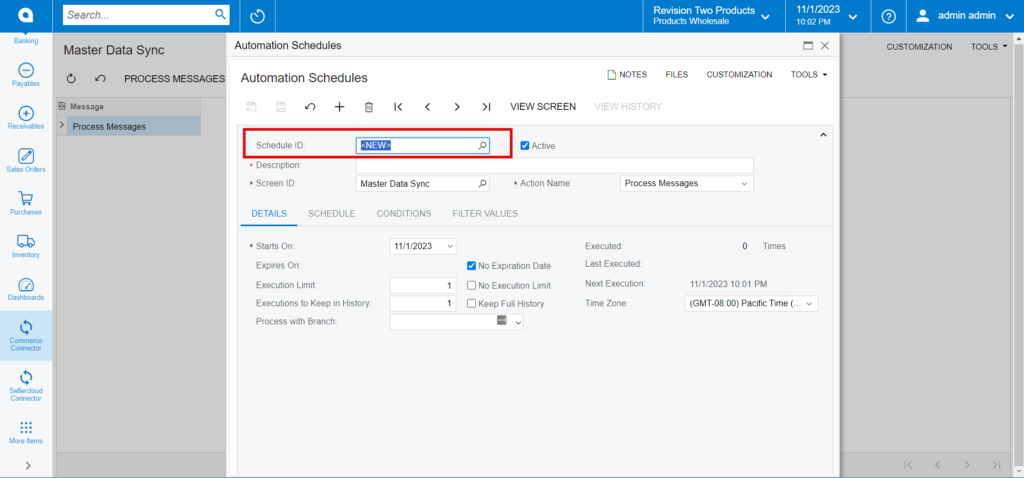
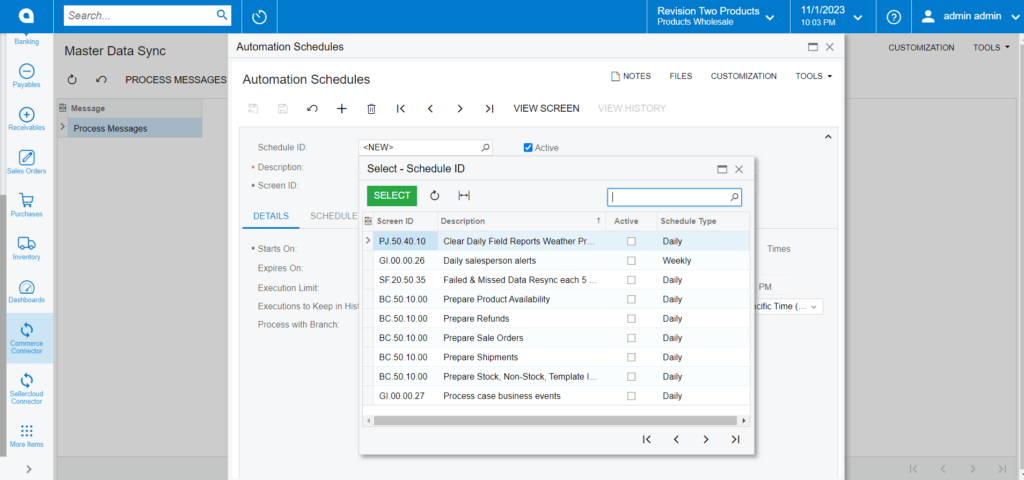
- You need to select the Schedules from the [Schedule ID].
- Toggle the Check box.
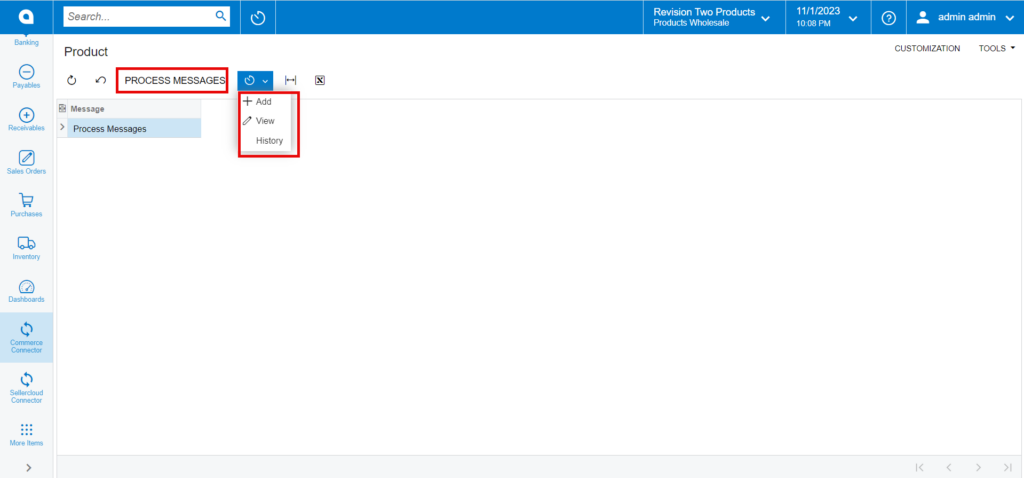
Product
If the sync doesn’t work through the schedulers, you can use this option.
- Click on the [Product], and you will be redirected to the following screen.
The scheduler must be active. If not, you can activate it from the [Automation Schedules] pop-up.
- Click on [Add] and a new screen will appear.
- You need to activate the schedulers by checking the box.
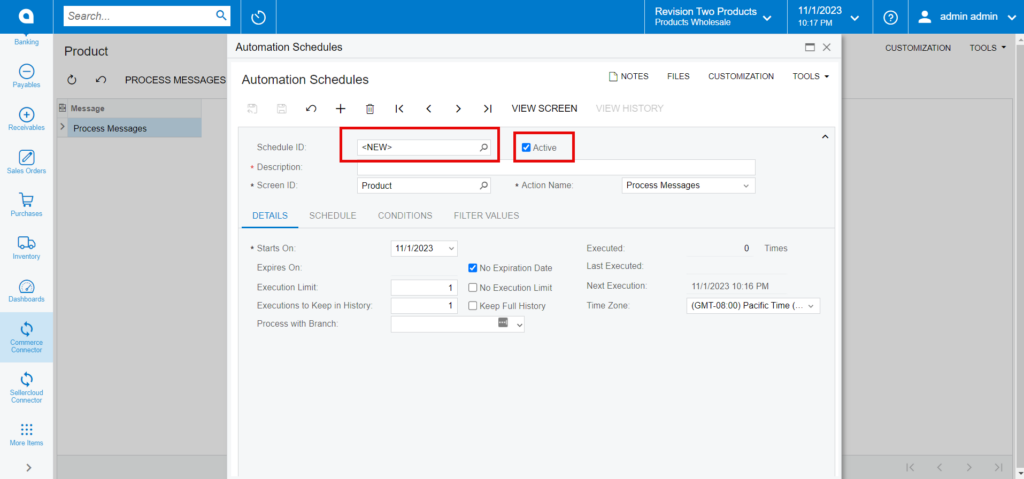
- You need to select the schedules from the [Schedule ID].
- Toggle the check box.
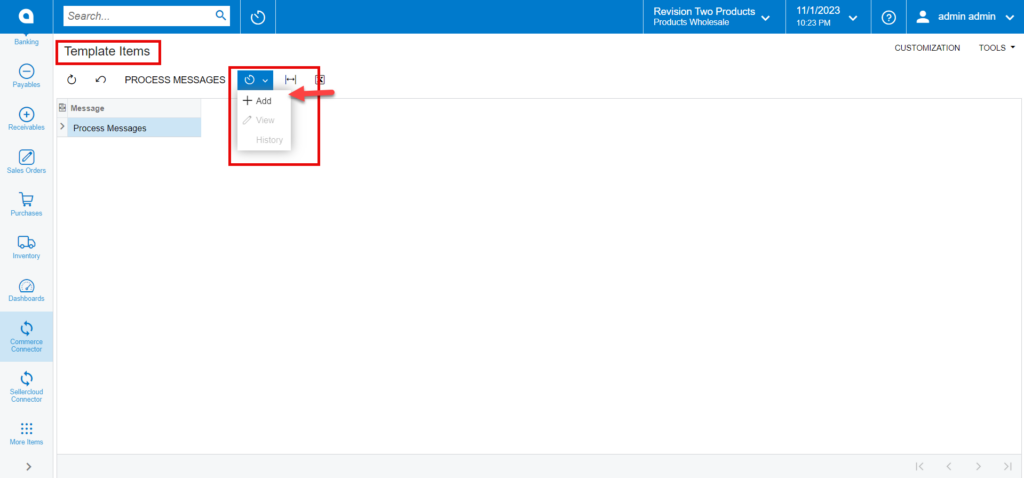
Template ID
If the sync doesn’t work through the schedulers, you can use this option.
- Click on the [Template ID], and you will be redirected to the following screen.
The scheduler must be active. If not, you can activate it from the [Automation Schedules] pop-up.
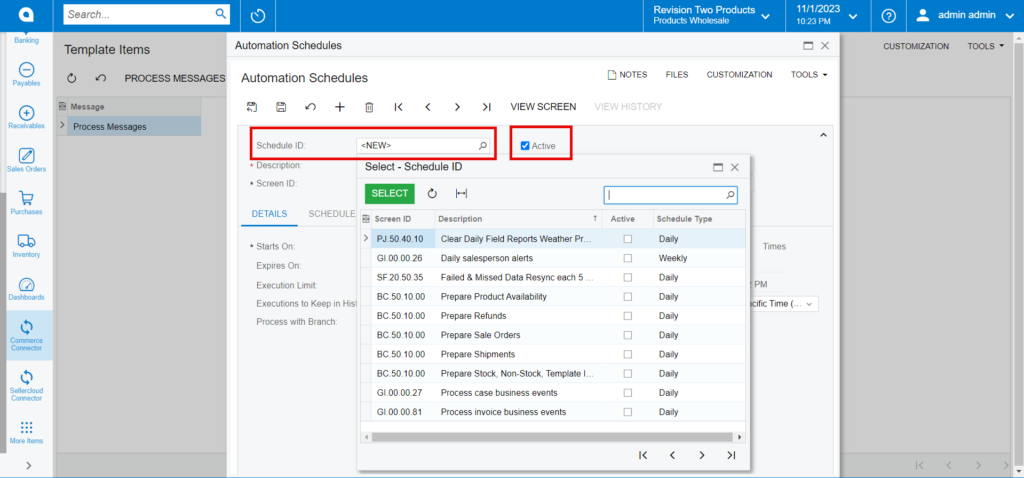
- Click on [Add] and the following screen will appear.
- You can activate the schedulers by checking the box.
- You need to select the schedules from the [Schedule ID].
- Toggle the check box.
Kits Items
If the sync doesn’t work through the schedulers, you need to use this option.
- Click on the [Kits Items], and you will be redirected to the following screen.
The scheduler must be active. If not, you can activate it from the [Automation Schedules] pop-up.
- click on [Add] and the following screen will appear.
- You can activate the schedulers by checking the box.

- You need to select the schedules from the [Schedule ID].
- Toggle the check box.

Pricing
If the sync doesn’t work through the schedulers, you need to use this option.
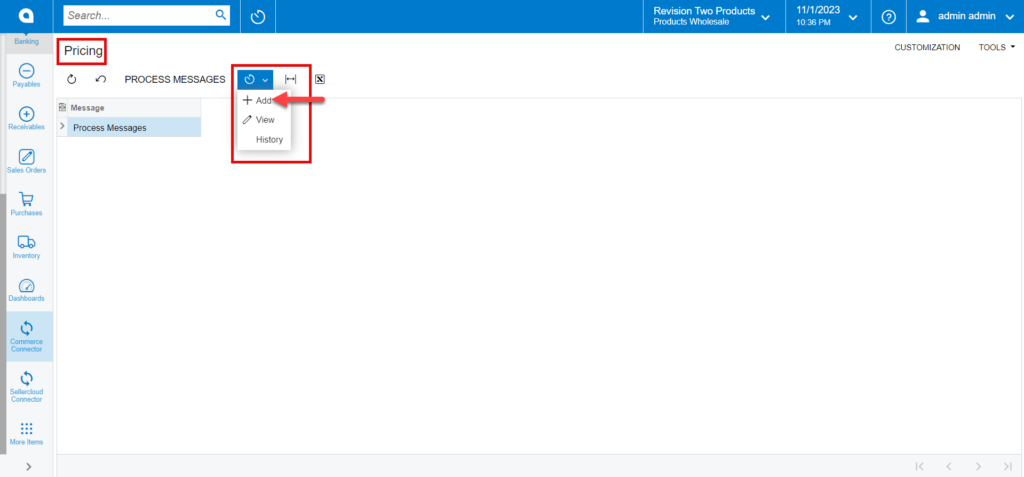
- Click on the [Pricing], and you will be redirected to the following screen.
The scheduler must be active. If not, you can activate it from the [Automation Schedules] pop-up.
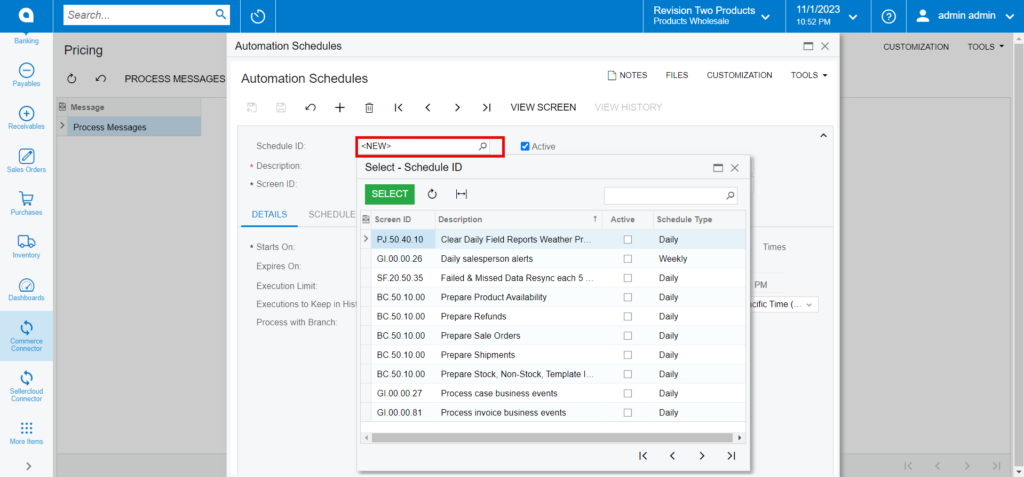
- Click on [Add] and the following screen will appear.
- You can activate the schedulers by checking the box.
- You need to select the schedules from the [Schedule ID].
- Toggle the check box.
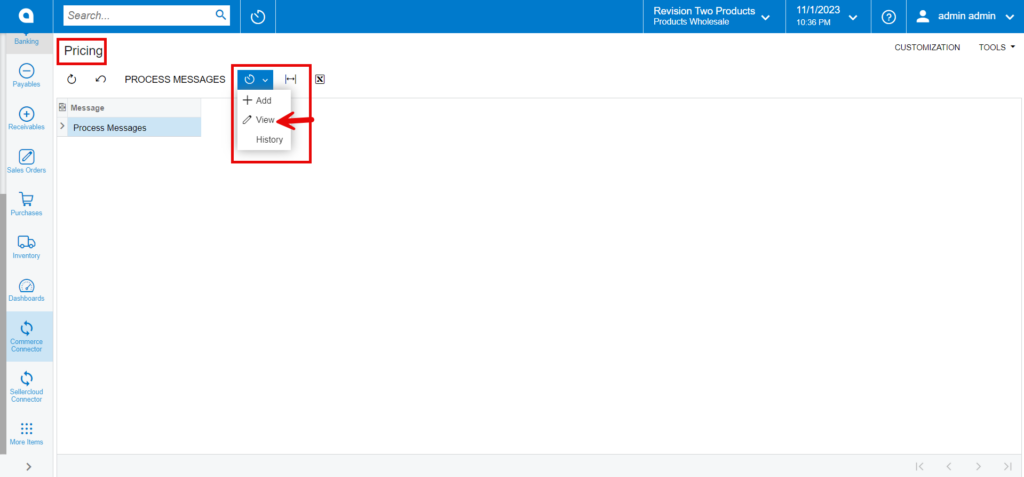
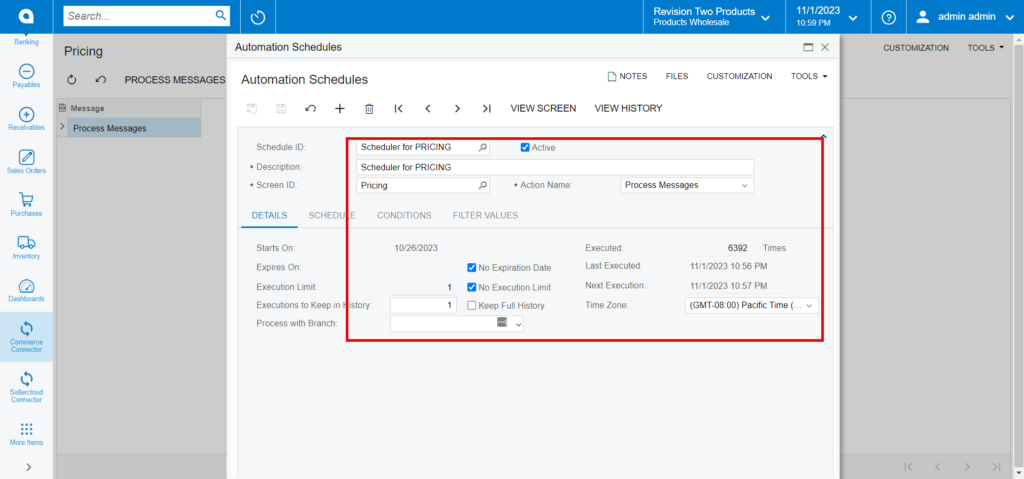
- By selecting [view] from the pricing menu, you can see the processed schedules.
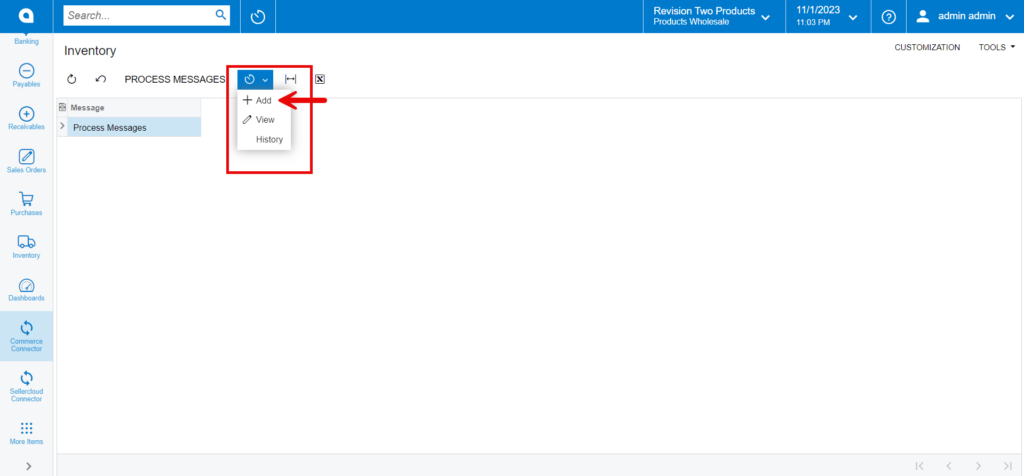
Inventory
If the sync doesn’t work through the schedulers, you can use this option.
- Click on the [Inventory], and you will be redirected to the following screen.
The scheduler must be active. If not, you can activate it from the [Automation Schedules] pop-up.
- Click on [Add] and the following screen will appear.
- You can activate the schedulers by checking the box.
- You need to select the schedules from the [Schedule ID].
- Toggle the check box.

- By selecting [view] from the Inventory menu, you can see the processed schedules.

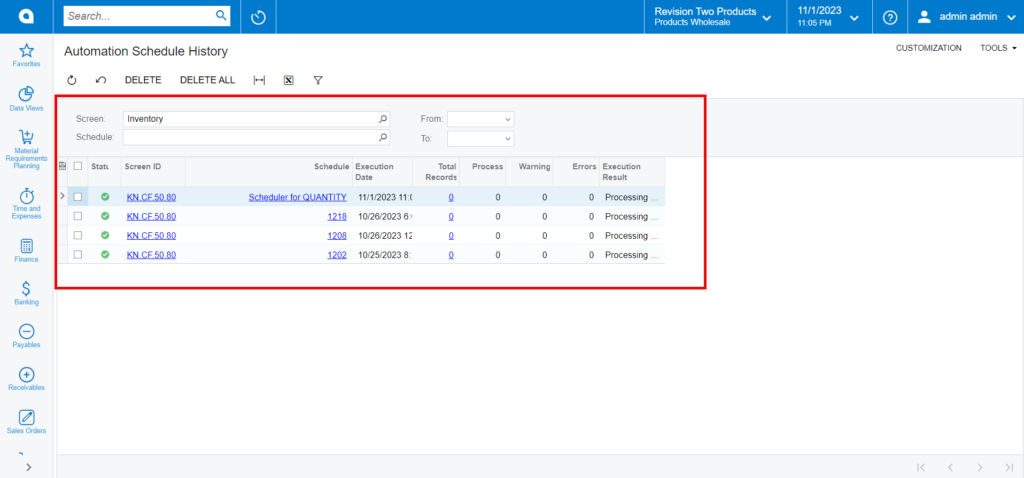
- By selecting [History] from the inventory menu, you can see the history of the processed schedules.
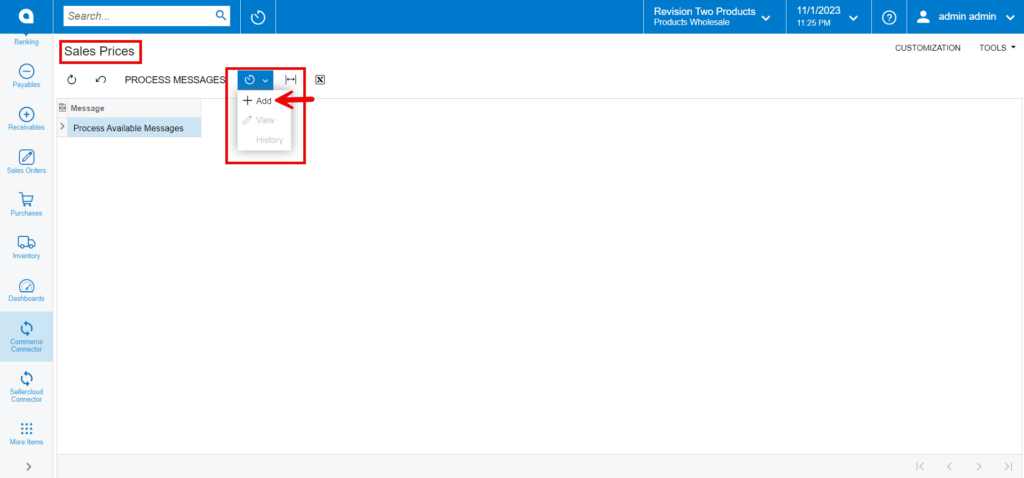
Sales Price
If the sync doesn’t work through the schedulers, you can use this option.
- Click on the [Sales price], and you will be redirected to the following screen.
The scheduler must be active. If not, you can activate it from the [Automation Schedules] pop-up.
- Click on [Add] and the following screen will appear.
- You can activate the schedulers by checking the box.
- You need to select the schedules from the [Schedule ID].
- Toggle the check box.

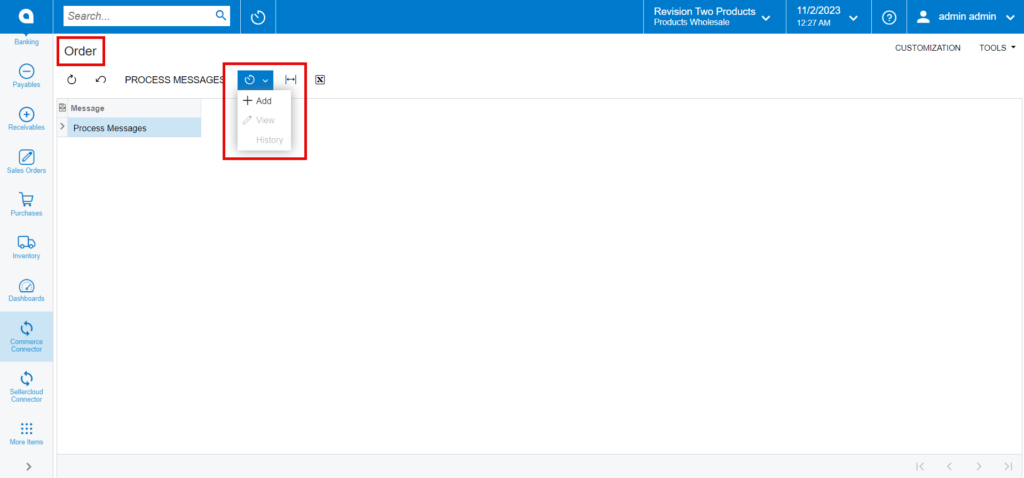
Orders
If the sync doesn’t work through the schedulers, you can use this option.
- Click on the [Orders], and you will be redirected to the following screen.
The scheduler must be active. If not, you can activate it from the [Automation Schedules] pop-up.
- Click on [Add] and the following screen will appear.
- You can activate the schedulers by checking the box.
- You need to select the schedules from the [Schedule ID].
- Toggle the check box.

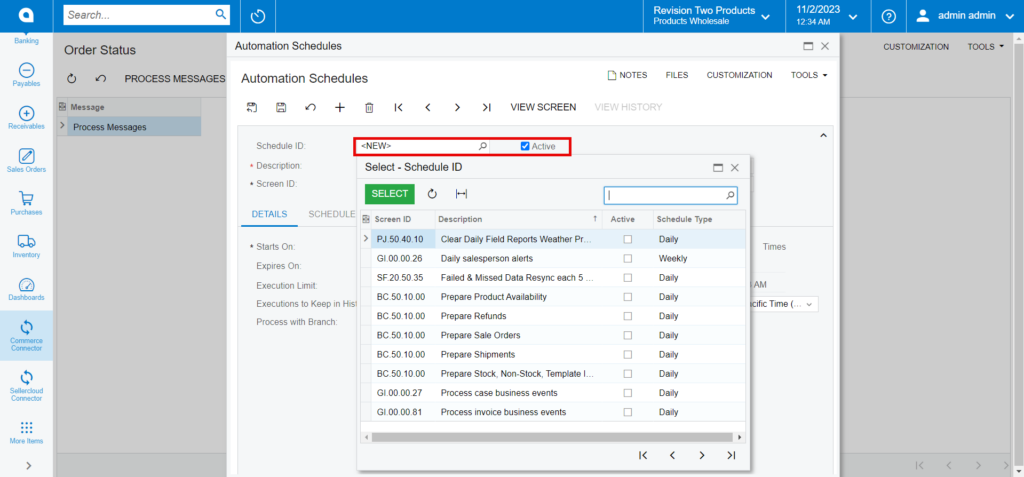
Order Status
If the sync doesn’t work through the schedulers, you need to use this option.
- Click on the [Order Status], and you will be redirected to the following screen.
The scheduler must be active. If not, you can activate it from the [Automation Schedules] pop-up.
- Click on [Add] and the following screen will appear.
- You can activate the schedulers by checking the box.

- You need to select the schedules from the [Schedule ID].
- Toggle the check box.
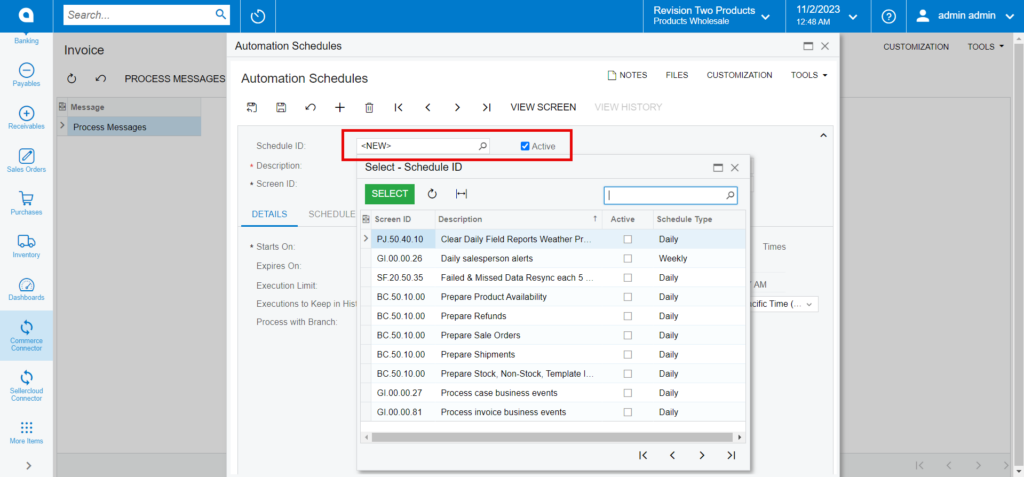
Invoice
If the sync doesn’t work through the schedulers, you can use this option.
- Click on the [Invoice], and you will be redirected to the following screen.
The scheduler must be active. If not, you can activate it from the [Automation Schedules] pop-up.
- Click on [Add] and the following screen will appear.
- You can activate the schedulers by checking the box.

- You need to select the schedules from the [Schedule ID].
- Toggle the check box.
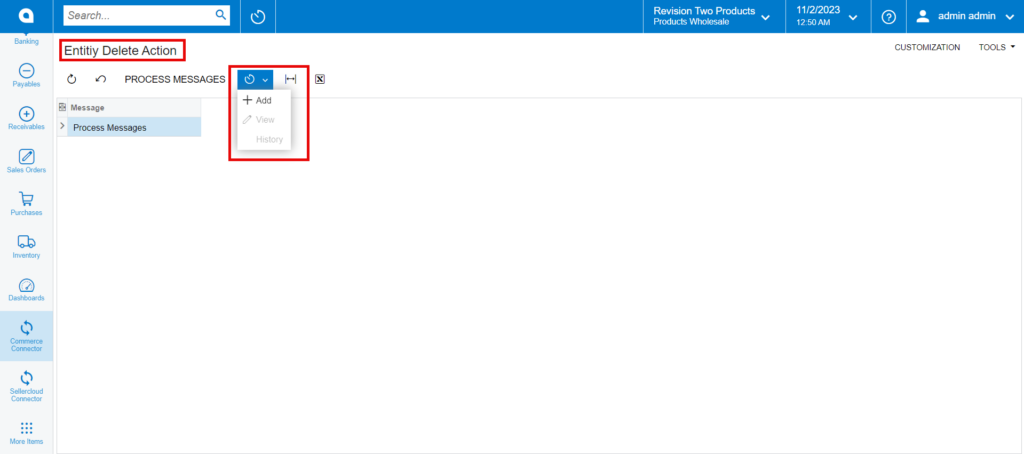
Entity Delete Action
If the sync doesn’t work through the schedulers, you can use this option.
- Click on the [Entity Delete Action], and you will be redirected to the following screen.
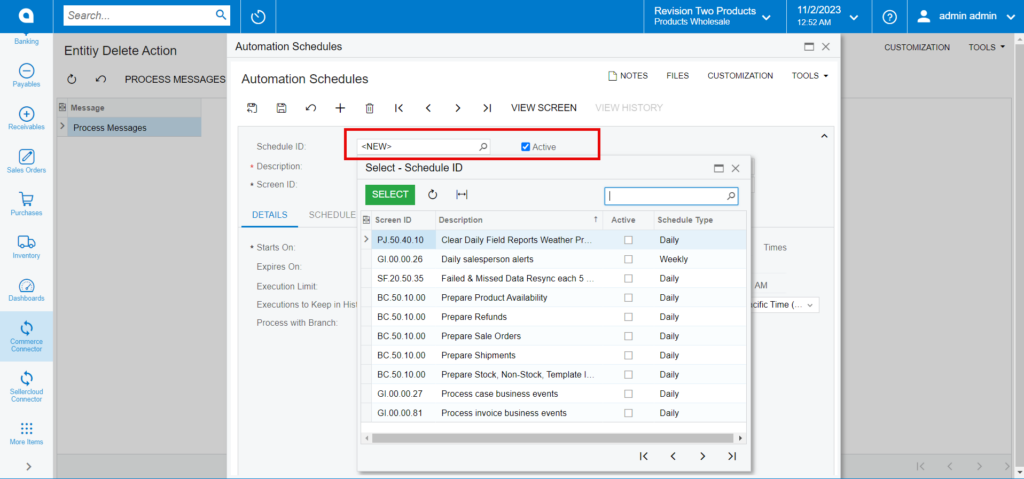
The scheduler must be active. If not, you can activate it from the [Automation Schedules] pop-up.
- Click on [Add] and the following screen will appear.
- You can activate the schedulers by checking the box.
- You need to select the schedules from the [Schedule ID].
- Toggle the check box.
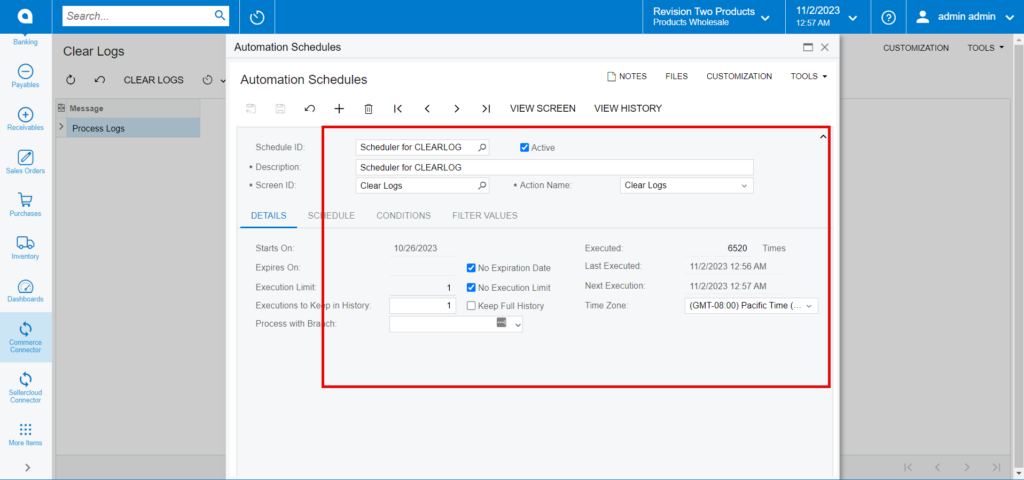
Clear Logs
If the sync doesn’t work through the schedulers, you can use this option.
- Click on the [Clear Logs], and you will be redirected to the following screen.
The scheduler must be active. If not, you can activate it from the [Automation Schedules] pop-up.
- Click on [Add] and the following screen will appear.
- You can activate the schedulers by checking the box.
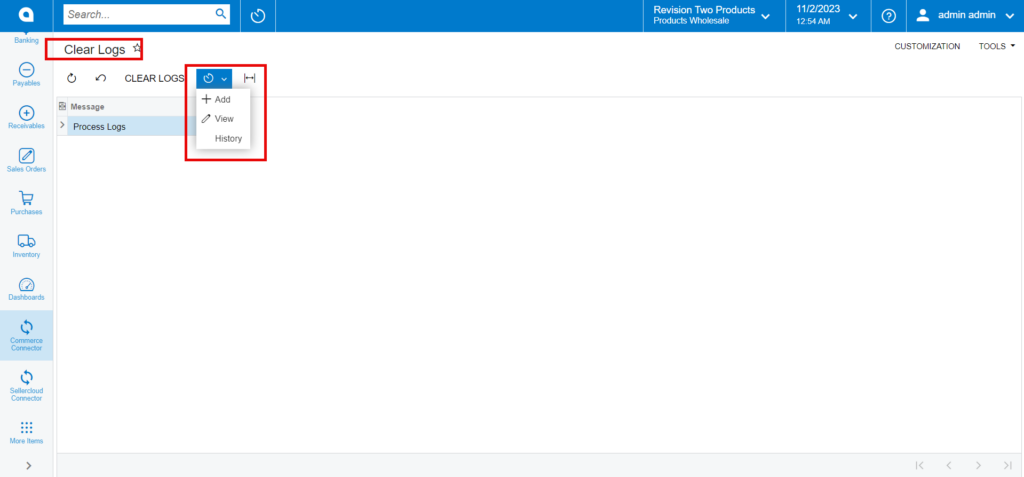
- You need to select the schedules from the [Schedule ID].
- Toggle the check box.

- By selecting [view] from the Clear Logs menu, you can see the processed schedules.