Export Shipment Carrier MappingCreating Order in SellerCloud Connector
In the SellerCloud Connector instance click on [Orders] and select [Create New Order].
In the [CUSTOMER COLUMN] Provide the below details
- First Name
- Last Name
In the [ORDER DETAILS]
- Select the Channel
- Select Channel Order id from drop-down.
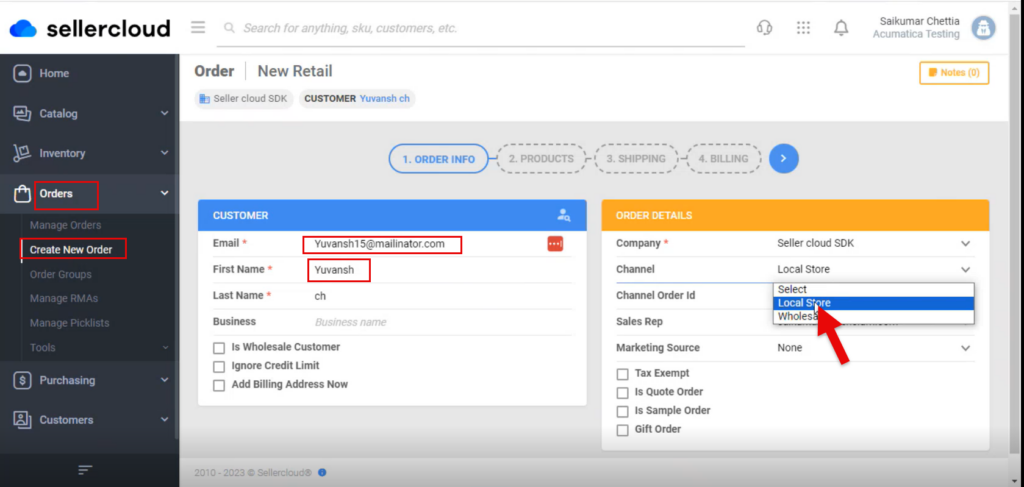
- Upon selecting all the details click on [>] icon.
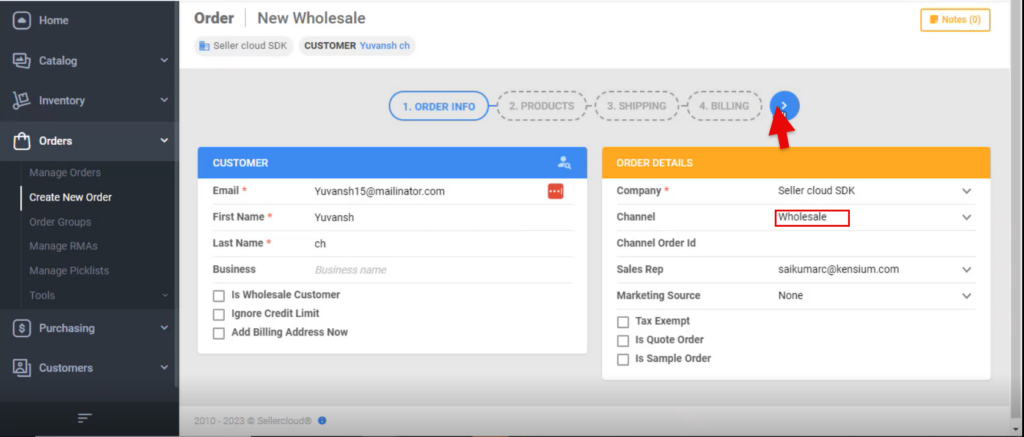
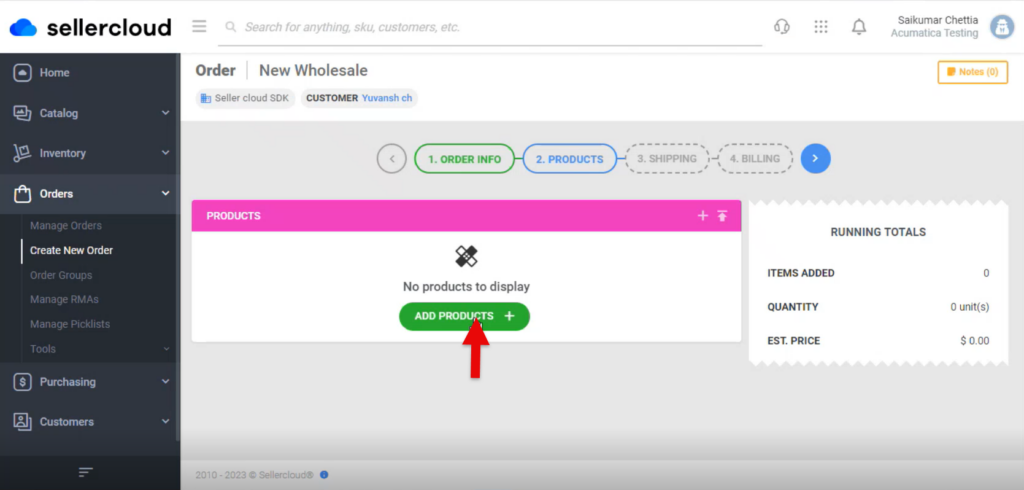
- You will be redirected to a new screen.
- Click on [ADD PRODUCTS].
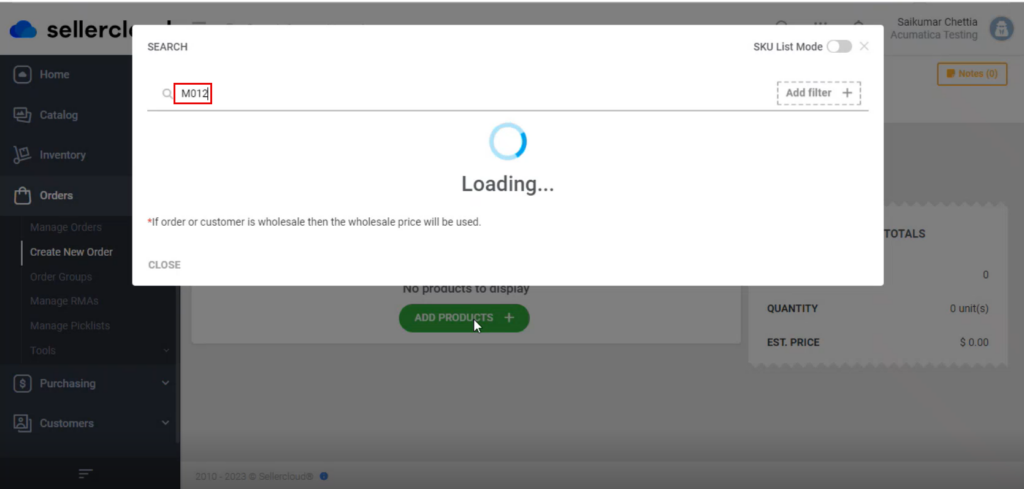
- Search for the Product.
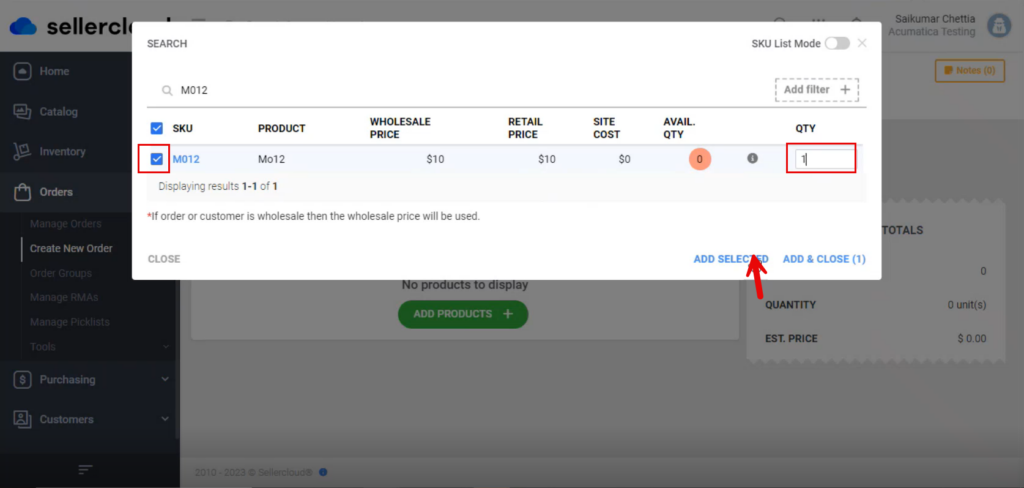
- You can see a new screen with SKU, PRODUCT, RETAIL PRICE, SITE COST, AVAIL QTY, QTY.
- Enter the [QTY].
- Click on [ADD SELECTED].
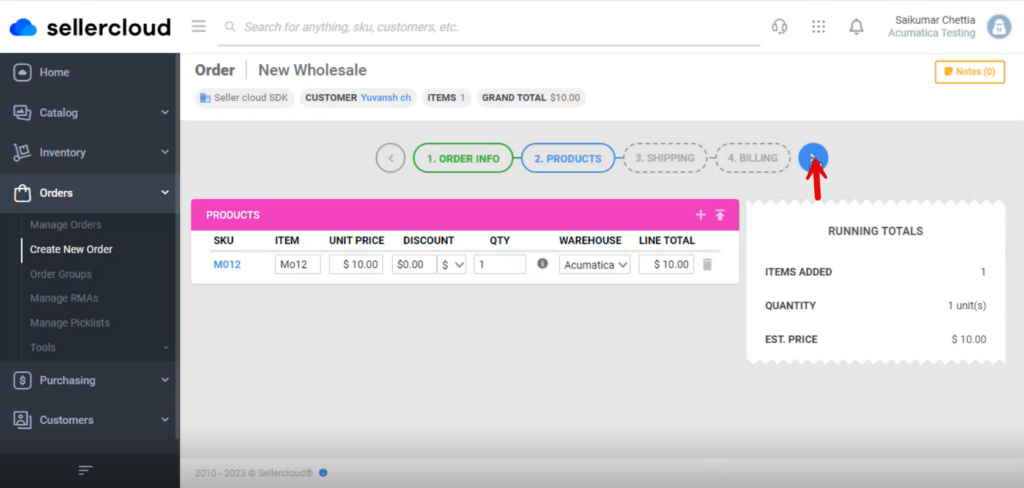
- You will be redirected to the new screen with [Running Totals] click on [>].
- You will be redirected to the new screen add the [Shipping Details].
- Carrier from the drop-down menu
- Method from the drop-down menu
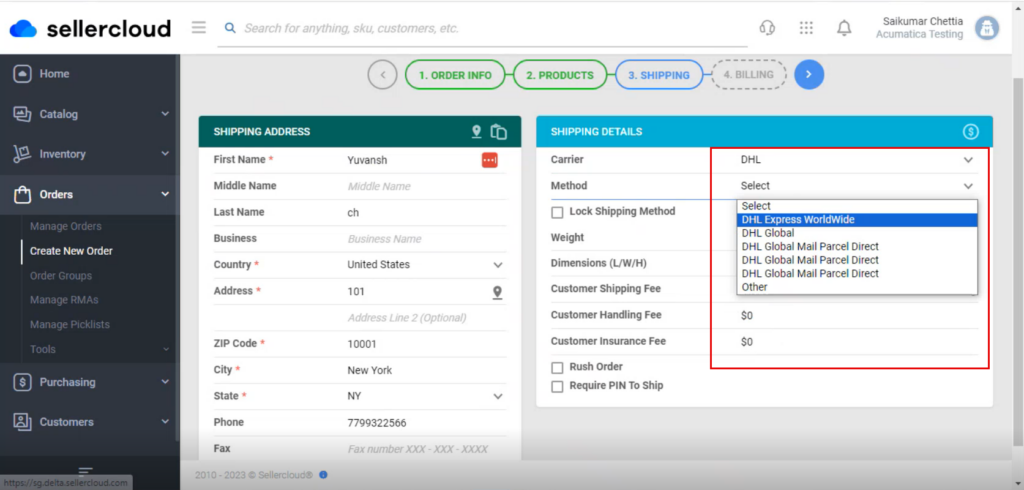
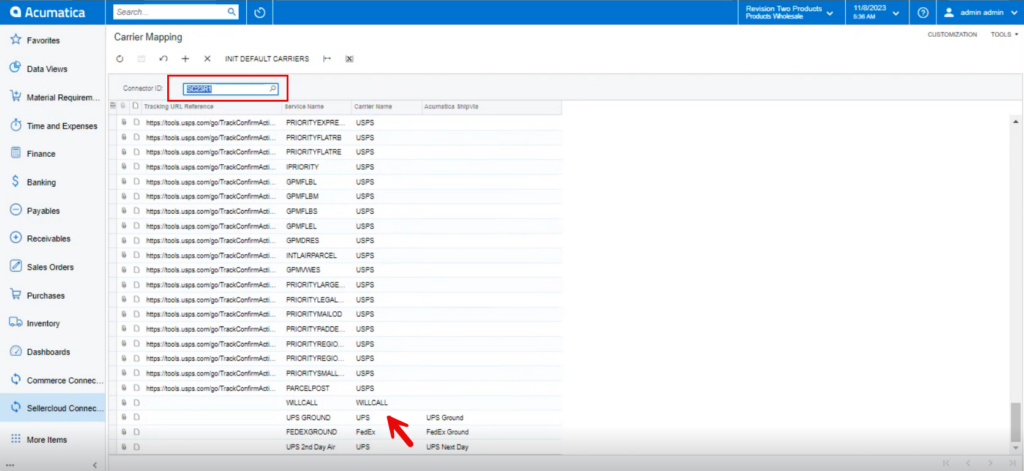
- To sync the selected Carrier and Method details must be same as the carrier mapping details in Acumatica.
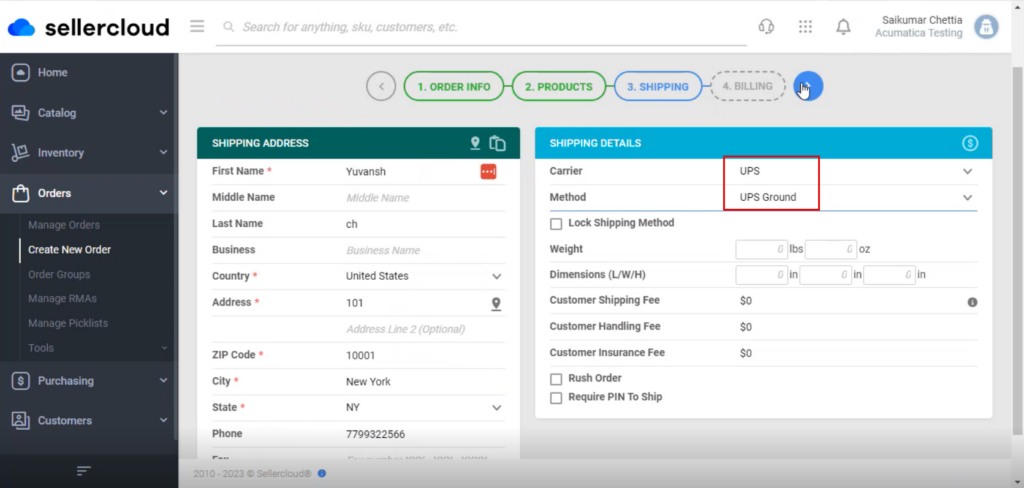
- Upon adding the details click on [>], and you will be redirected to the next screen.
- You must enable the [Same as Shipping] and click on [Flag].
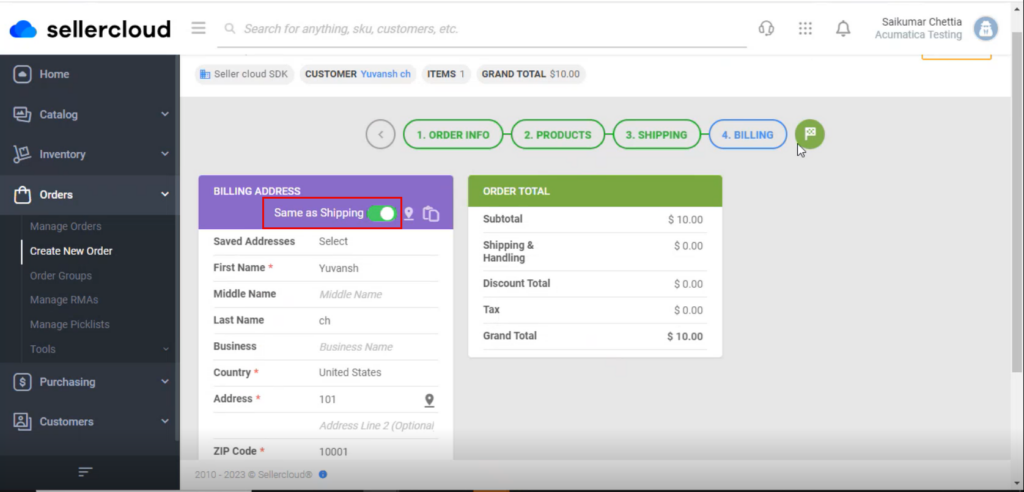
- You will be in the screen click on [PROCEED TO PAYMENT].
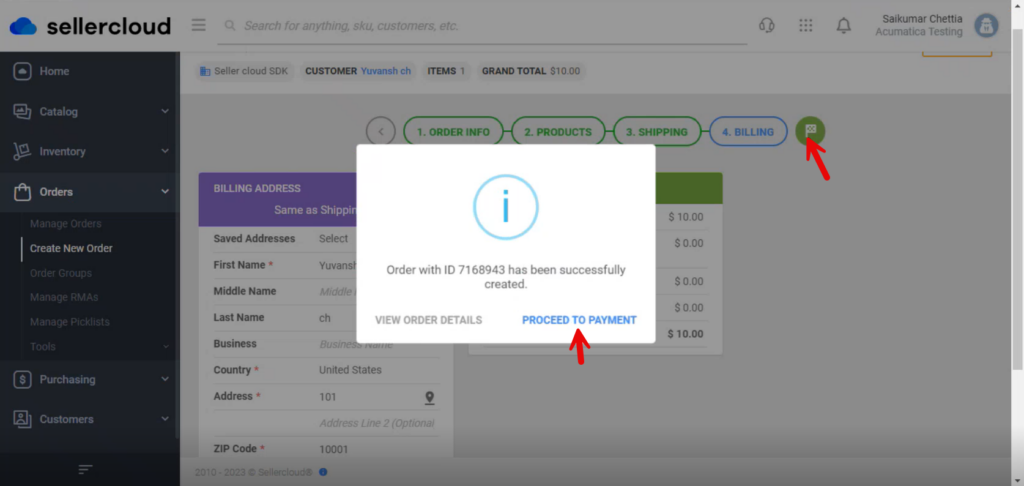
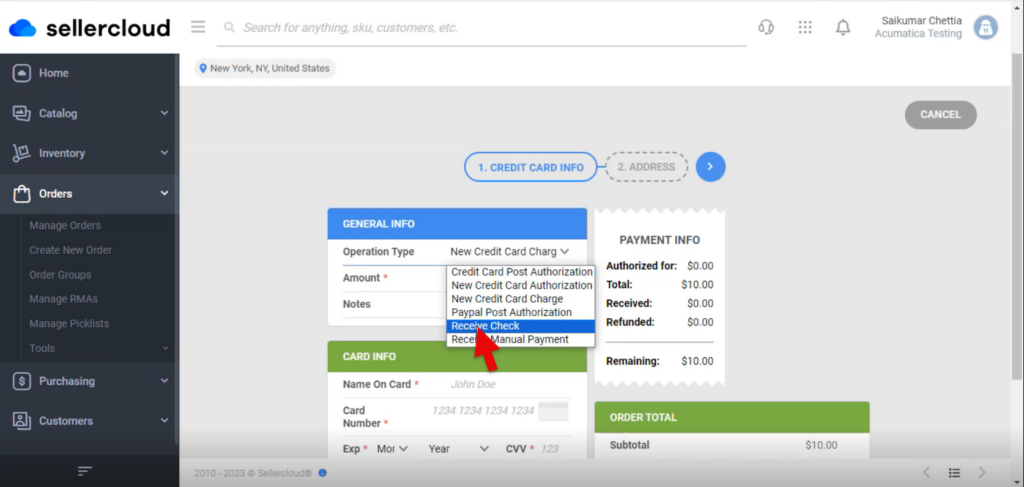
- You need to select the [Operation Type] from the drop-down menu.
- Enter the [Cheque Number] under [CHECK INFO].
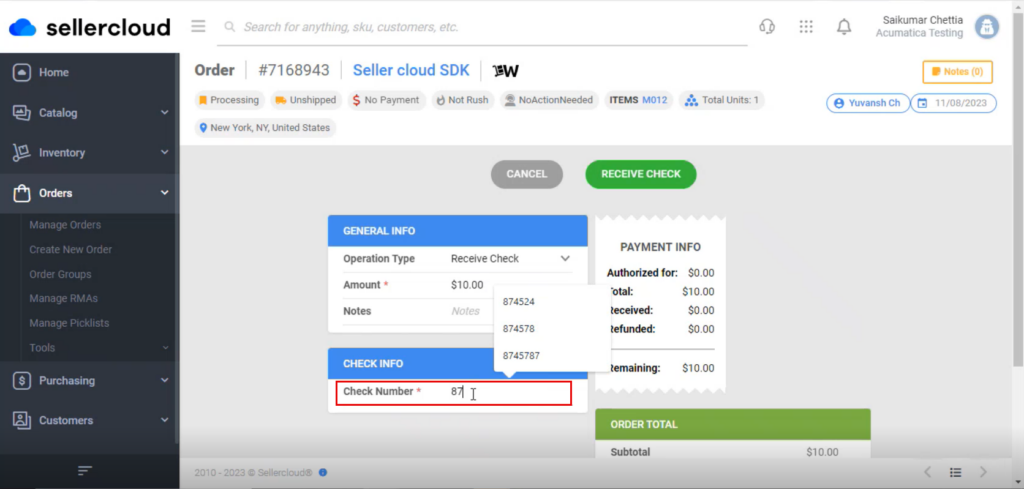
- Click on [RECEIVE CHECK].

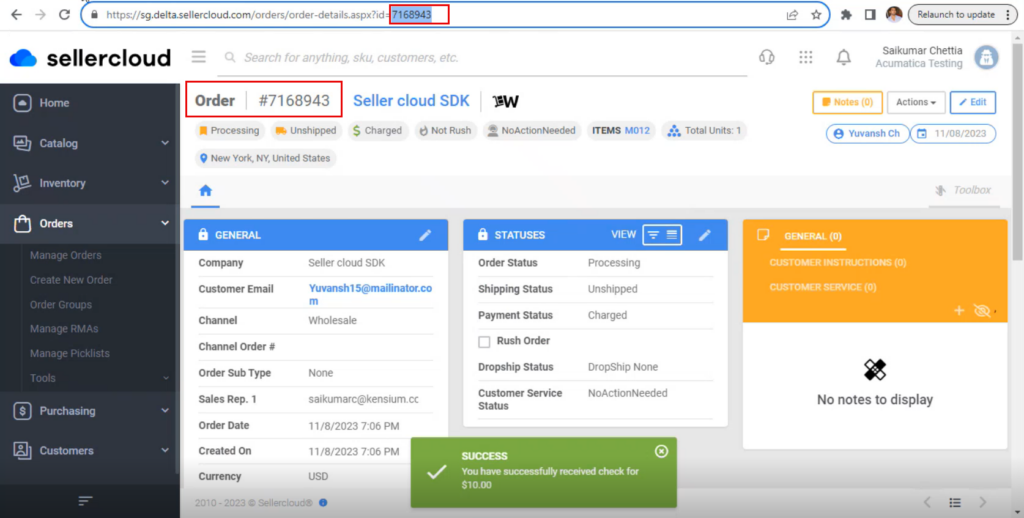
- Upon receiving the payment, the [Order Number] will get generated #7168943.
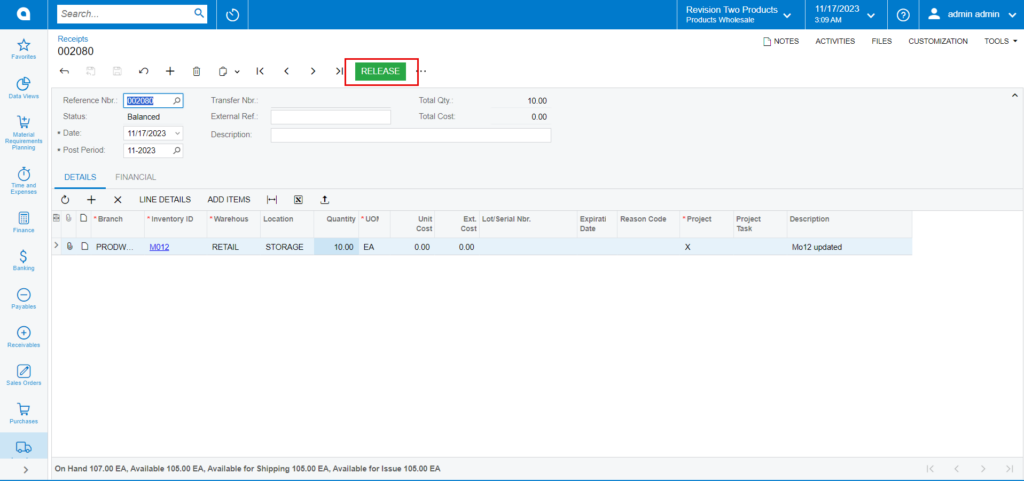
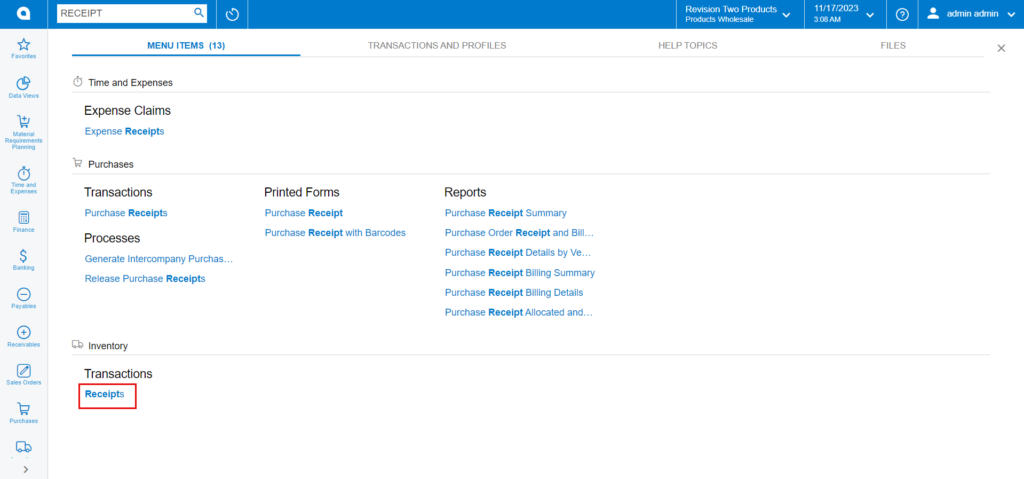
Receipts
You need to navigate to [SellerCloud Connector] in Acumatica and click on [Receipts] under [Transactions] and you will land in a new screen.
- Click on [+] icon.
- Select [Inventory ID].
- Enter the [Quantity].
- Click on [Save] and then click on [Remove].
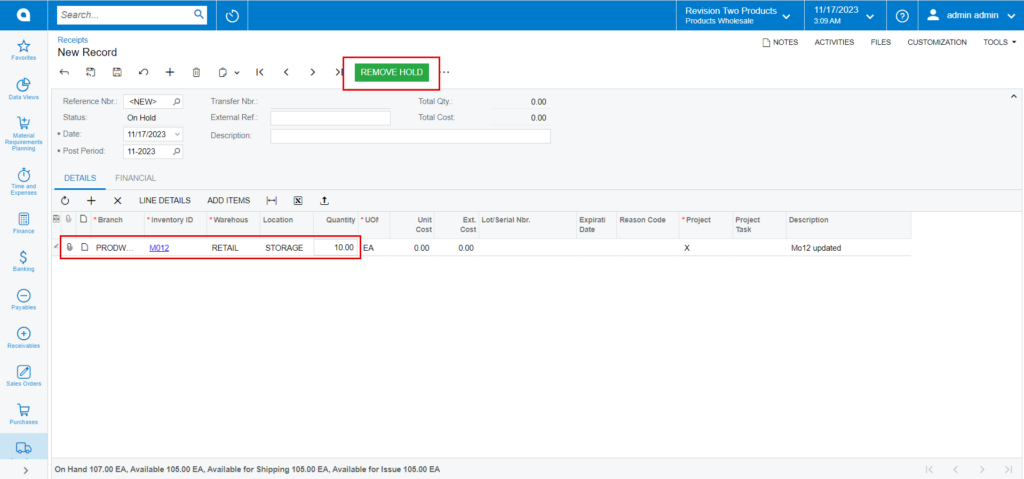
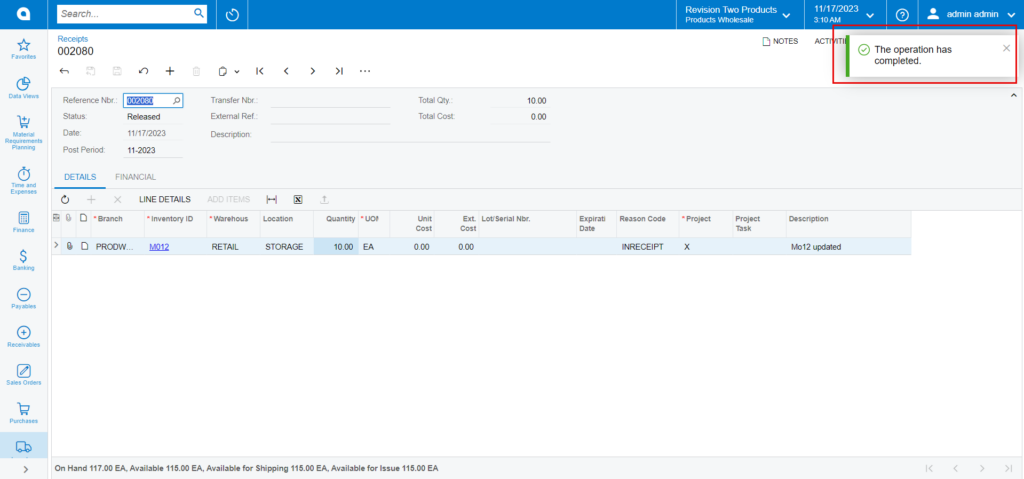
- Click on [Release] it will release the [Reference Nbr.]