Shadow Product Sync
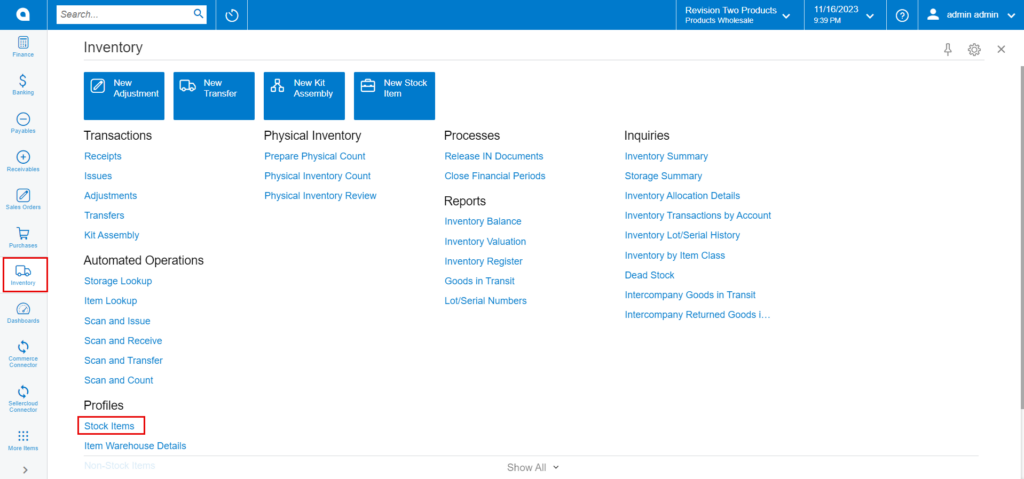
- You need to navigate to the left side panel of Acumatica and click on [Inventory] and select [Stock Items] under [Profiles].
- Click on [+] icon.
- You need to create a new [Inventory ID].
- Select the Item status from the drop-down.
You can add the [Description].
- Select the [Item class] from the existing option it should be same as product type mapping.
- Select the [Country or Origin] from the existing options.
- Click on [Kensium Commerce].
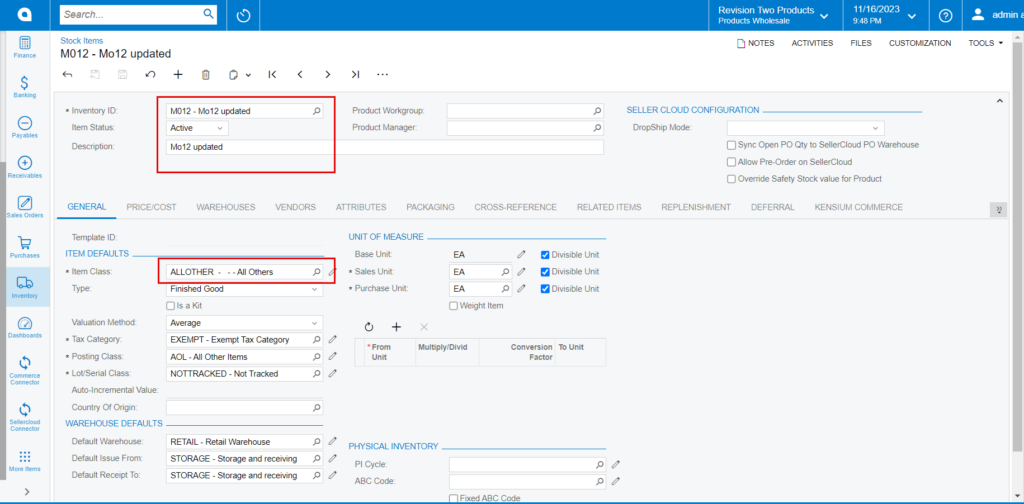

- Enter the price in [Default Price] and click on [Kensium Commerce].
- You will be redirected to a new screen.
-
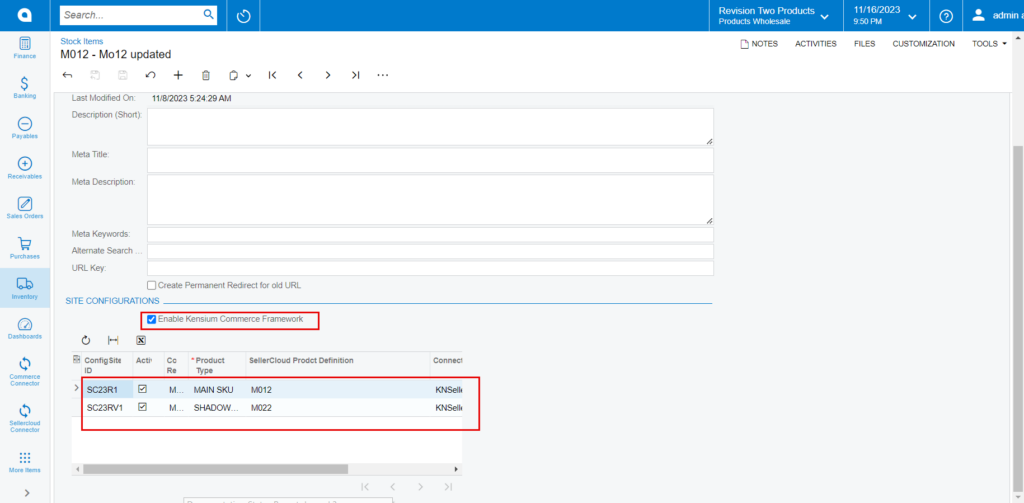
You must enable the check box for [Enable Kensium Commerce Framework] and then enable the check box for [Connector Type] and select the [product type] from the drop-down menu:
- MAIN SKU
- SHADOW SKU
- You must enable the [Active] check box and click on [Save].
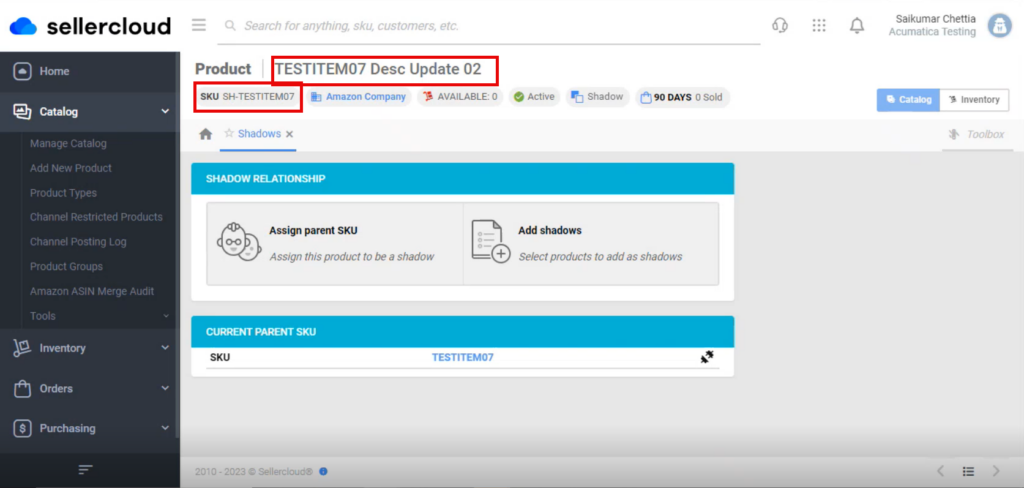
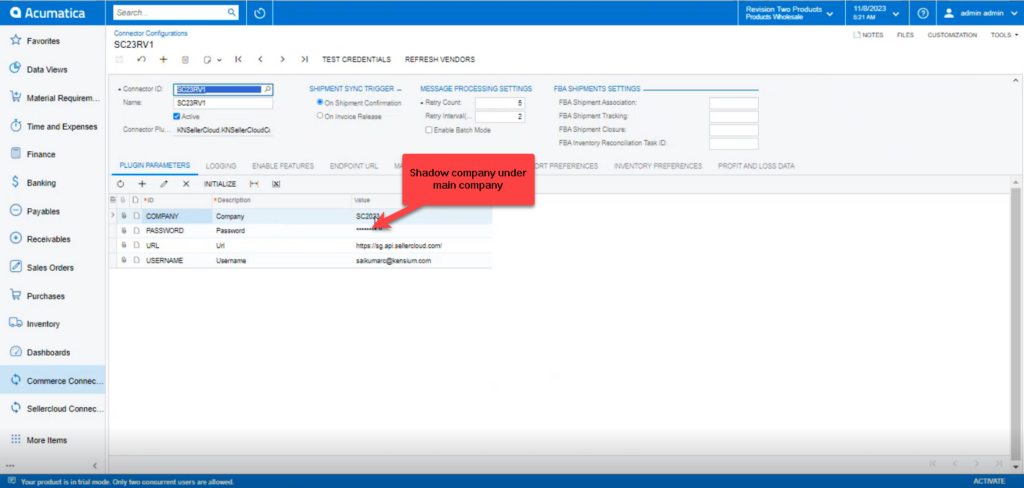
The shadow company will be Created under main company SC23R1; therefore, it will reflect under the Main company to which you have mapped its connector settings.
- If you want to view Main and shadow companies navigate to connector configurations screen.
You need to navigate to [logs] screen and check for [Shadow Sync] Sync.
- To view the Shadow Item in SellerCloud Connector follow the below screenshots.
- You need to navigate to SellerCloud Connector and search for parent item [SC23R1].
- You can see Main Company and Shadow Company.