Product Custom Column Mapping
Product custom column mapping is used to map Acumatica Attributes to SellerCloud Connector Custom columns.
If you wish to sync specific data from Acumatica to a separate custom field that you created in SellerCloud Connector, you can use this mapping option, and the data will be updated depending on the mapping.
Scenario-1 Enabling Product
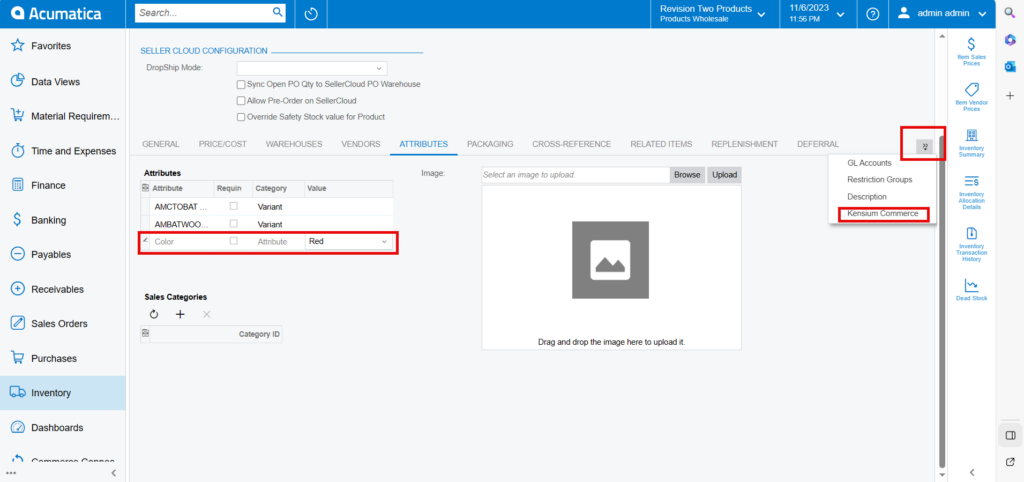
- If the attributes are not assigned to the item class, then assign the attribute to the item class follow the below steps to create Item Class.
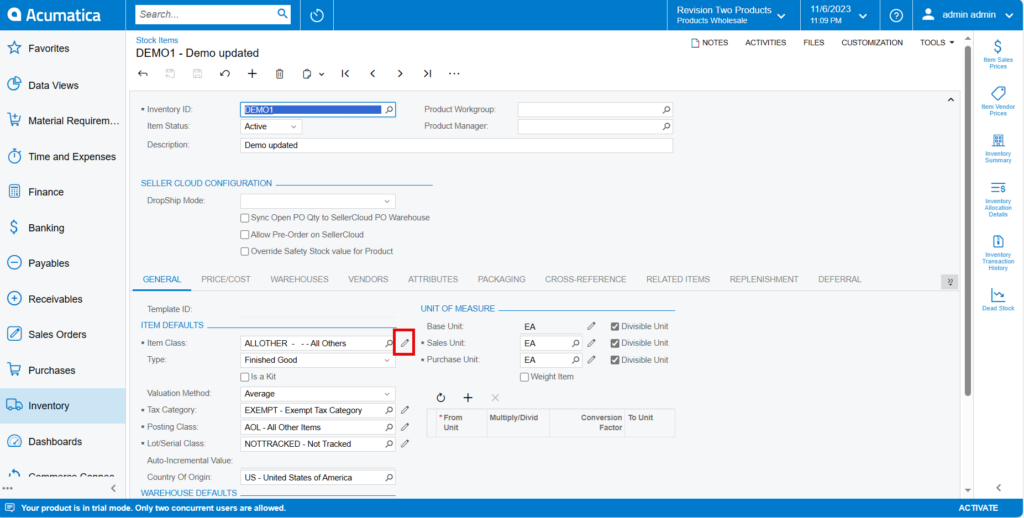
- You need to navigate to the [GENERAL] and click on the Pencil icon in the item class.
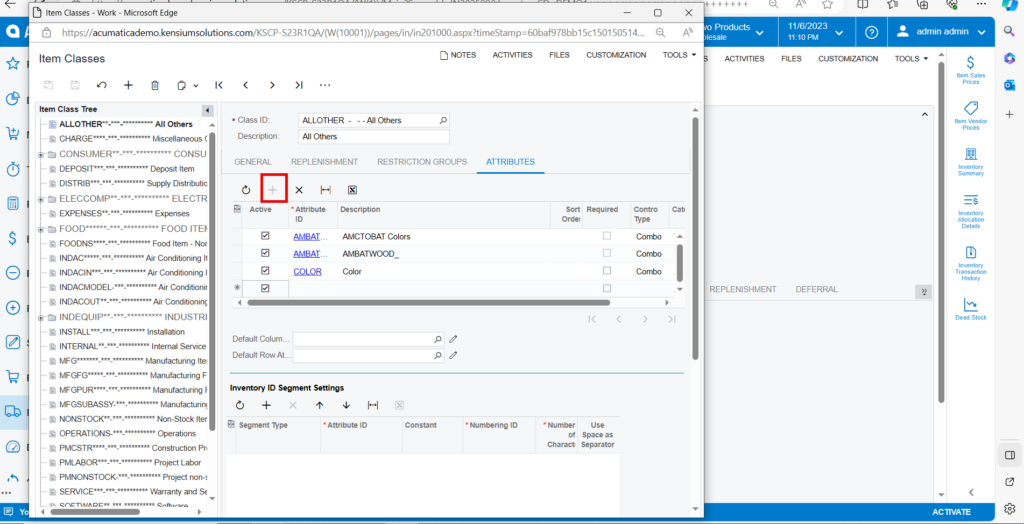
- Click on [+] icon and add the attributes and click on [Save].
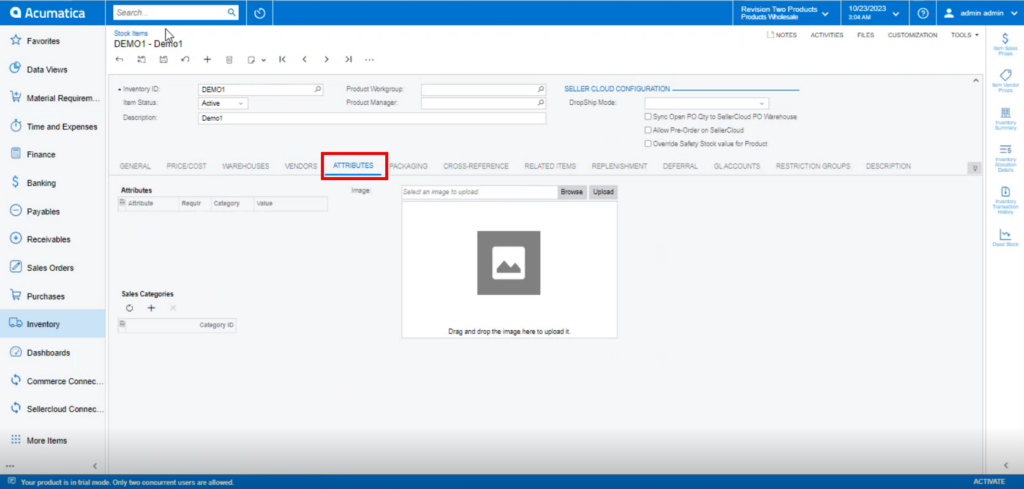
- To assign the attribute You need to [save] stock item screen.
- You can select the [Value] of the attribute from the drop-down and save the product.
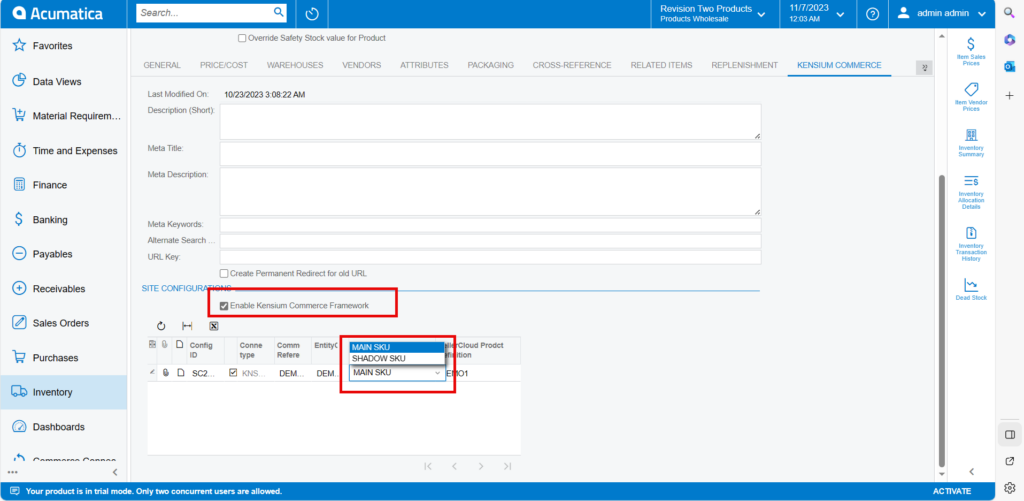
The product was not set up for SellerCloud Connector; to sync the data, you need to click on [Kensium Commerce] then a new screen will appear with connector.
- Toggle the checkbox then the [Site configuration] will display.
-
You can select the product type from the drop-down menu:
- MAIN SKU
- SHADOW SKU
- You need to click on the [Save].
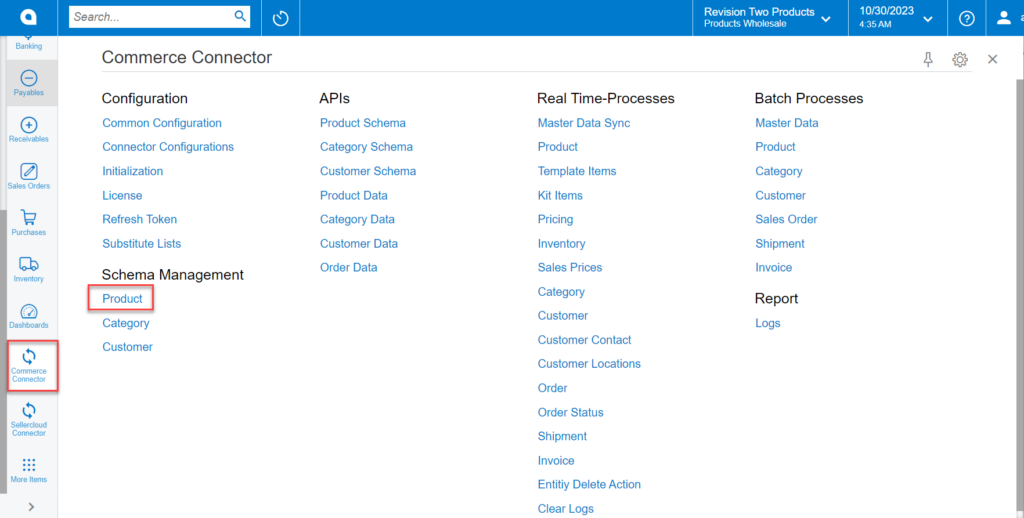
- To access product custom column mapping, you need to click on [Product custom column Mapping] under [Configurations]. Then you will be redirected to a new page.
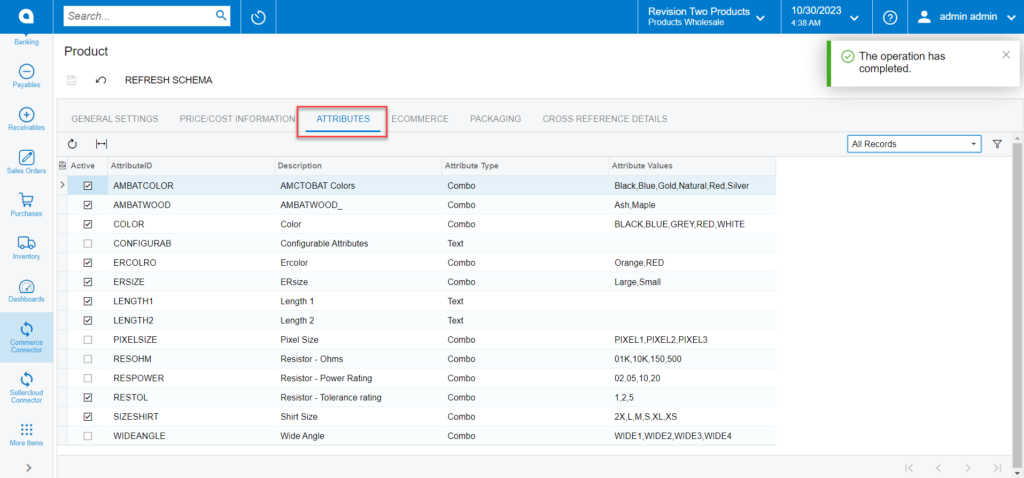
- This relates to the mapping of attributes.
- You must search for the [connector ID].
- Click on [Initialize columns], then a pop-up will appear, where you need to enter [Product ID] to fetch the custom column mapping.
- You need to enter [Ref SKU for Product C], this should match with SellerCloud Connector.
- This allows you to Fetch the customized column mapping.
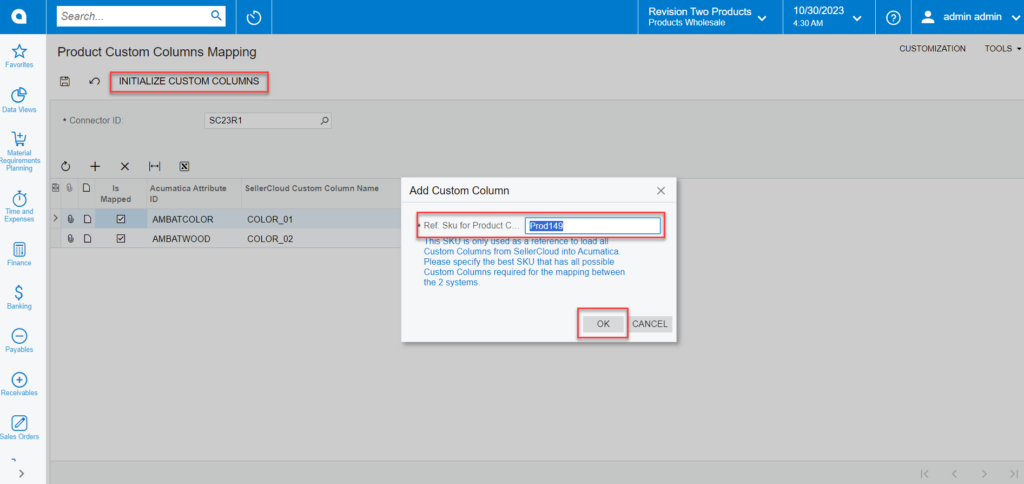
- Click on [OK].
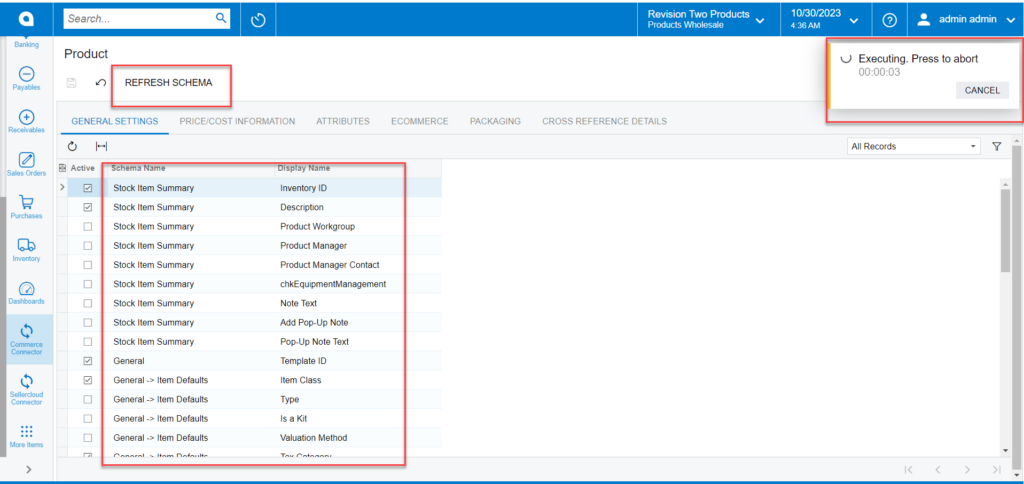
To make properties visible in a custom column. The attribute needs to be enabled by schema management.
- Upon Refreshing the Schema, you will be able to view option and feature.
- You can view the connected connector in the [logs] under [Reports].
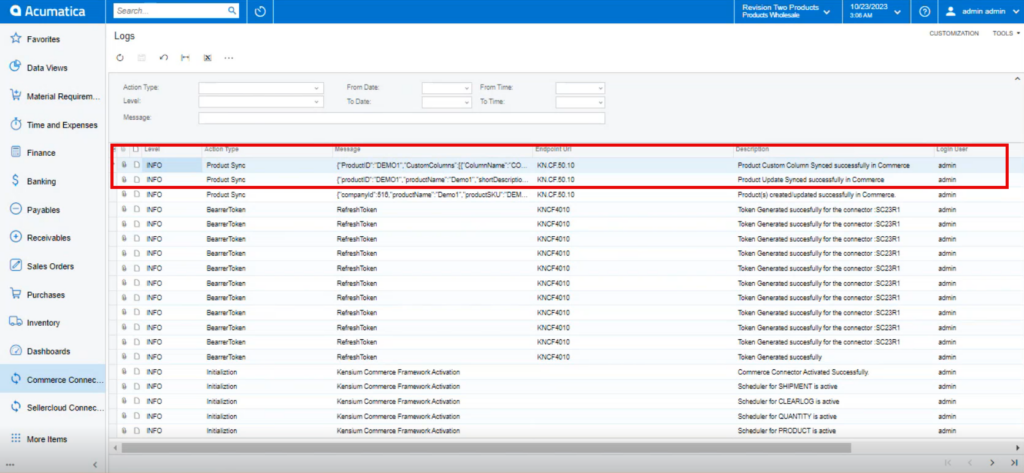
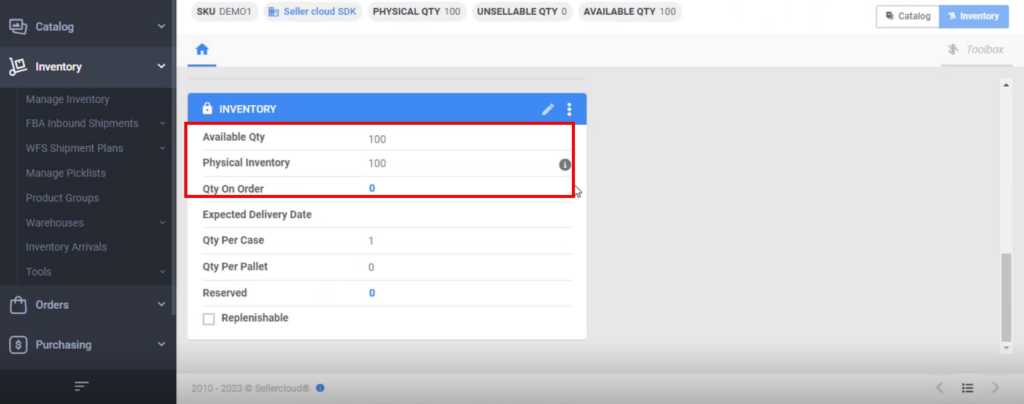
- The DEMO1 is pushed or synced into SellerCloud Connector.
- To view the DEMO1 in SellerCloud Connector follow the below screenshots.
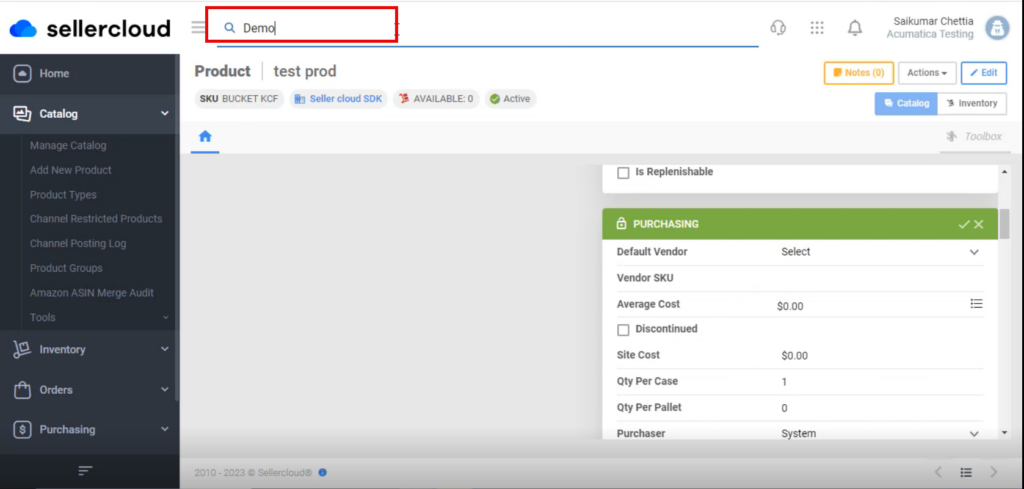
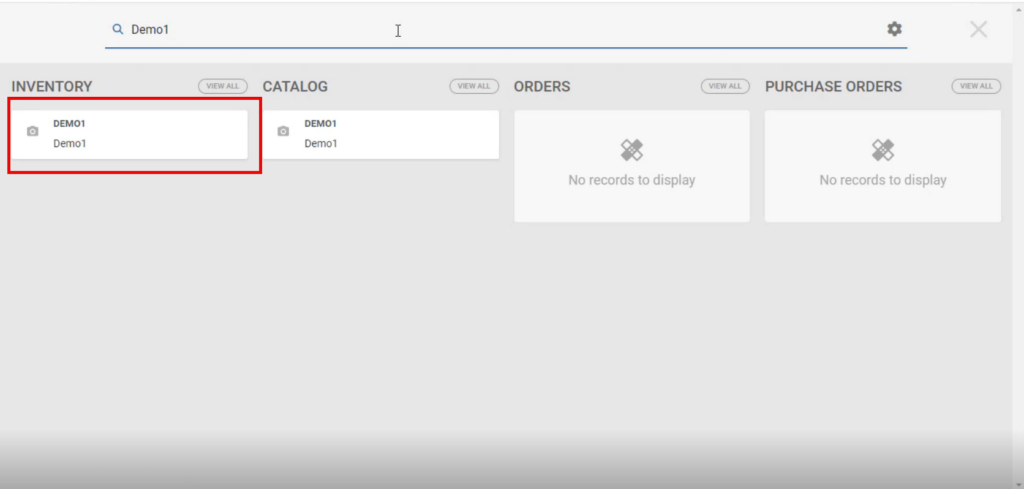
- The chosen company name, attribute, and type, along with the configured Connector ID, will sync to the SellerCloud Connector.


Scenario-2 Enabling Kit Specification
Inventory
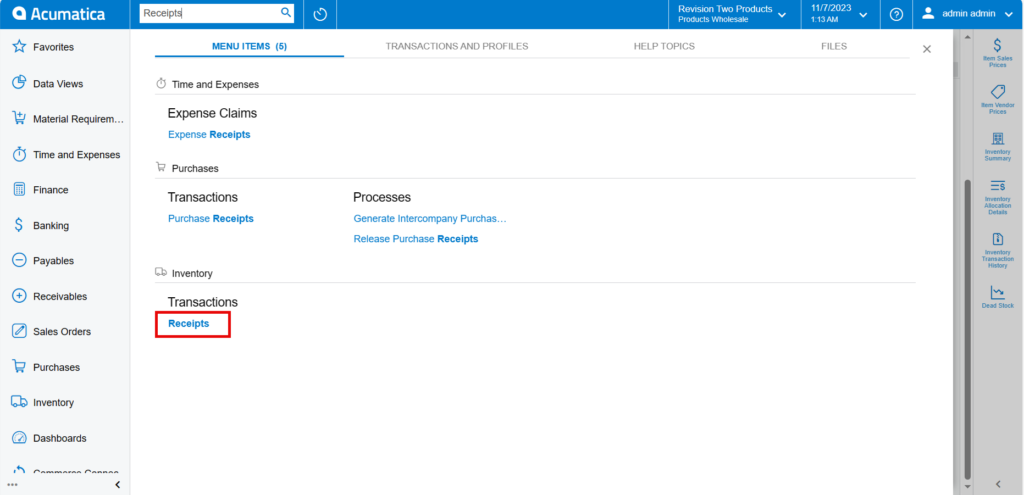
The Quantity must be added, you need to search for [Receipts] in the Global search bar.
- Click on the [Receipts] under transactions.
- You will be redirected to a new screen with all the generated receipt, click on [+] icon.

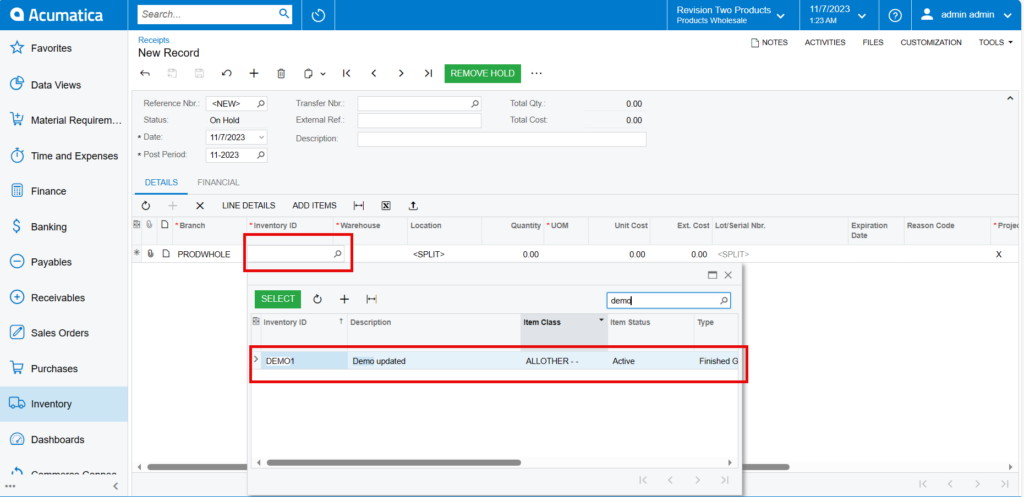
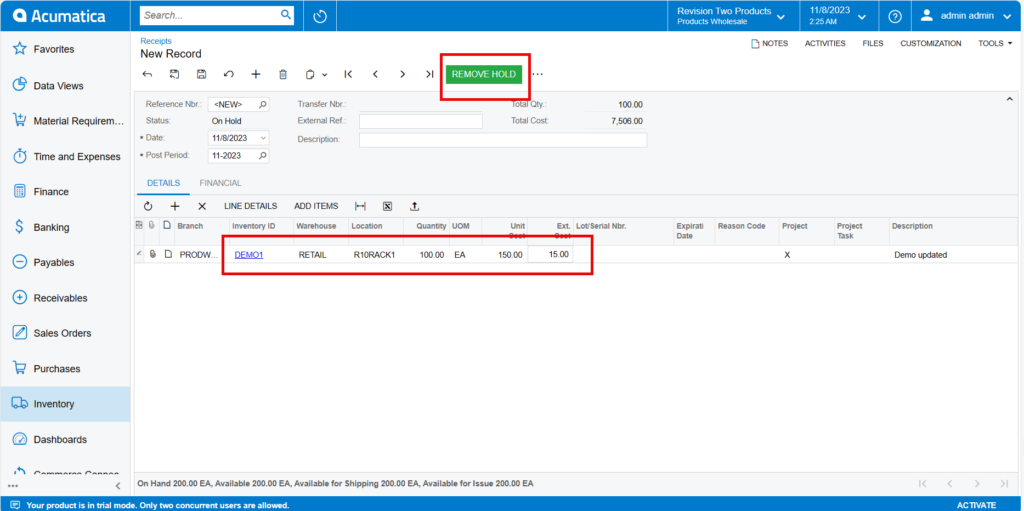
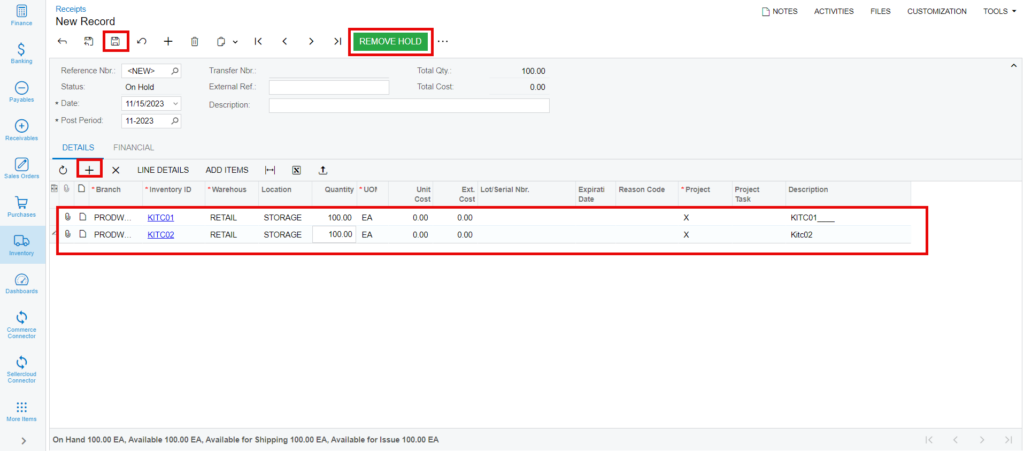
- You will be redirected to a new screen, click on the [+] icon and search for the existing [Inventory ID].
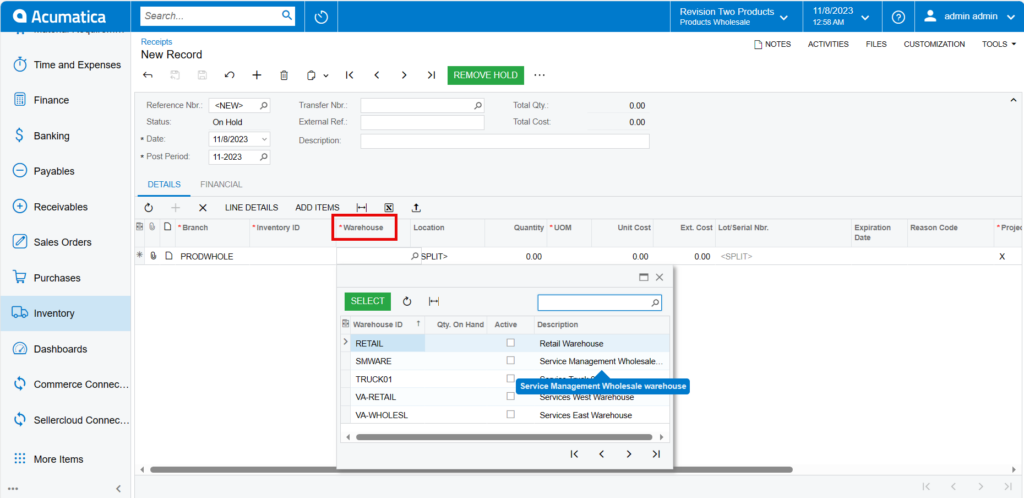
- Search You need to search for the [warehouse] and [Location].
- You need to enter the [Quantity], [Unit Cost], [Ext Cost] and click on [REMOVE HOLD].
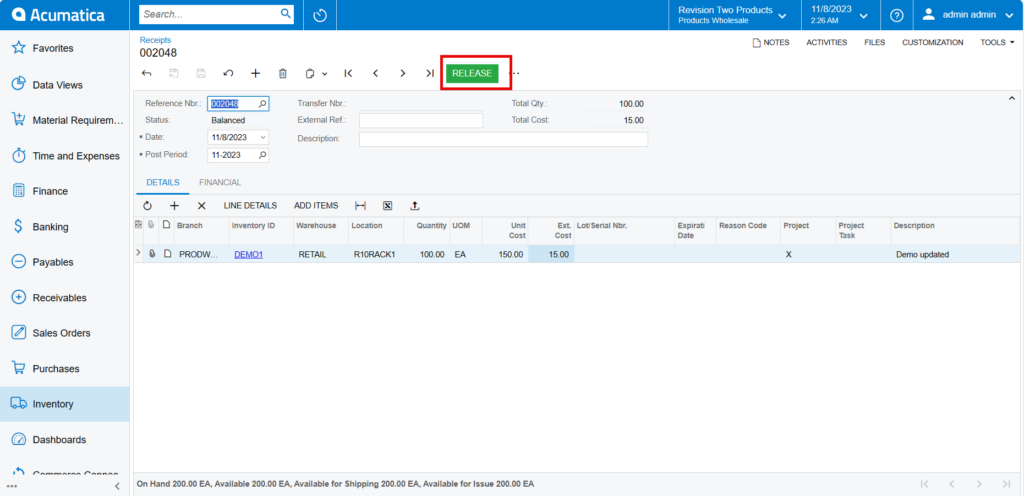
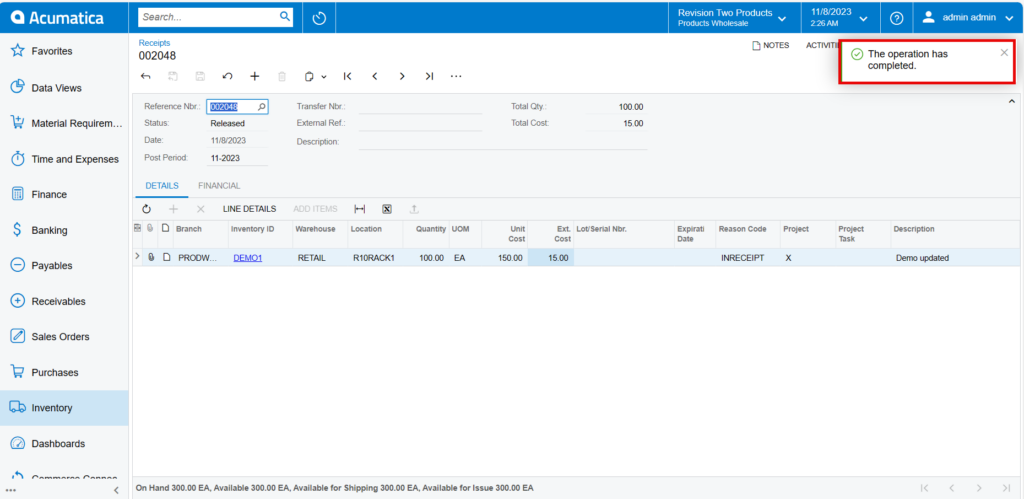
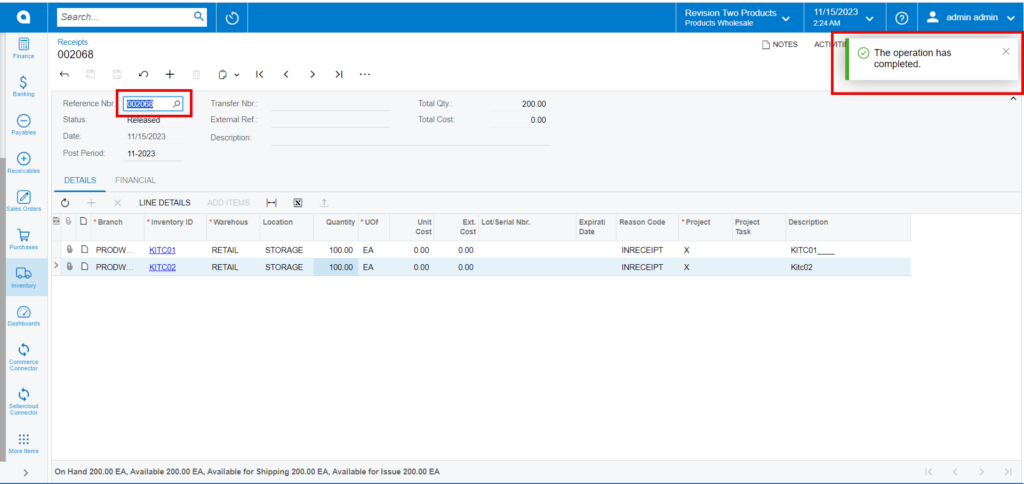
- Click on [Release Hold] and you will get a pop-up that [The operation has completed].
- You can view the connected connector in the [logs] under [Reports].
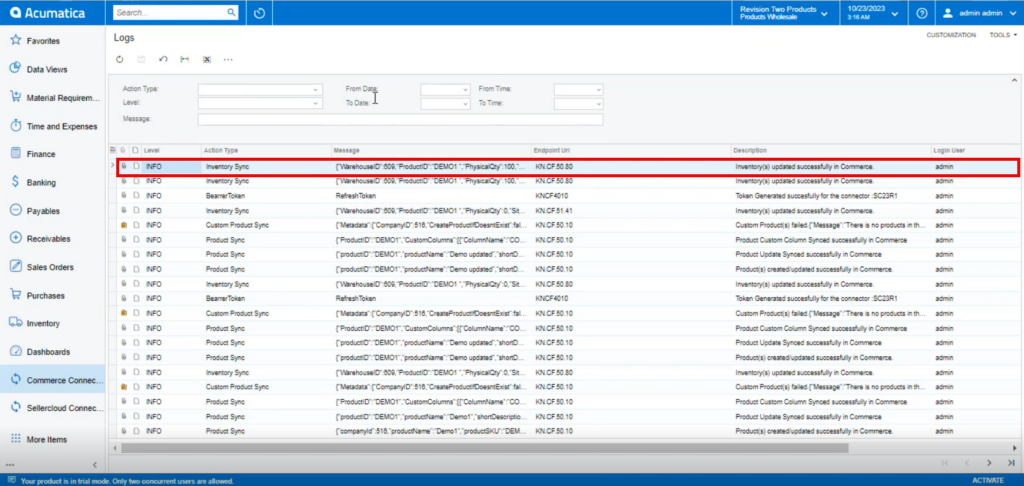
- The Inventory is pushed or synced into SellerCloud Connector.
- You can view inventory in SellerCloud Connector.
- You will be redirected to a new screen.

-
You must enable the check box for [Enable Kensium Commerce Framework] and then enable the check box for [Connector Type] and select the [product type] from the drop-down menu:
- MAIN SKU
- SHADOW SKU
- Click on [Save].
- Similarly, you need to add [Default price] for the remaining child’s items and map with Kensium Commerce.
- You need to navigate to the [Inventory] and click [Receipts] under [Transactions].
- Click on [+] icon.

- Click on [+] icon under [Details] and search for the created child items in [Inventory ID].
- Enter the [Quantity].
- Click on [Save].
- Click on [Remove Hold].
- Upon on clicking [Remove Hold] the [Reference Nbr.] will appear.
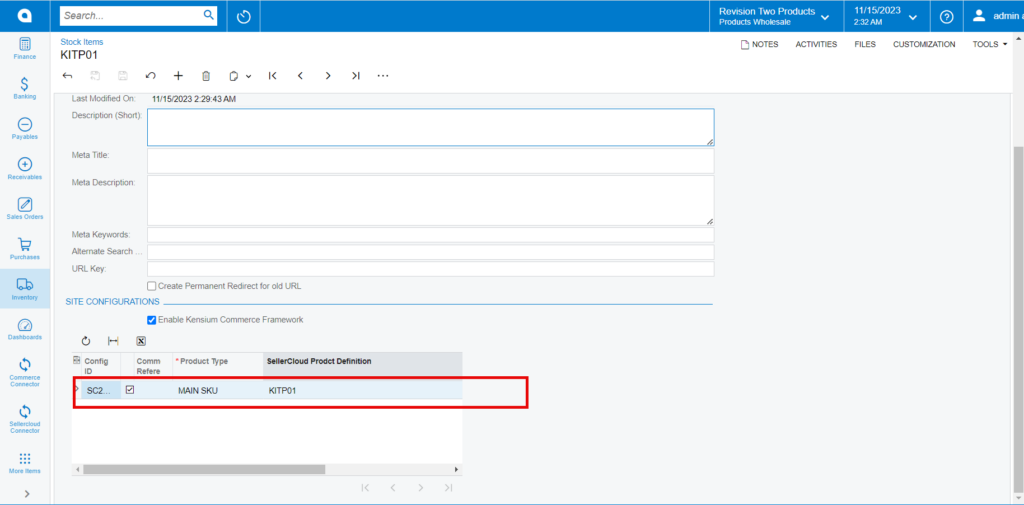
- You need to navigate to [Stock item] and enable the parent item to [Kensium Commerce].
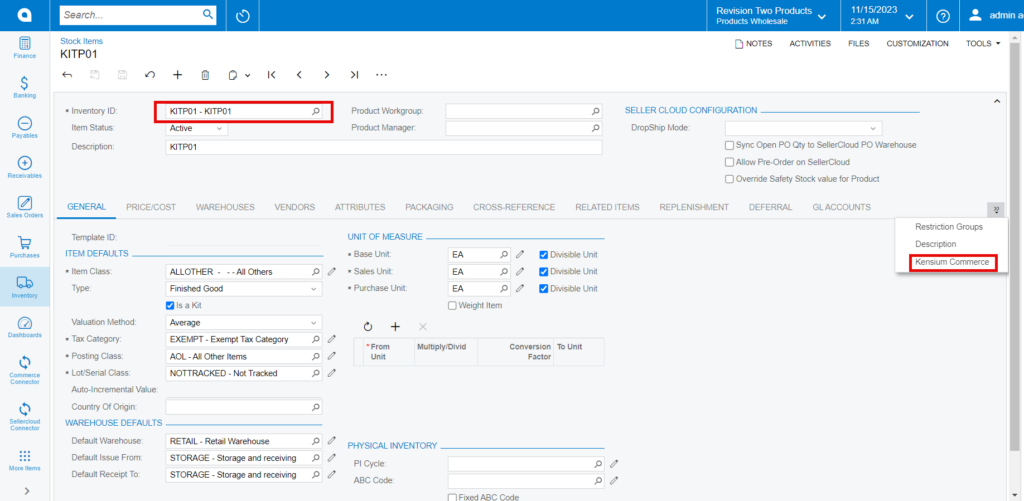
-
You must enable the check box for [Enable Kensium Commerce Framework] and then enable the check box for [Connector Type] and select the [product type] from the drop-down menu:
- MAIN SKU
- SHADOW SKU
- You must enable the [Active] check box and click on [Save].
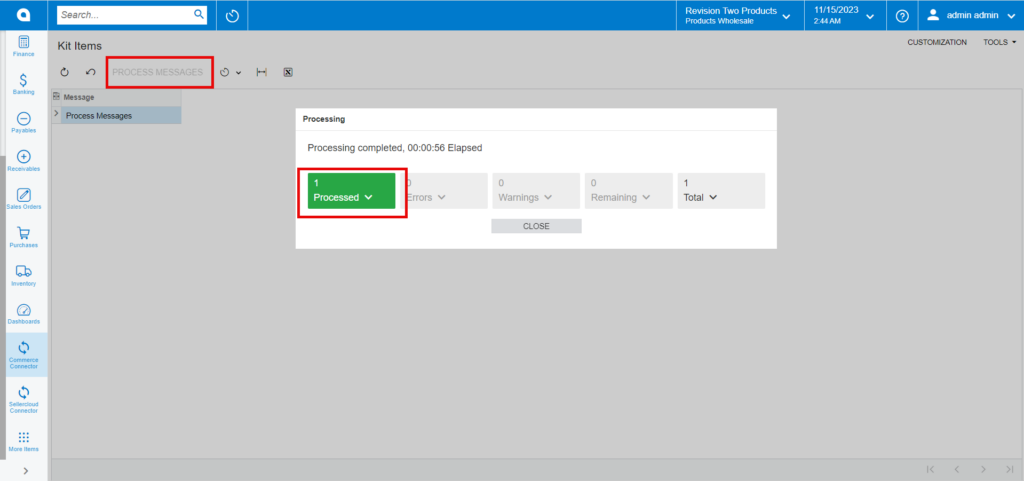
- To activate the connector, navigate to Commerce Connector and click on [Kit Items], then a new will appear click on [Process Message] then a successful message will pop-up on the screen.

You need to navigate to [logs] screen and check for [Kit Item] Sync.
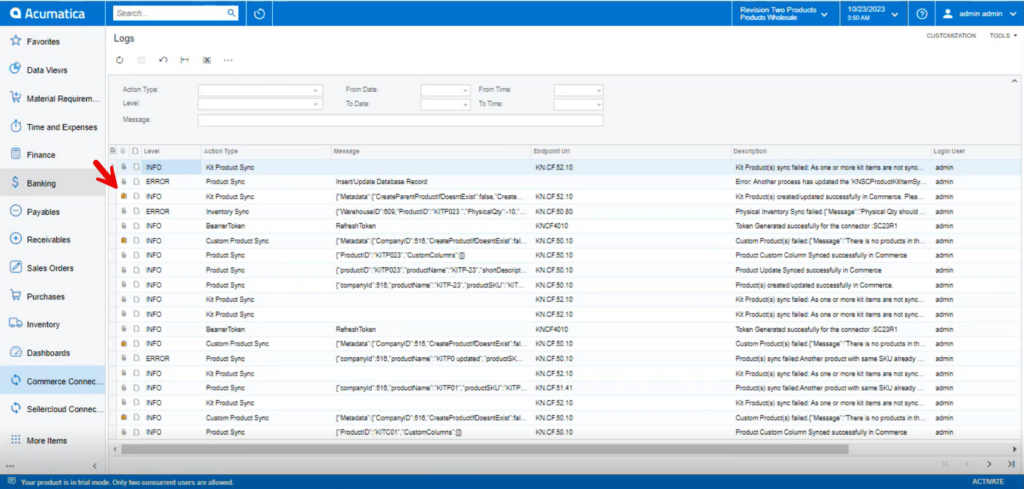
- Click on the INFO of Kit Product Sync a new screen will pop-up with the child items.

- Click on populated file you will be redirected to a new screen with Parent and child items.

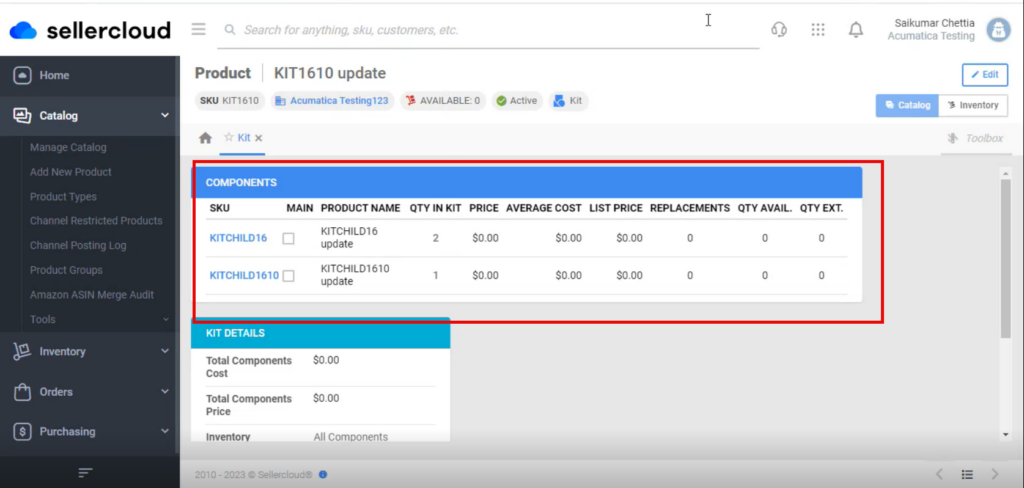
- To view the Child items in SellerCloud Connector follow the below screenshots.
- You need to navigate to SellerCloud Connector and search for parent item [KITP-23].
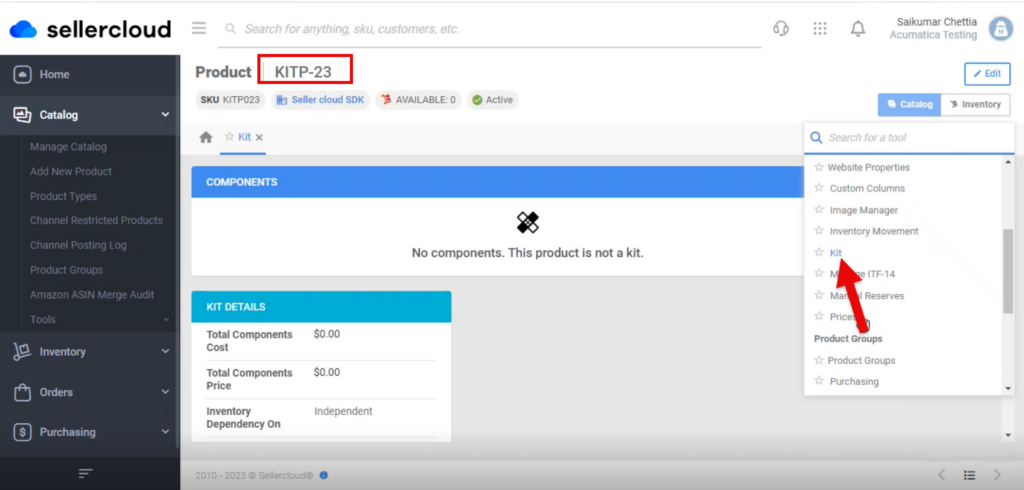
- Search for kit in [Catalog] and click on [Kit] a new screen will appear where you can see parent with child items.