


Vendor Sync
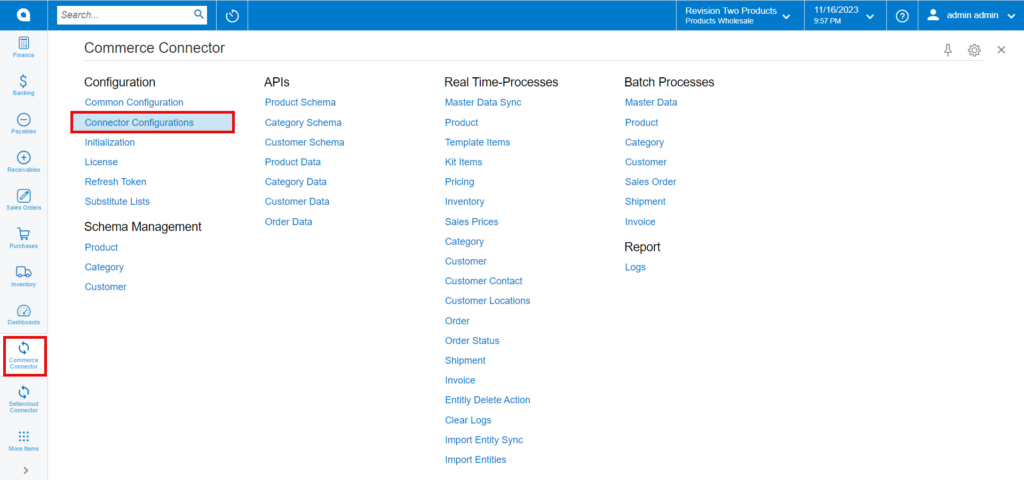
You need to navigate to the left side panel of Acumatica and click on [CommercePro] and select [Connector Configurations] under [Configuration].
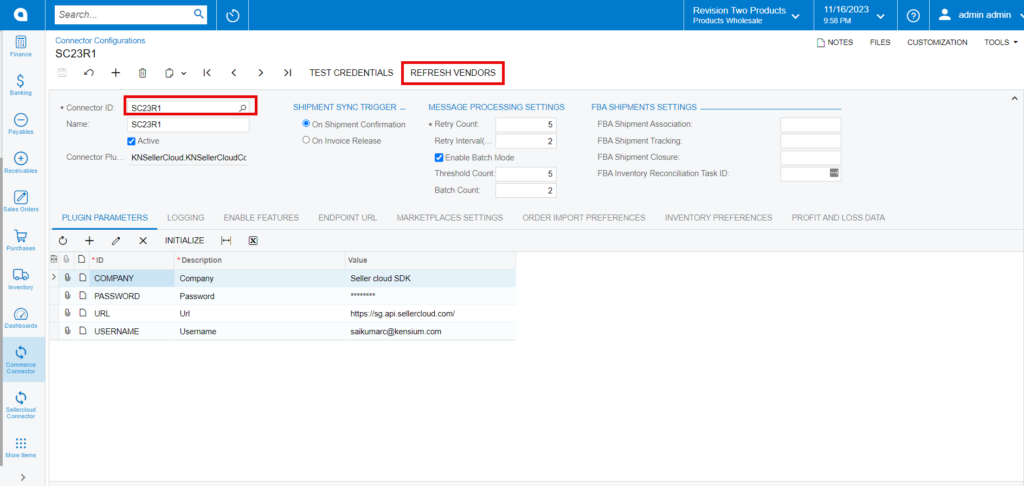
- You need to search for the [Connector ID] and click on [REFRESH VENDORS].
- When we click on this or Refresh vendors, the vendors that are listed here under the company in SellerCloud Connector will be retrieved into Acumatica.
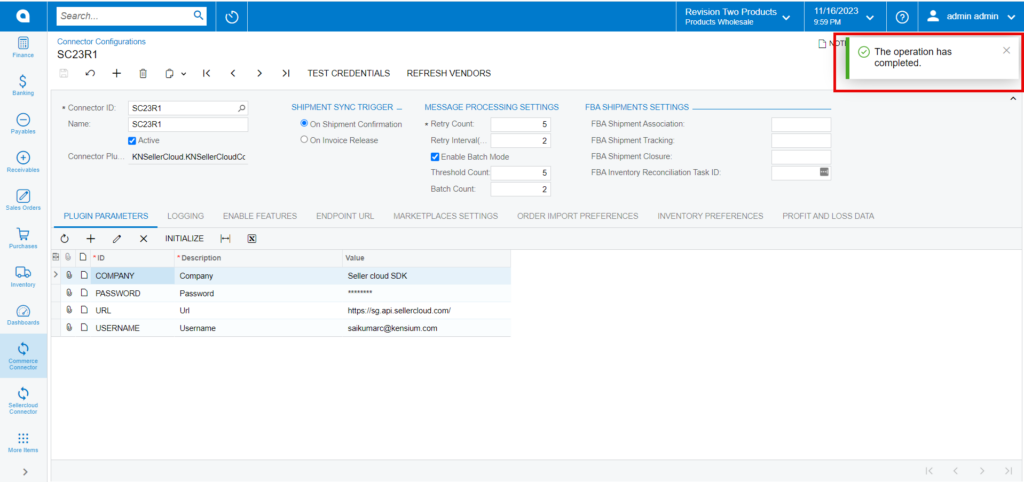
A [pop-up] on the screen that [The Operation has Completed].
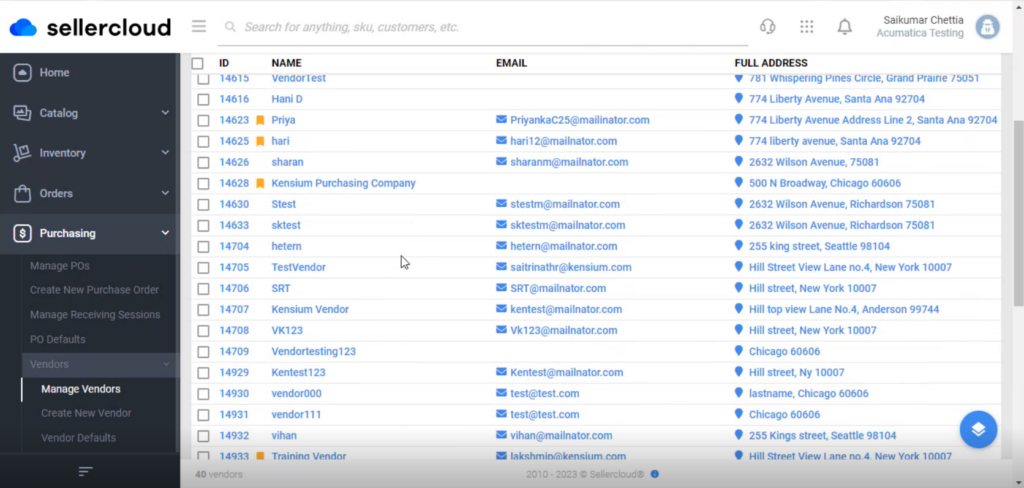
- To view the Shadow Item in SellerCloud Connector follow the below screenshots.
- You need to navigate to SellerCloud Connector and search for parent item [Vendors].
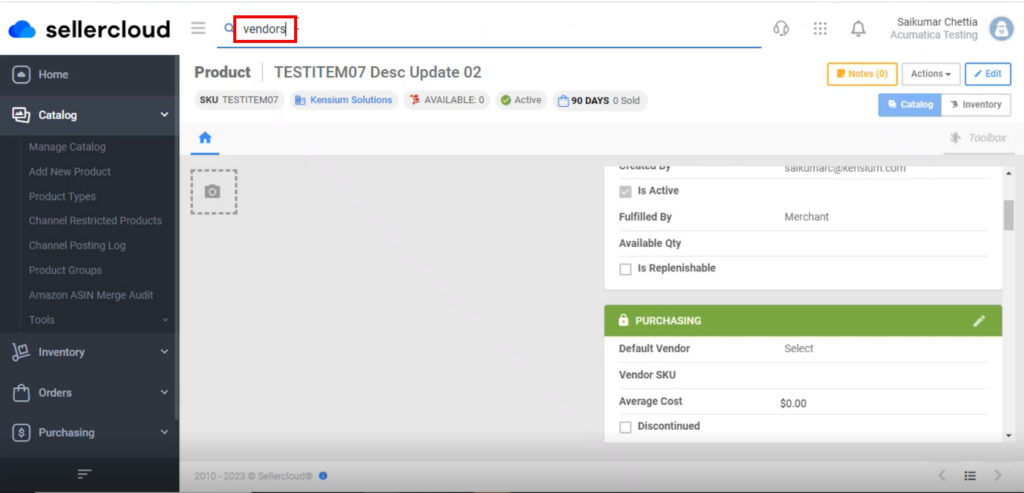
- You can view the vendor list.
Mapping SellerCloud Connector Vendor to Acumatica
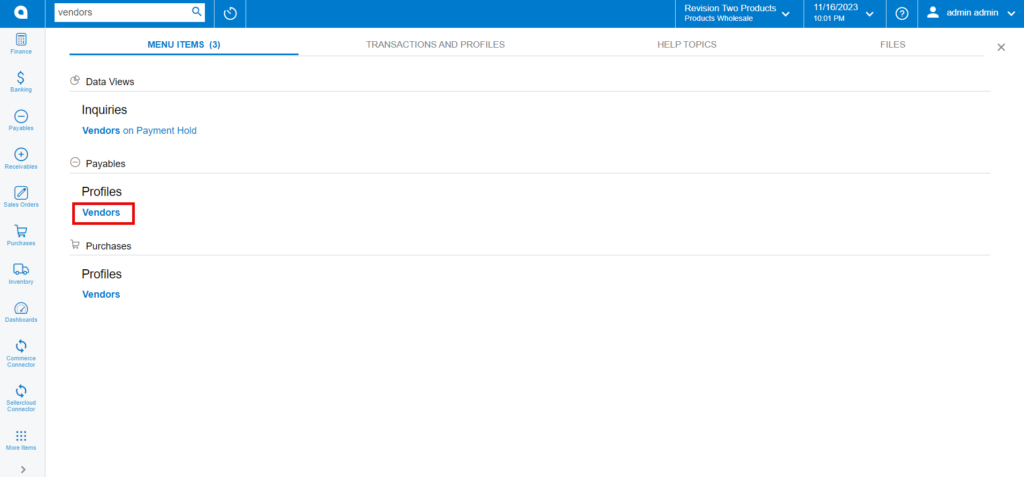
You need search for [Vendors] in Global Search bar and click on [Vendors] under [Profiles].
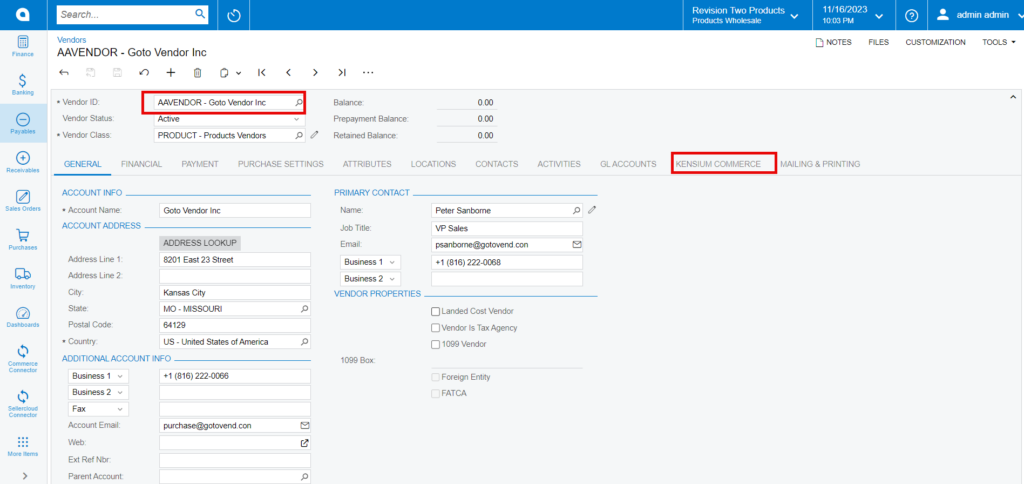
- You need to search [Vendor ID] for the existing vendors and click on [Commerce Connector].
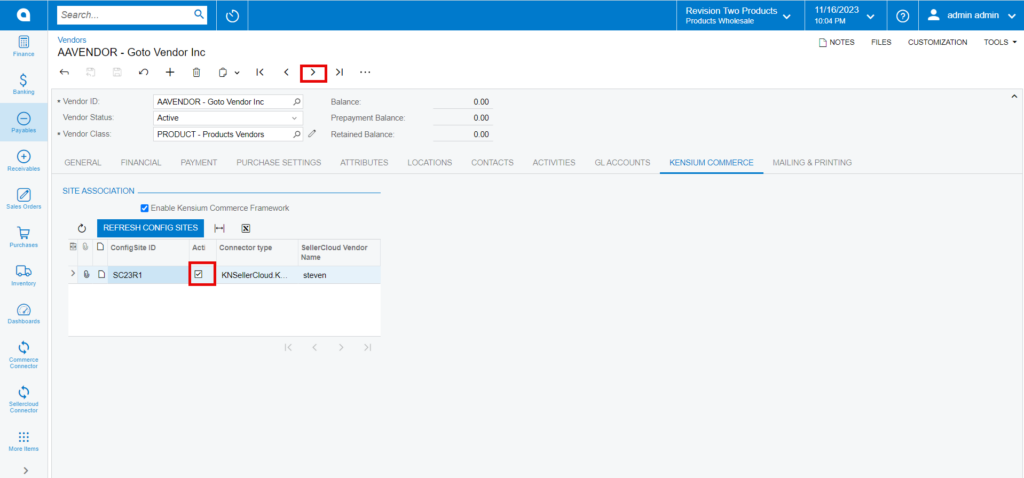
- Click on Forward Symbol [>].
- You must enable the [Active] checkbox.
