Drop-Ship Mapping
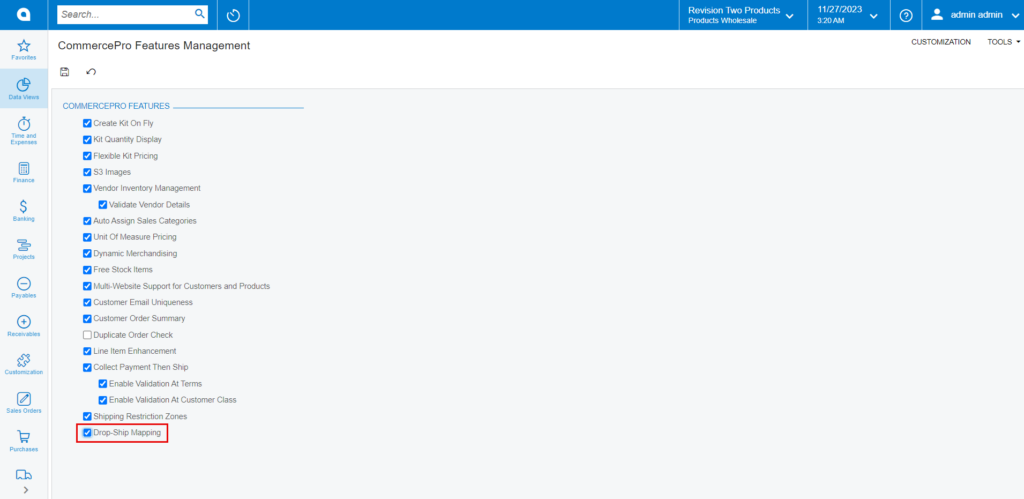
- To access [Drop-Ship Mapping], you must enable the check box for [Drop-Ship Mapping], under CommercePro Features.
- Click on [Save].
The Impacted areas for Collect and then ship is below.
- Purchase Order Preferences
- Purchase Orders
- Purchase Receipts
- Sales Orders
- You need to search for [Dropship Mapping] in the global search bar.
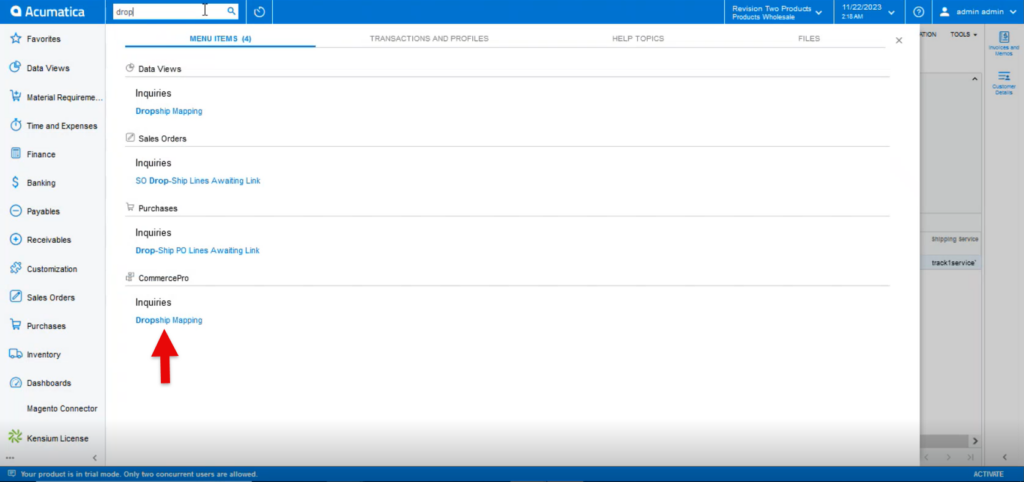
- You will navigate to Dropship Mapping screen.
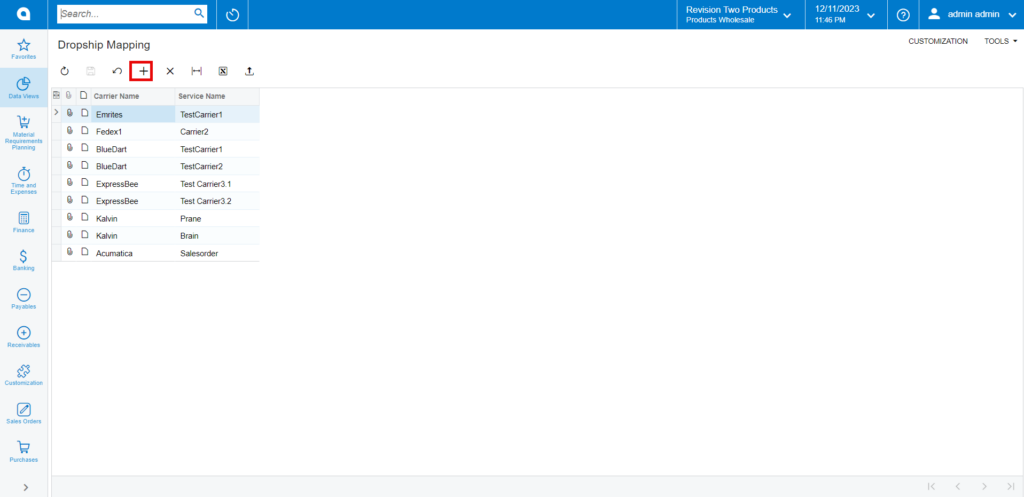
- Click on [+] icon.
- We can add a service and provide the carrier’s name on this screen, but our service name needs to be different. If you provide two carrier names, only one will display while making a purchase.
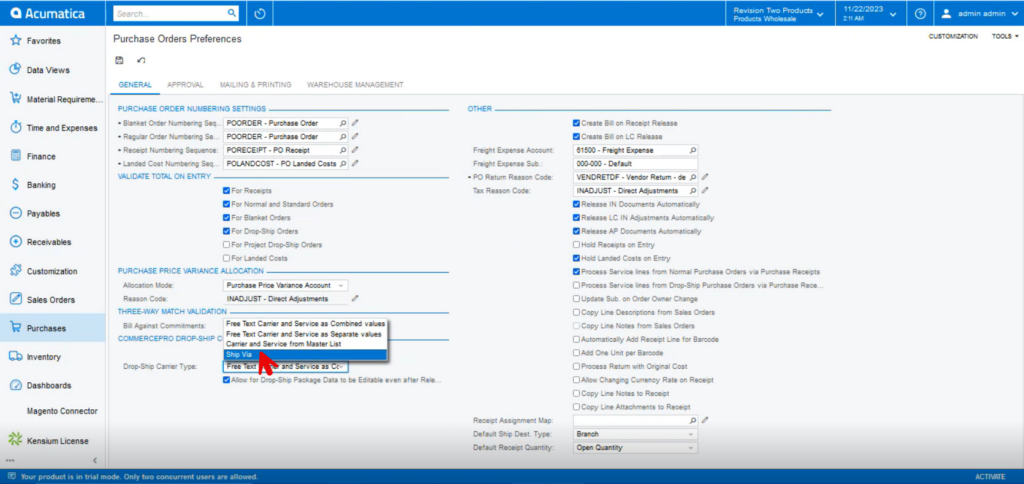
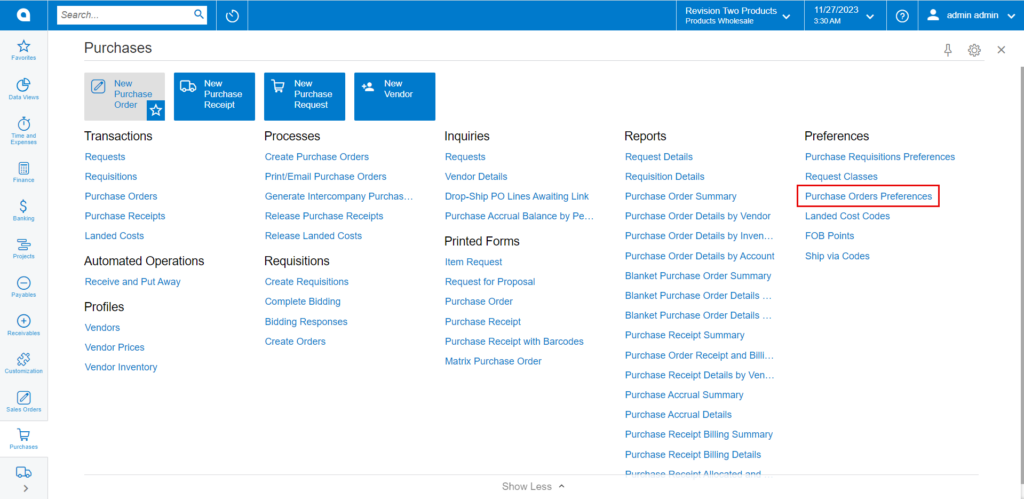
You need to navigate to the left side of Acumatica and click on [Purchases] then click on [Purchase Orders Preferences] under [Preferences].
You will be redirected to purchase orders preferences then enable the radio button for [Allow Package Data for Dropship] under [CommercePro Drop-Ship Configuration].
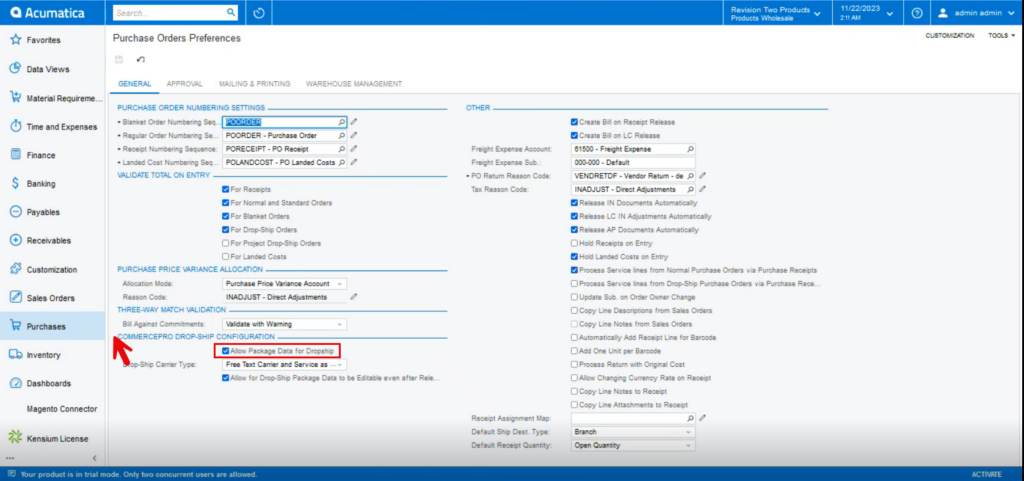
- Upon enabling you can view 4 options from the drop-down menu.