Stock Items
- You must navigate to the left panel of Acumatica and click on [Inventory] and then click on [Stock Items] under [Profiles].
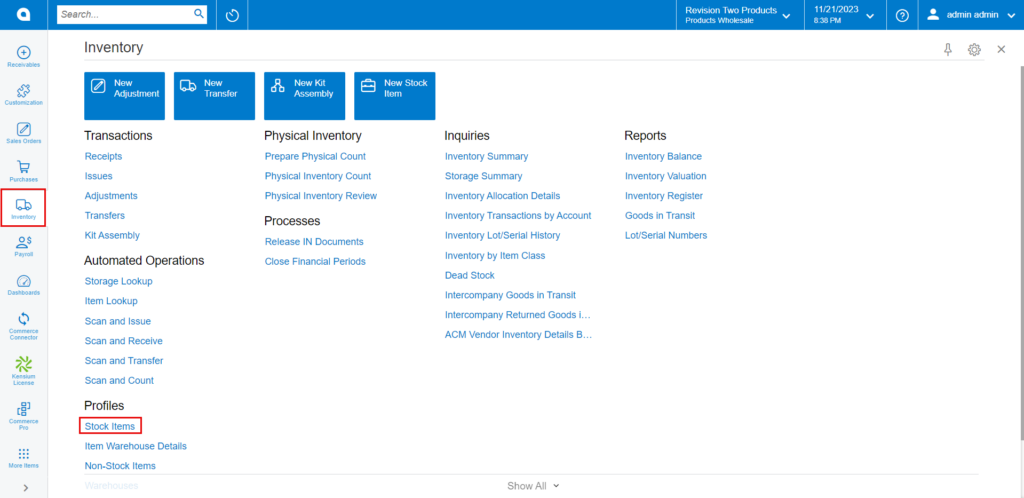
- Click on the [+] icon, then you will be redirected to the stock items screen.
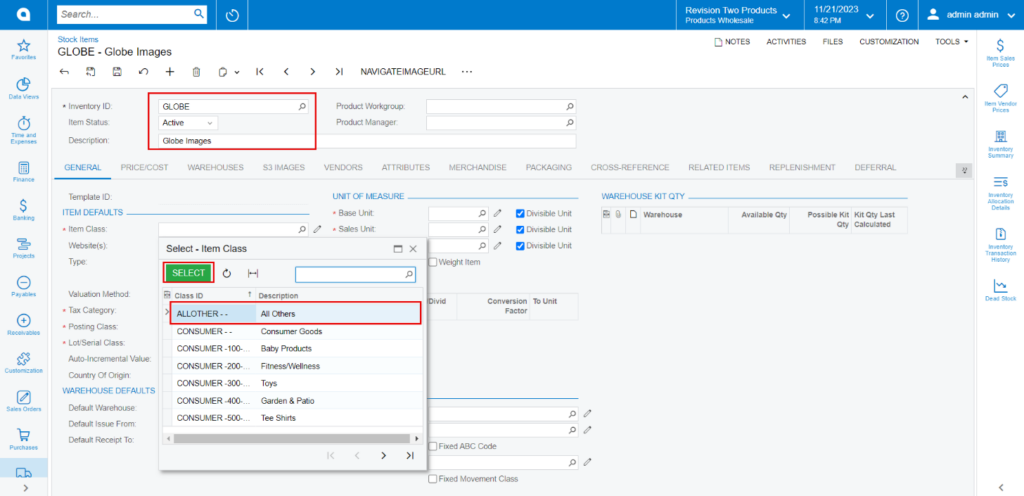
- You need to create an [Inventory ID].
- Select the Item status as [Active] from the drop-down.
- You can add the [Description].
- Select the [Item class] as All Others from the options menu.
- Click on [Save].
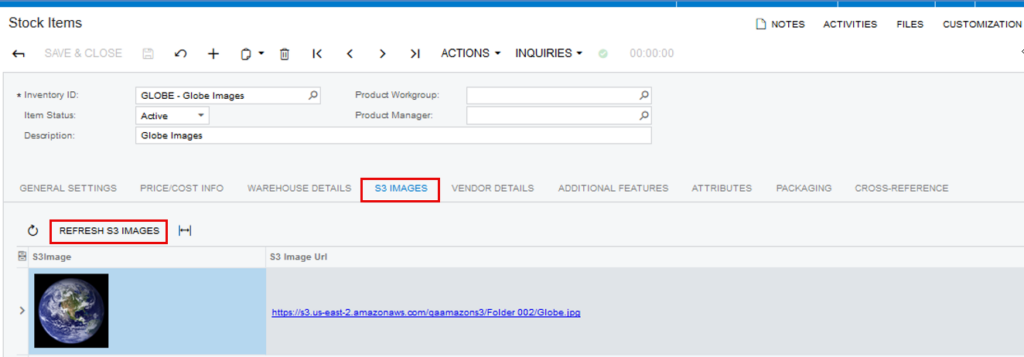
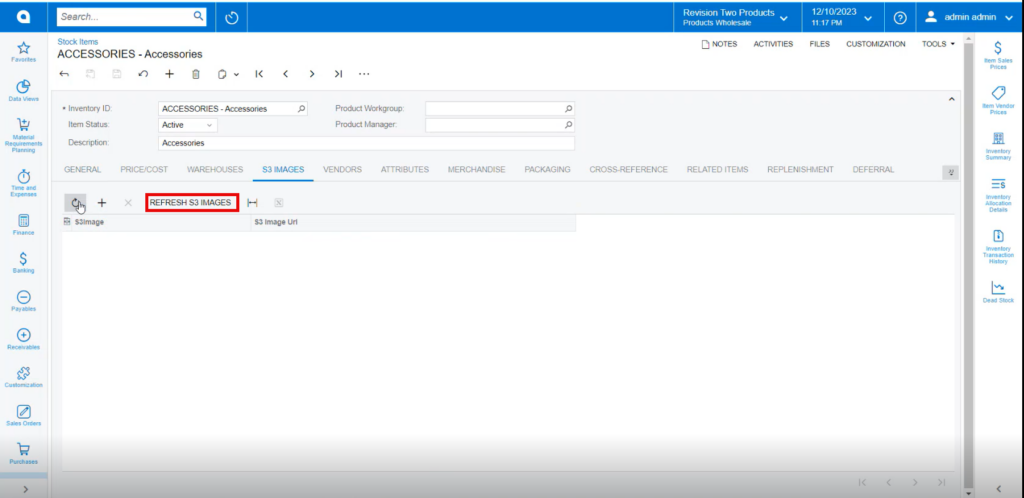
- Click on [S3 IMAGES] tab.
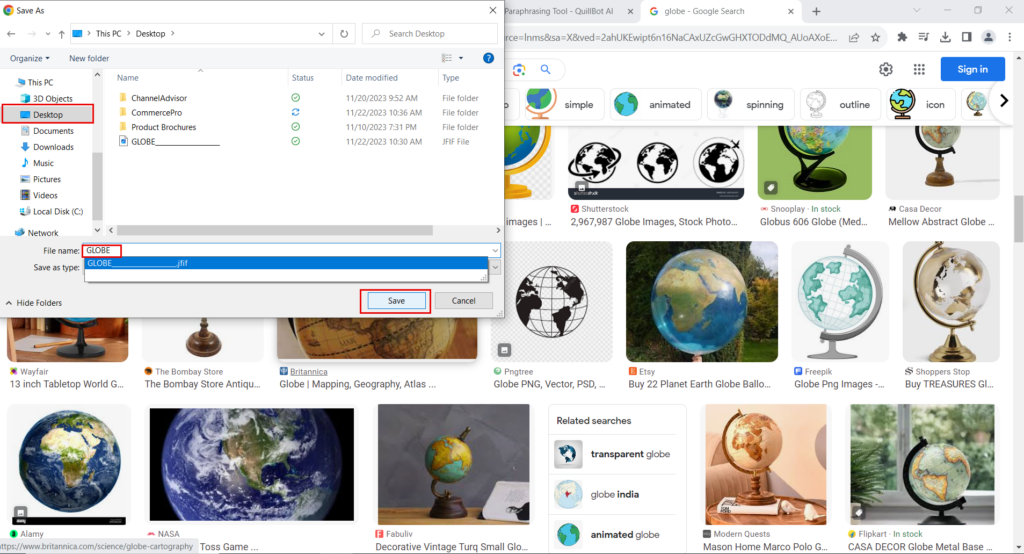
- Copy the [Inventory ID].
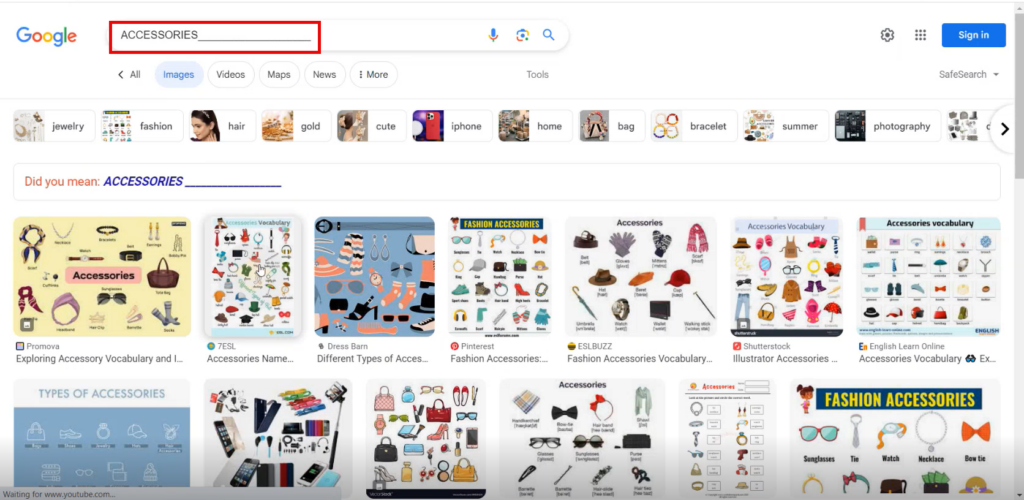
- Search for the [Image].
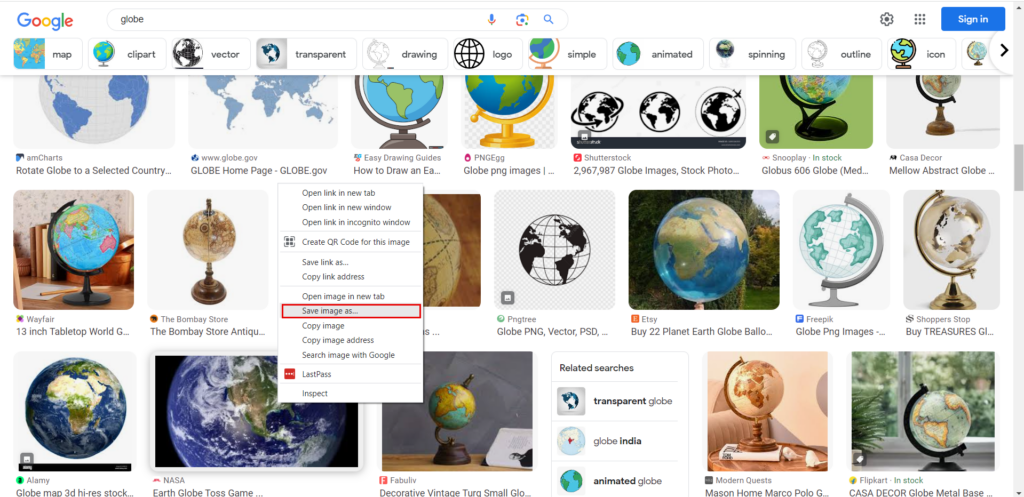
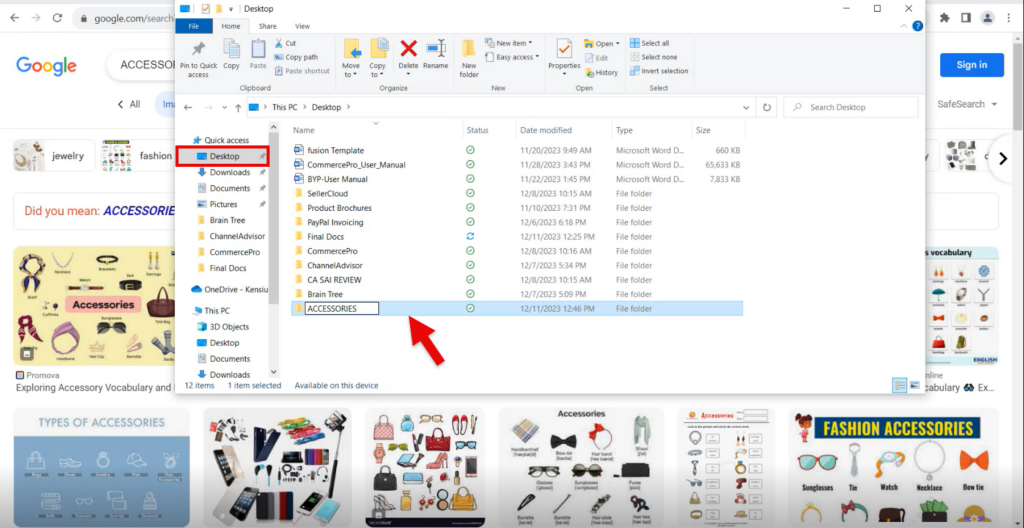
- Click on [Save As].
- Since you choose the checkbox as the file name, the Inventory name should match the file name.
- You need to save the file.
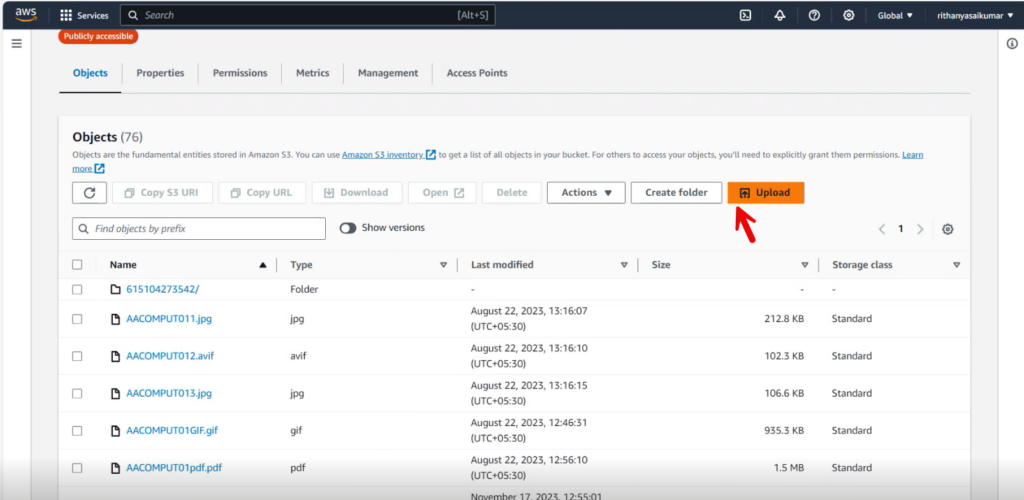
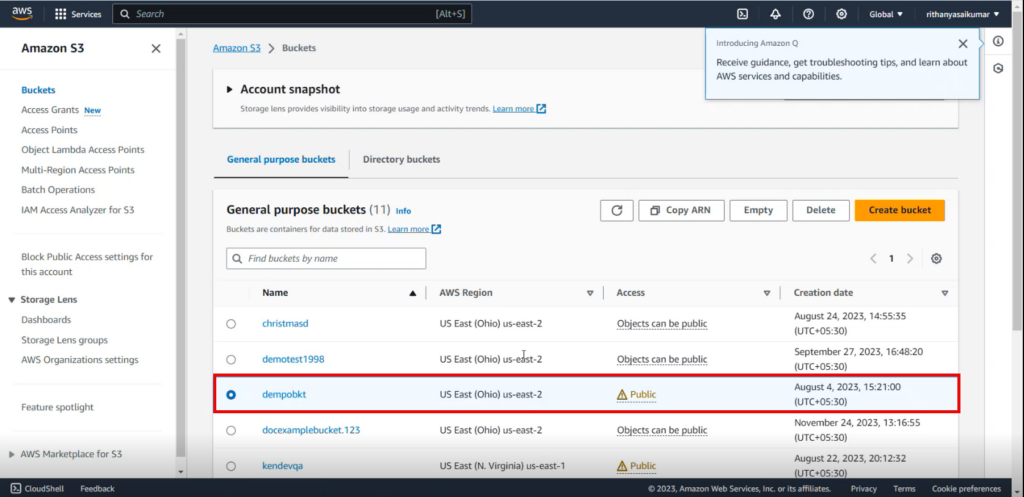
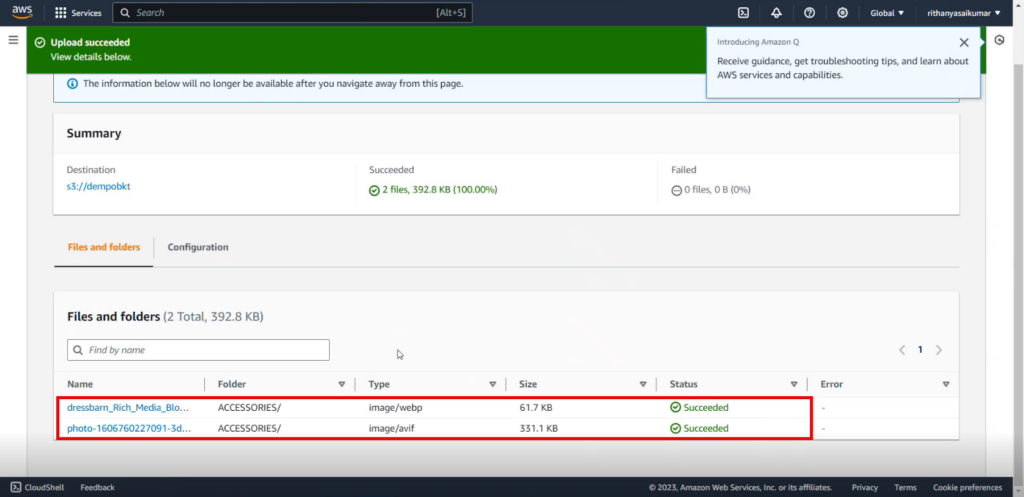
- You navigate to Amazon site, select the [Bucket].

- Click on [Upload].
- Click on [Add Files].
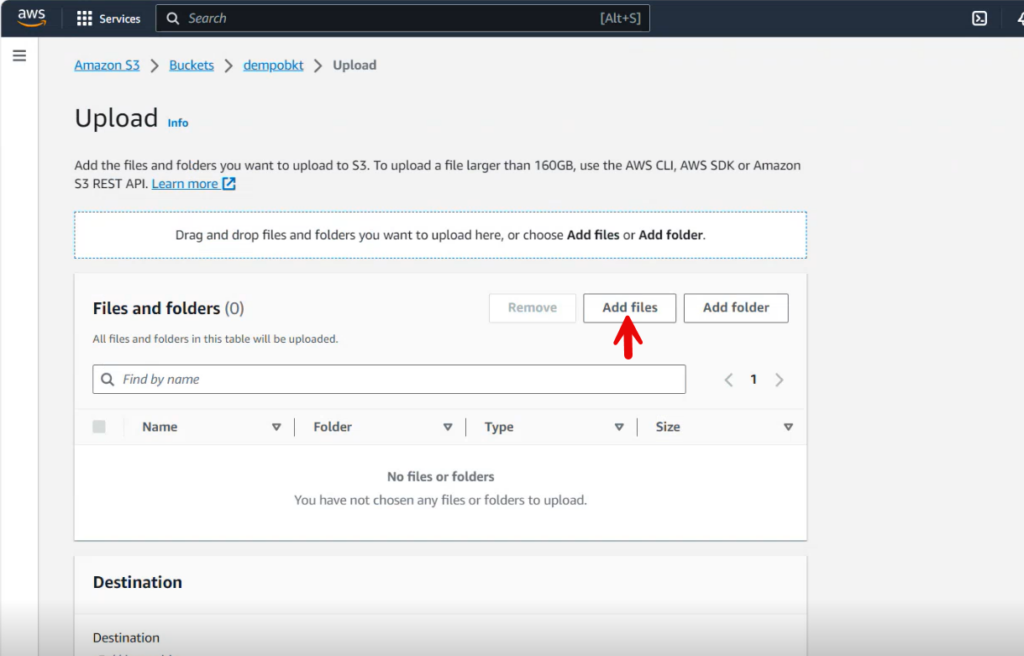
- Add the File from Desktop.
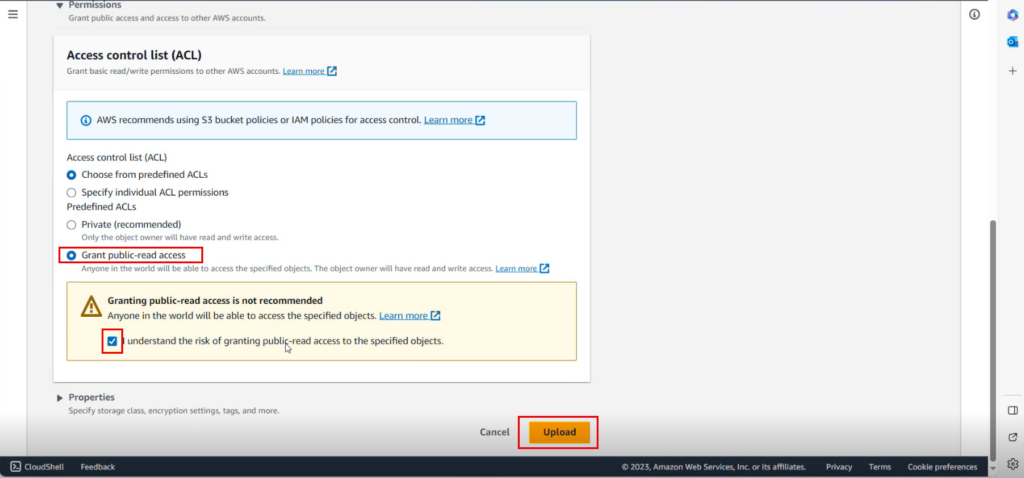
- You need to Activate the [Grand Public-read access] and [I understand] radio buttons.
- Click on [Upload].
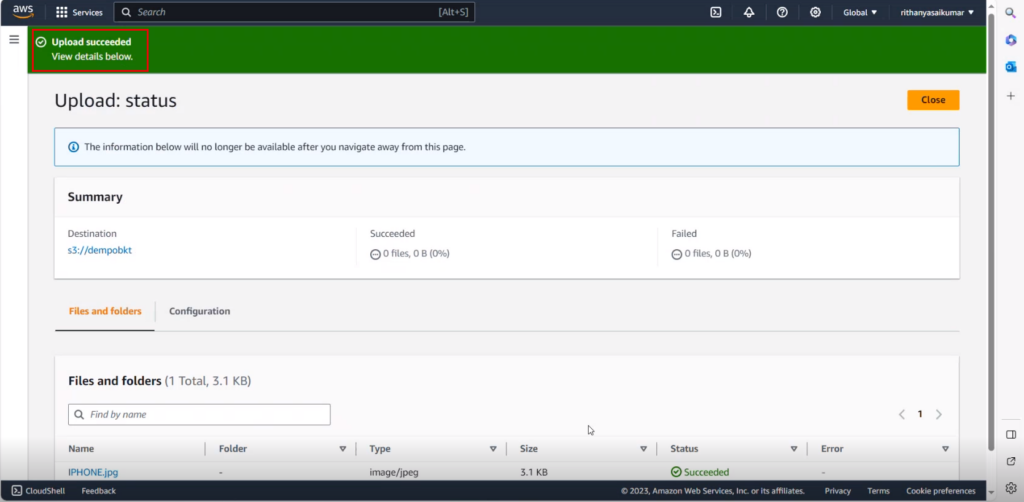
- You can view a success message as [Upload succeeded] on the screen.
- You must navigate and refresh the stock items screen then click on [REFRESH S3 Images] in S3 Images tab.
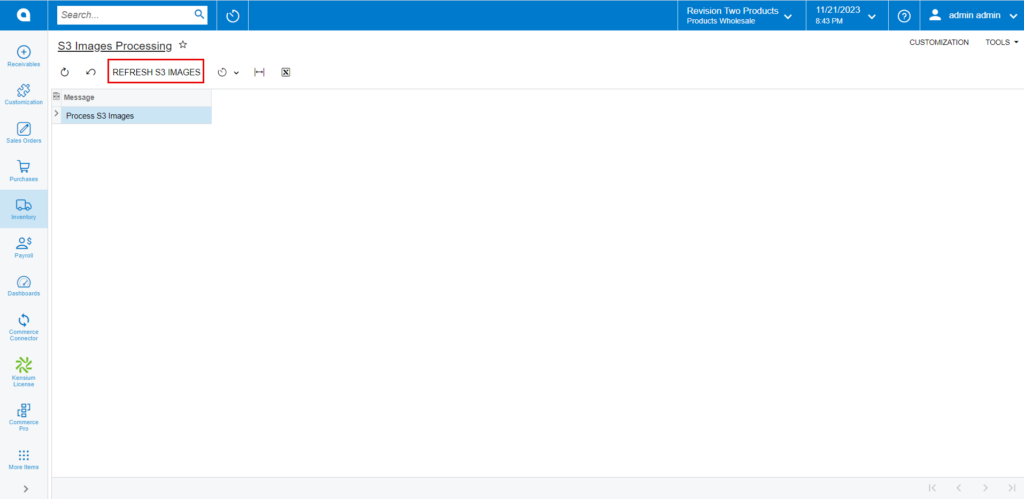
- You can also add multiple images at a time, after uploading multiple images, select [CommercePro] from the Acumatica left side panel, then click on [S3 Images Processing] from the [Processes] menu.
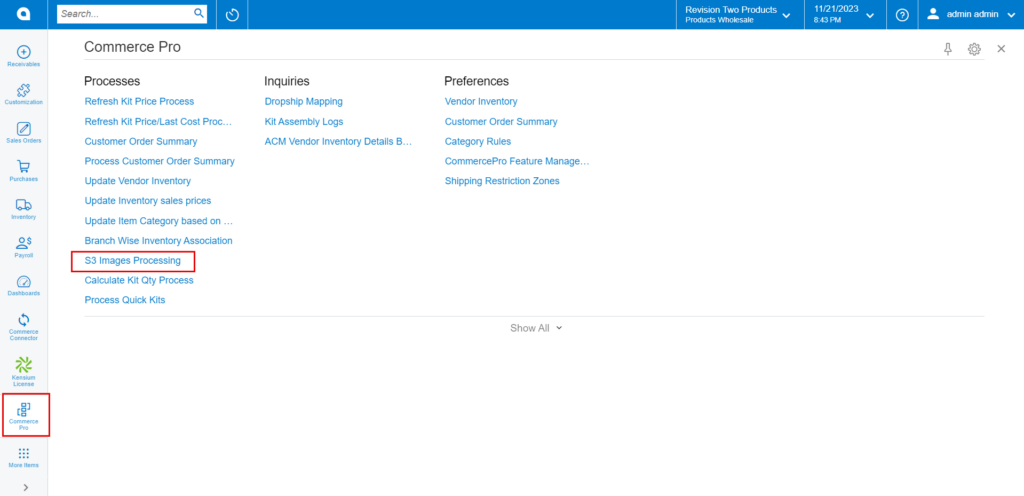
- Click on [Refresh S3 IMAGES].
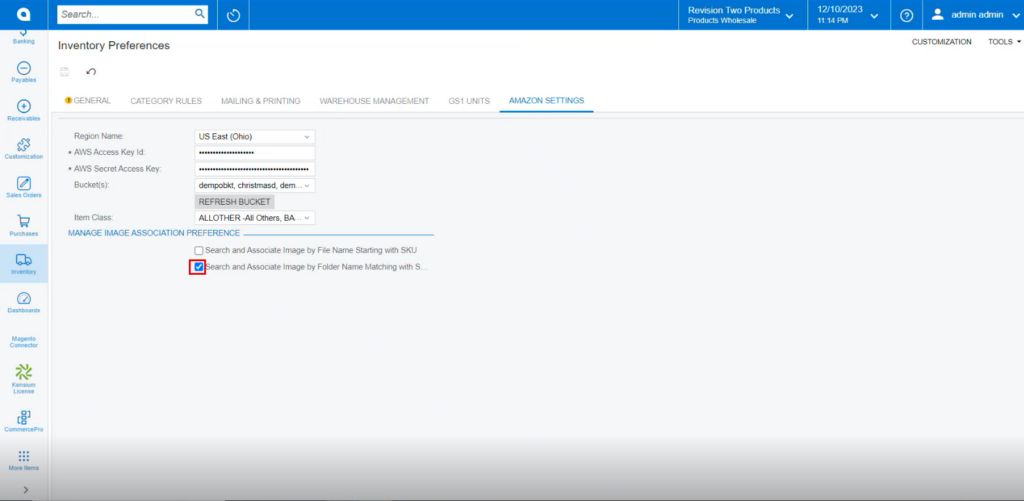
Search and Associate image by Folder
You need to enable the check box for [Search and Associate Image by File Name Starting with SKU].
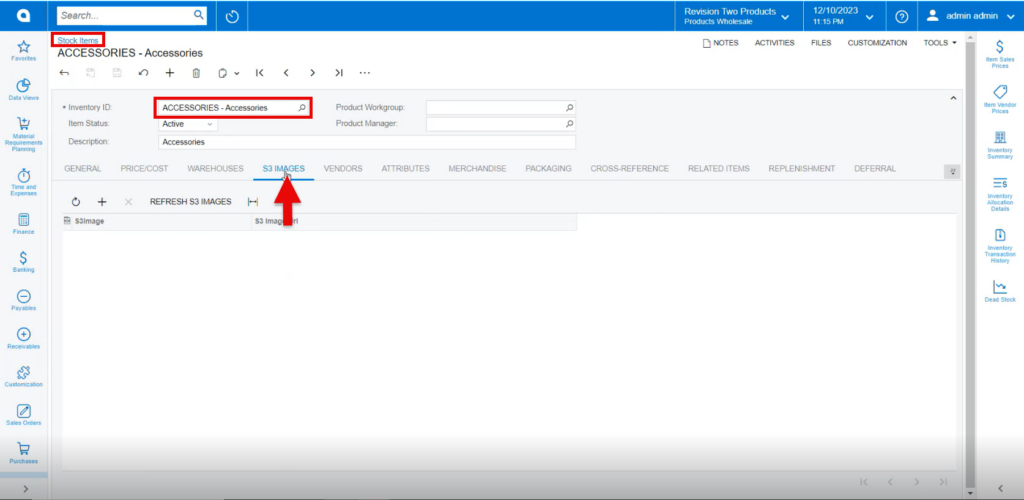
- You must navigate to the left panel of Acumatica and click on [Inventory] and then click on [Stock Items] under [Profiles].
- Click on the [+] icon, then you will be redirected to the stock items screen.
- You need to create an [Inventory ID].
- Click on [S3 IMAGES] tab.
- Copy the [Inventory ID].
- Search for the [Image].
- Click on [Save As].
- Since you choose the checkbox as the file name, the Inventory name should match the file name.
- You need to save the image in Folder.
- You navigate to Amazon site, select the [Bucket].
- Click on [Upload].
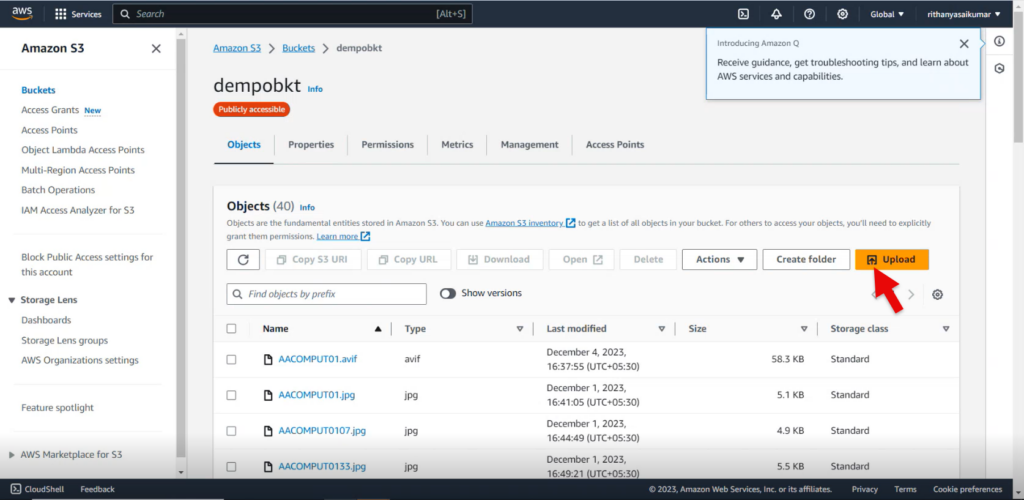
- Click on [Add Folder].
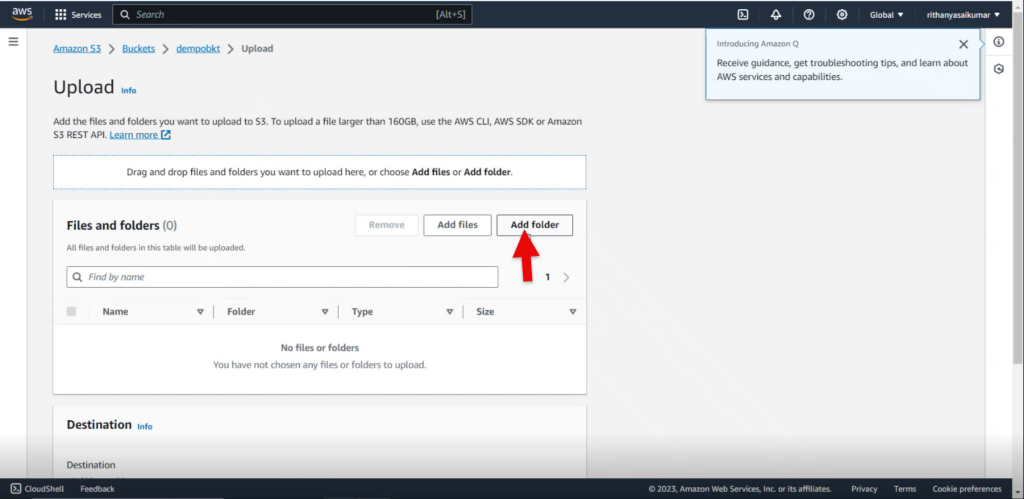
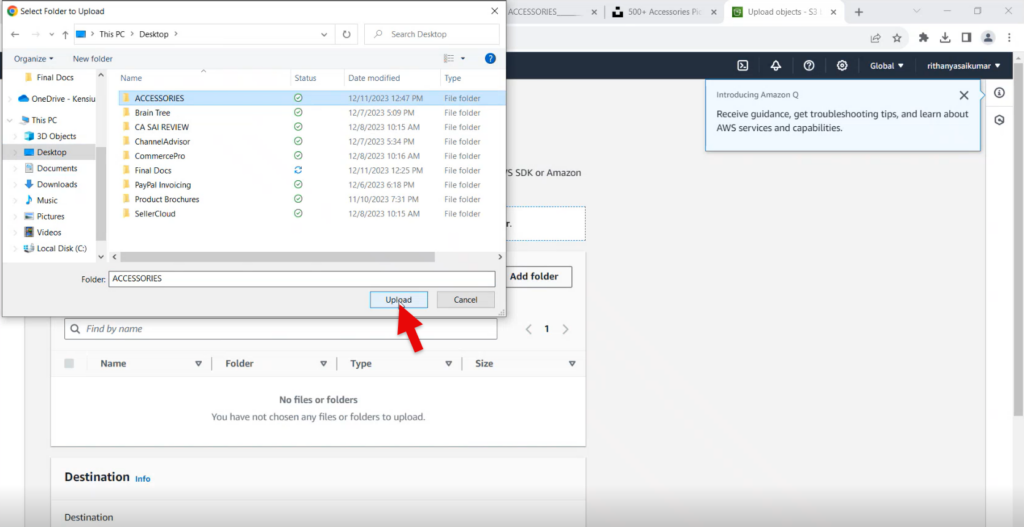
- Add the File from Desktop.
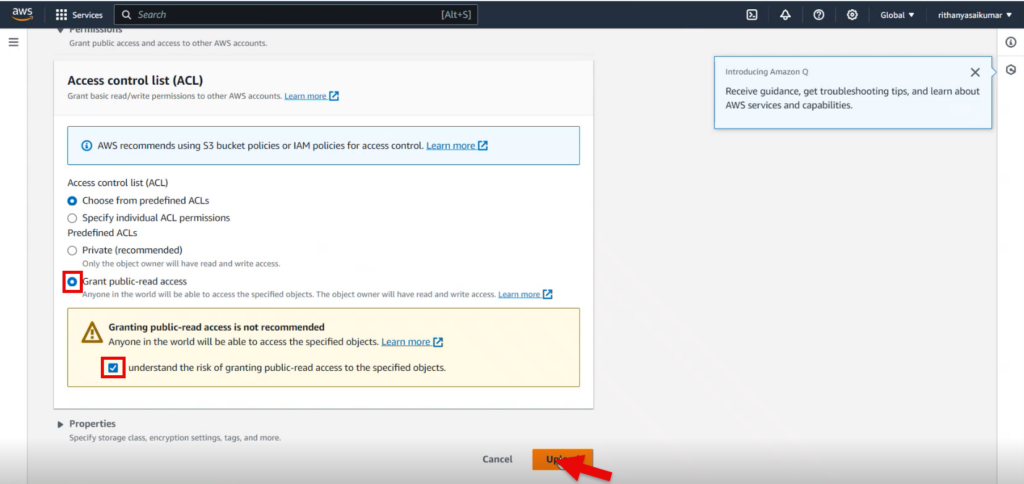
- You need to Activate the [Grand Public-read access] and [I understand] radio buttons.
- Click on [Upload].
- You must navigate and refresh the stock items screen then click on [REFRESH S3 Images] in S3 Images tab.
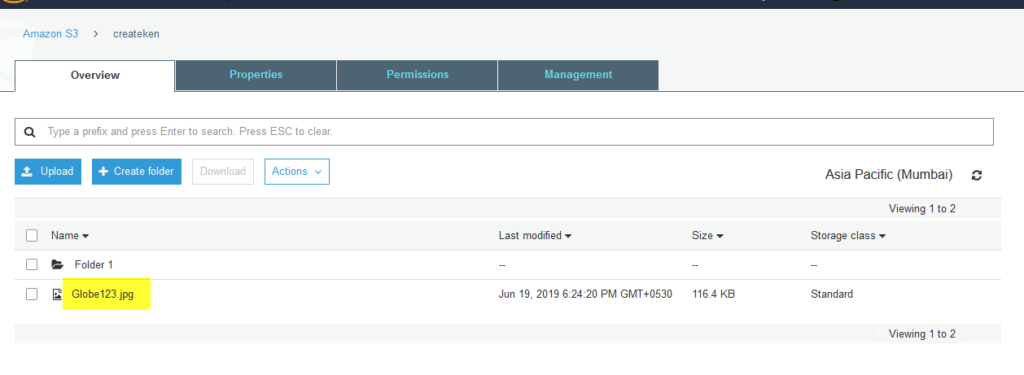
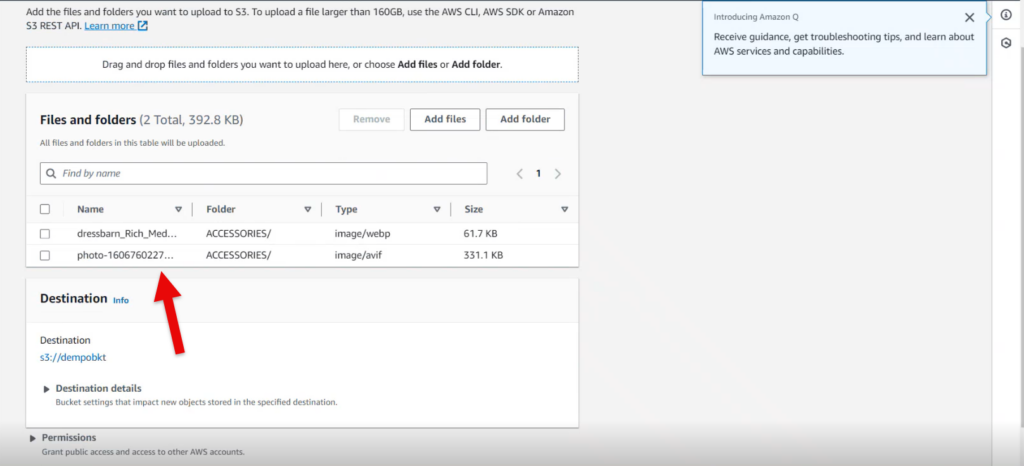
- You can view the uploaded images.
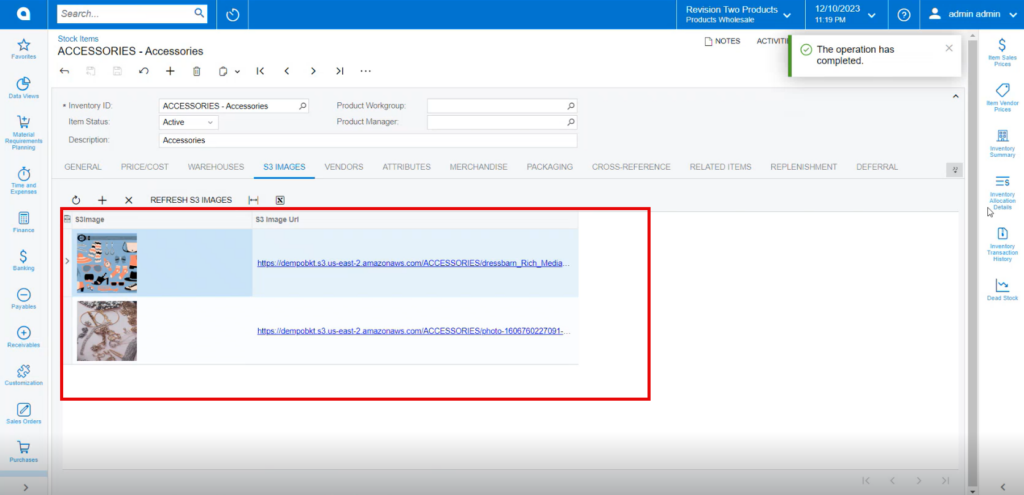
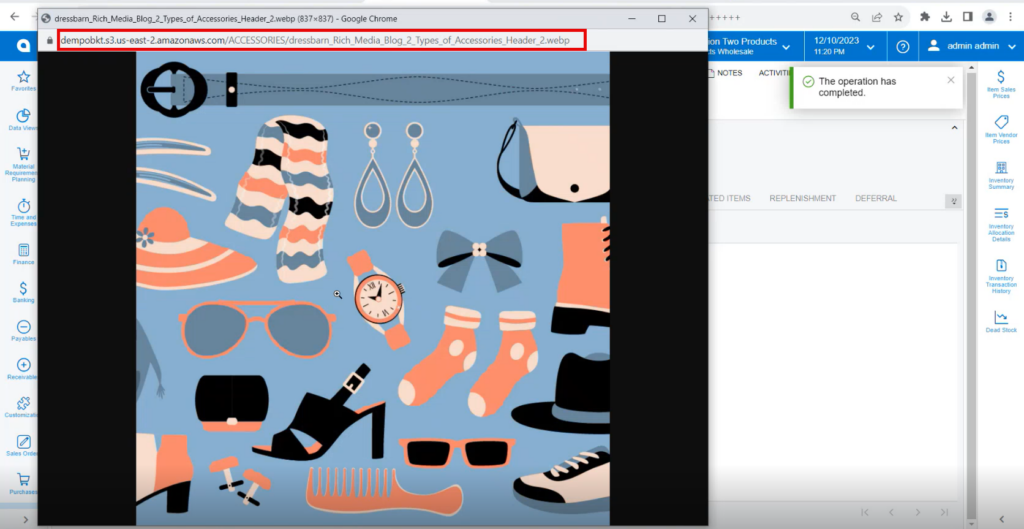
- Click on the link and the image will pop up.