Auto Assign Sales Categories
The Category and Rule ID will automatically run the process for categorizing, once the defined conditions have been satisfied for existing or new products that previously had categories and rule ID’s assigned, the newly created Category Rule will be assigned and remove the existing category.
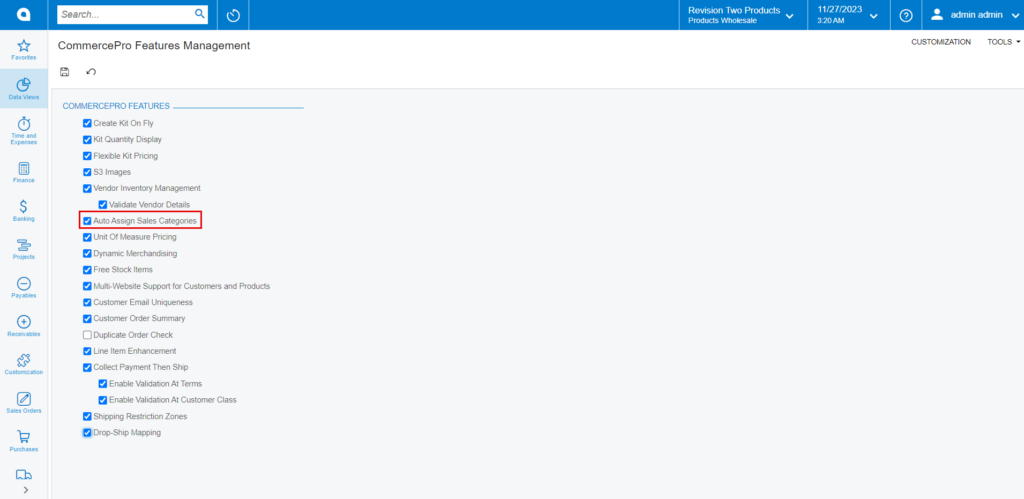
- To access [Auto Assign Sales Categories], you must enable the check box for [Auto Assign Sales Categories], under CommercePro Features.
- Click on [Save].
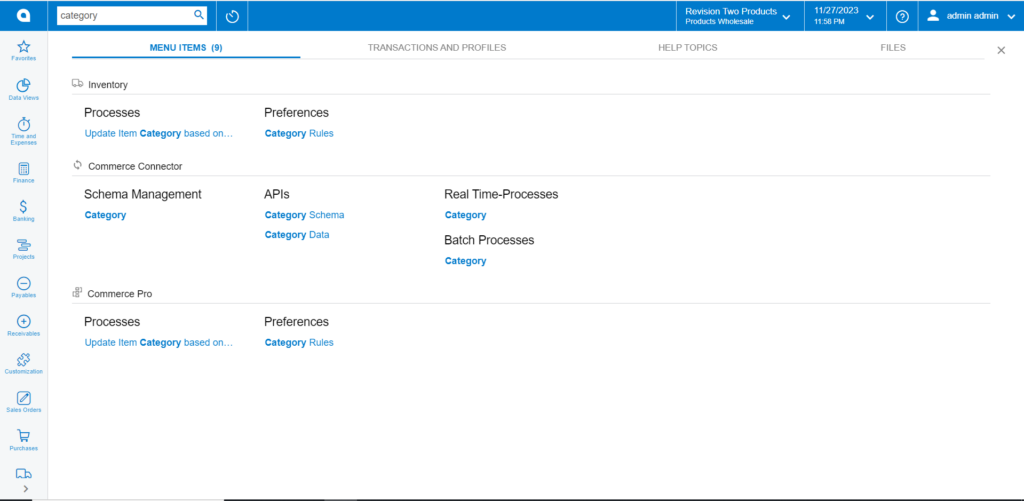
The Impacted areas for Auto Assign Sales Categories are below.
- Category Rules
- Update Item Category based on rules
- Stock Items
- Non-Stock Items
- Item Class Category
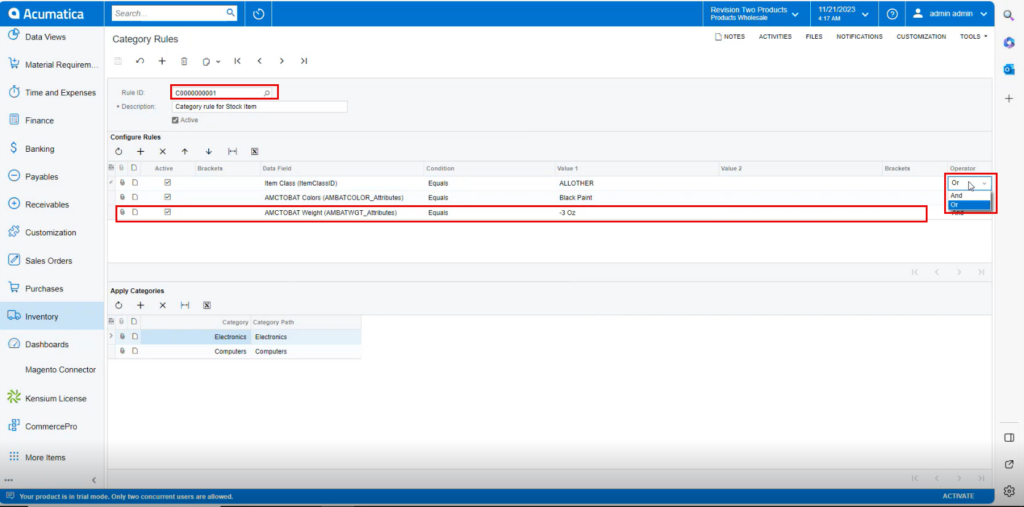
- You need to navigate to the Category rules screen.
- Click on [+] icon.
- You need to create a [Rule ID]
- You can provide the [Description].
- Click on [+] icon under Configure Rules
- The [Active] check box will automatically pop up.
- Search for [Data Field].
- Select the [Conditions] from the drop-down and add the [Value 1].
- Select the [Operator] from the Drop-down.
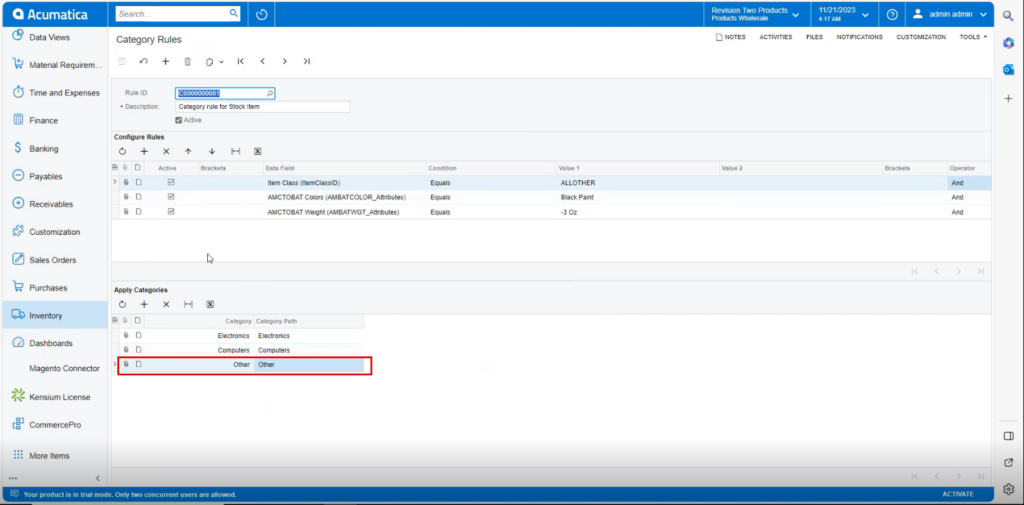
- Only when these configuration conditions are met will only the Apply Categories be available for both stock and non-stock items.
- You must be mapping the category that you wish to show in the stock items screen or non-stock items screen.
- Click on [Save].
Stock Items
- Click on the [+] icon, then you will be redirected to the stock items screen.
- You need to create an [Inventory ID].
- Select the Item status as [Active] from the drop-down.
- You can add the [Description].
- Select the [Item class] which you have mapped in category rules.
- Click on [Save].
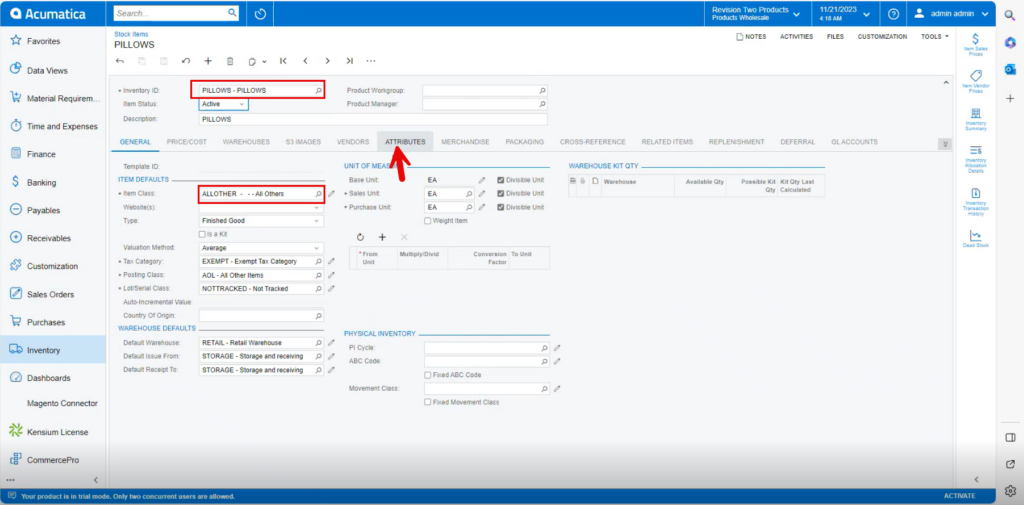
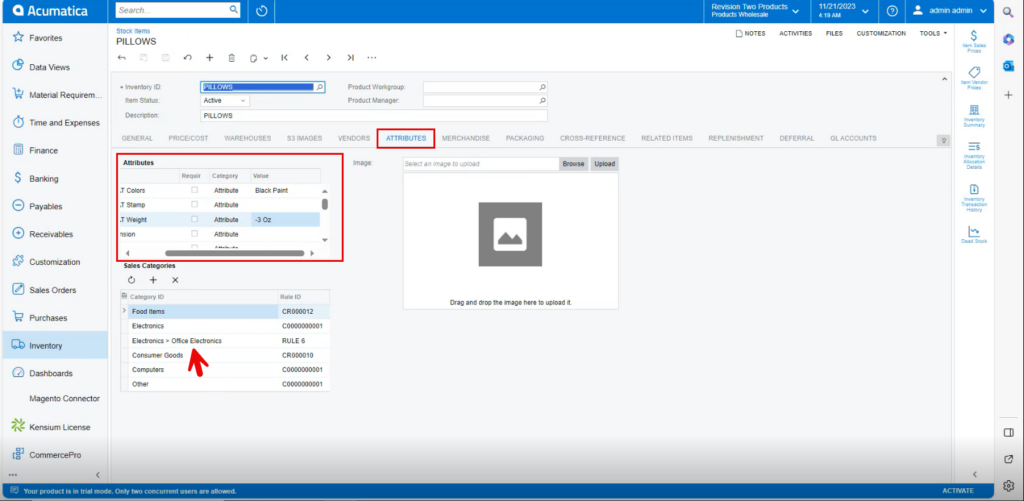
- Click on the [Attributes] tab.
- You can view the attributes that are mapped in [Category Rules].
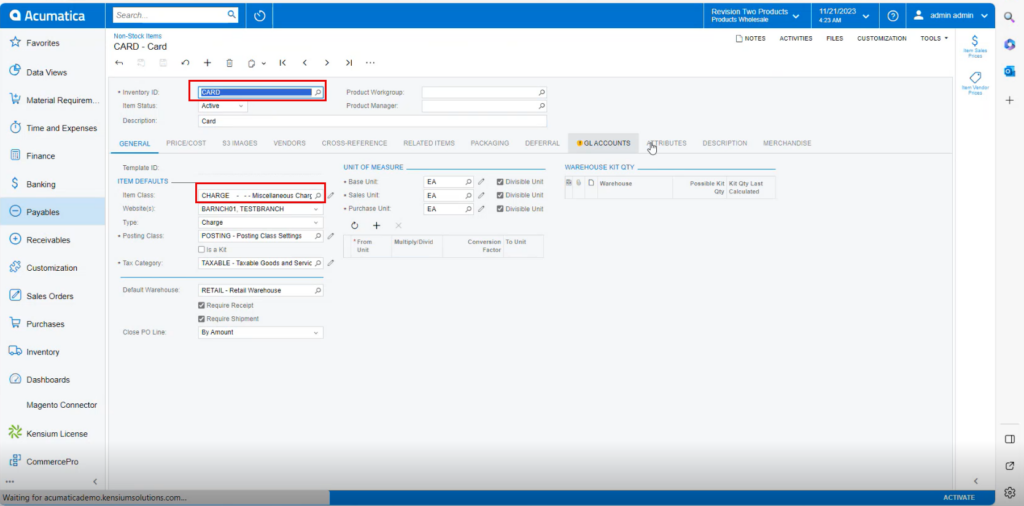
Non-Stock Items
- Click on the [+] icon, then you will be redirected to the stock items screen.
- You need to create an [Inventory ID].
- Select the Item status as [Active] from the drop-down.
- You can add the [Description].
- Select the [Item class] which you have mapped in category rules.
- Click on [Save].
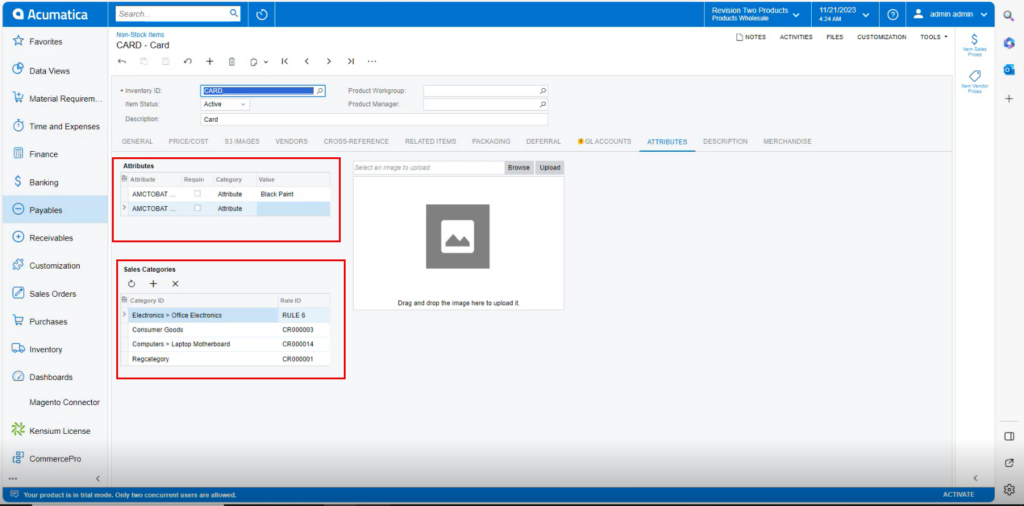
- Click on the [Attributes] tab.
- You can view the attributes that are mapped in [Category Rules].
Item Classes
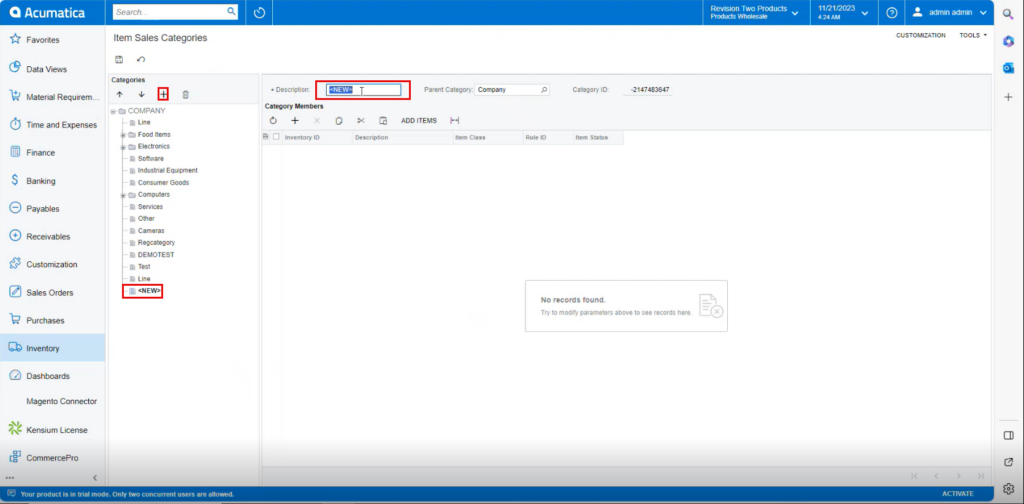
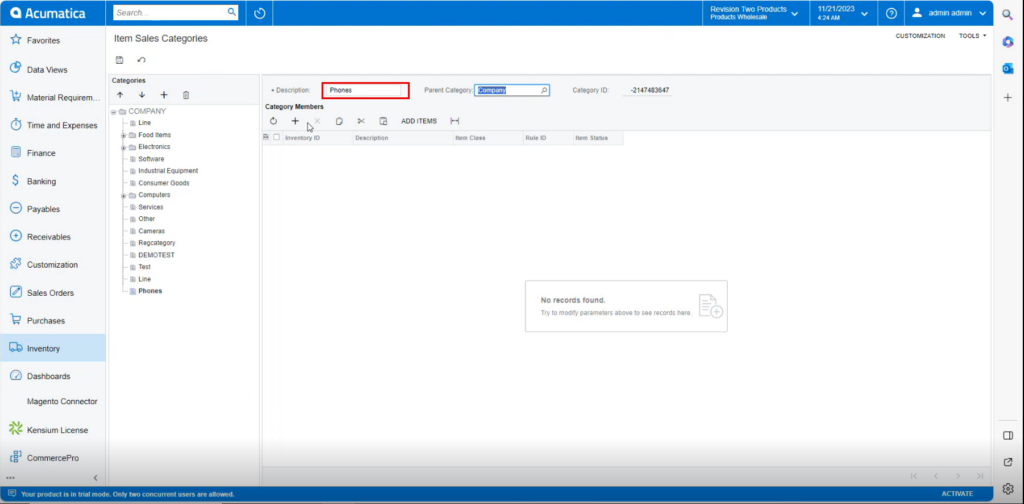
You need to navigate to the Item Sales Category screen.
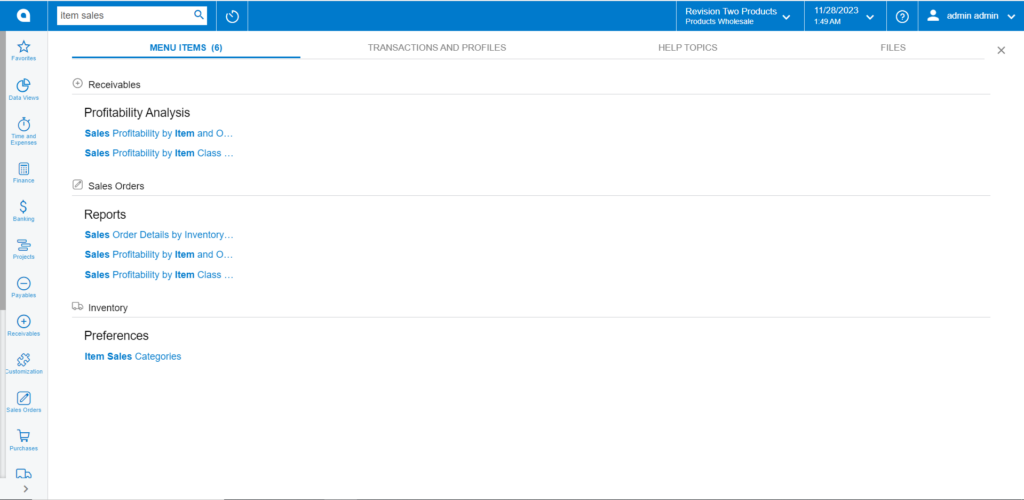
- Click on [+] icon.
- You can add latest items in [Description] Field.