


Publishing CommercePro Package
- Download the latest version of the [CommercePro] product package.
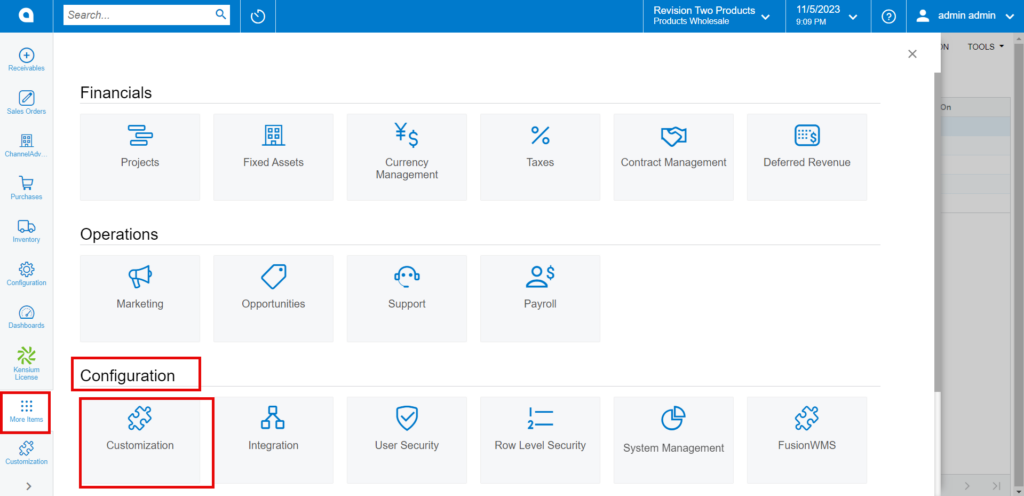
- You must navigate to the left side panel in Acumatica and click on [More Items].
- Click on [Customization].
[OR]
- Type the keyword as [Customization] in the Global search bar.
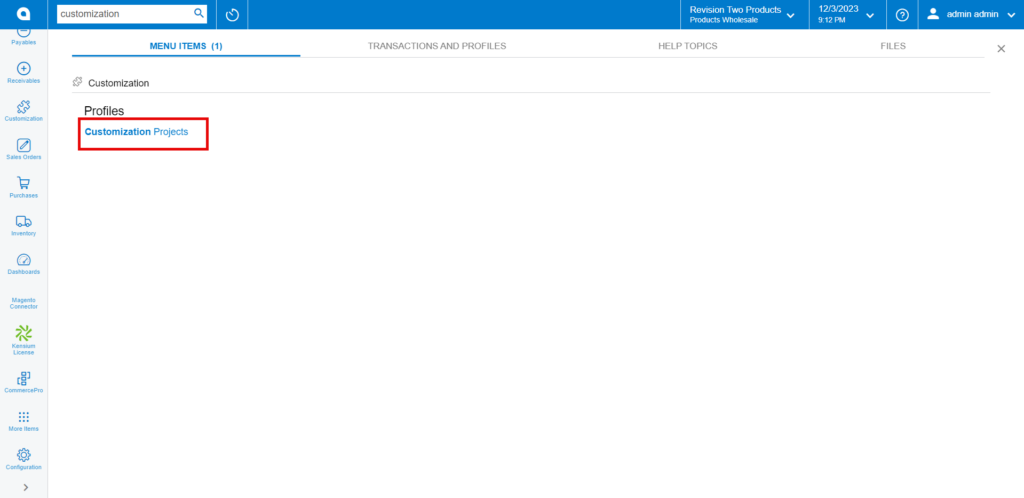
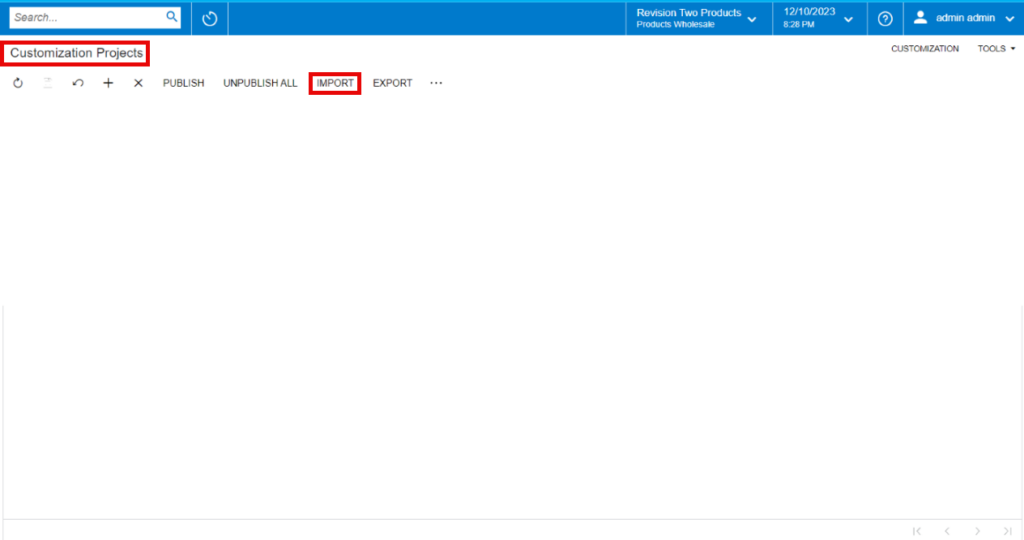
- Click on [Customization Projects].
- Click on the [Import] button.

Import screen
- Upon Clicking [Import] a pop-up will appear on the screen to upload the file.
- Select the [ChannelAdvisor .zip] file from your local desktop.
- Click on [Upload].
Upload
- The file name will appear in the [Project Name] column.
- Select the checkbox/row of the project (ChannelAdvisor).
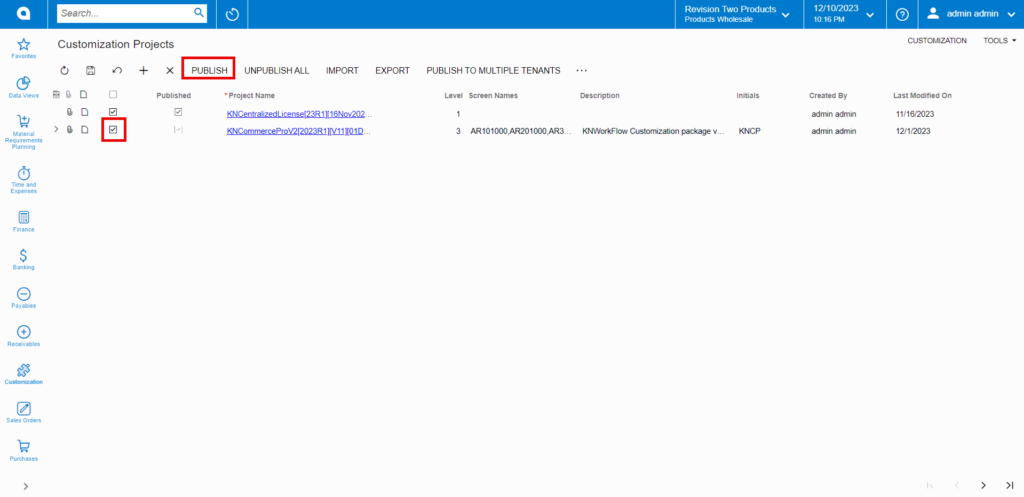
Publish the Package
- Click on [Publish].
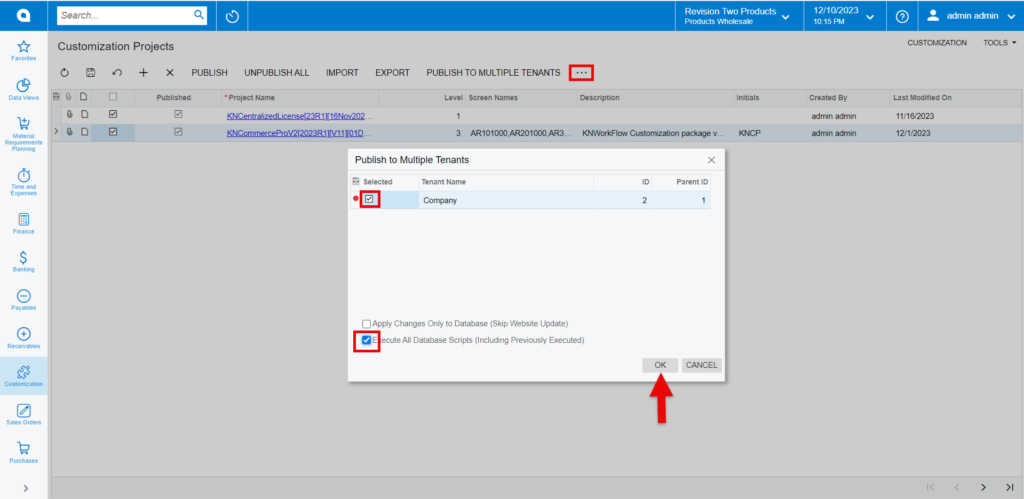
Publish the Package
- Click on [OK].
- You can view a pop-up on the screen.
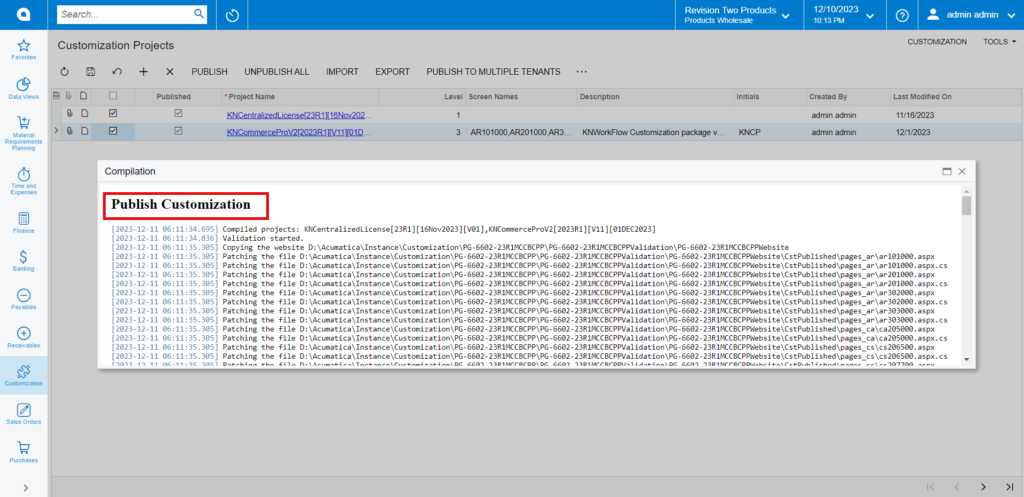
Publish Customization
Click on [Close Completion Plan].
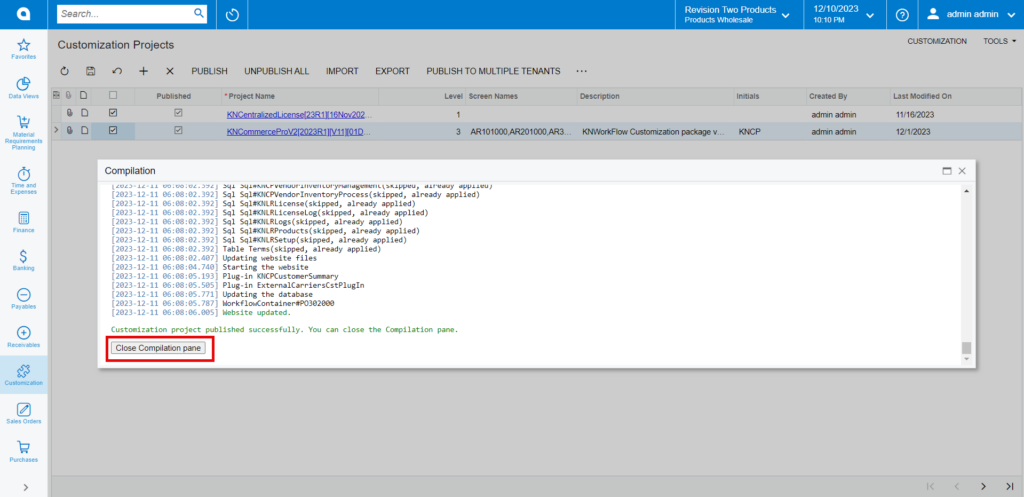
Close Compilation pane
- You can view the Published CA package in Customization Projects Column.
- You must Enable the check box.
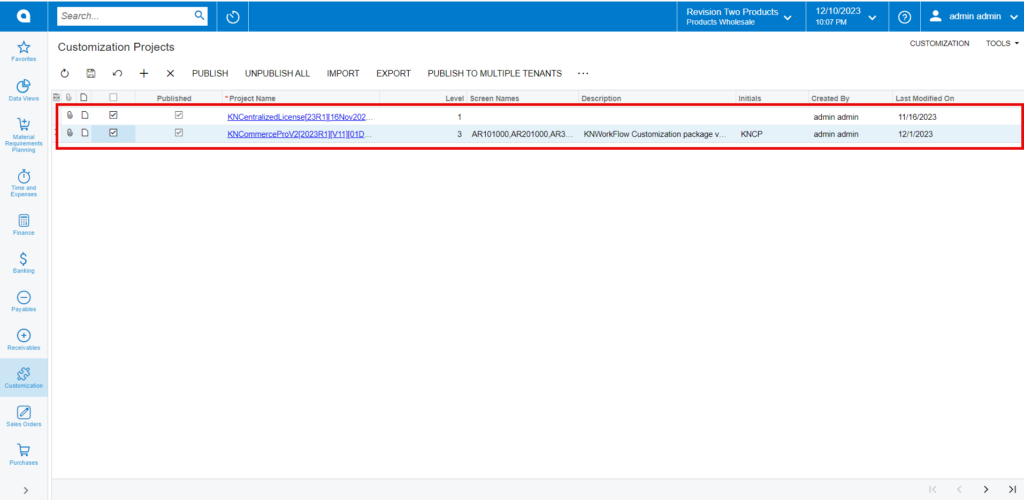
Published Package
- Click on [Save] to publish the [ChannelAdvisor] package to the Acumatica instance.