Managing Customer Contact Sync in B2B
You can sync the Customer contacts of Acumatica to B2B. The contacts of Acumatica will be treated as users in B2B.
You need to follow the steps for successful synchronization.
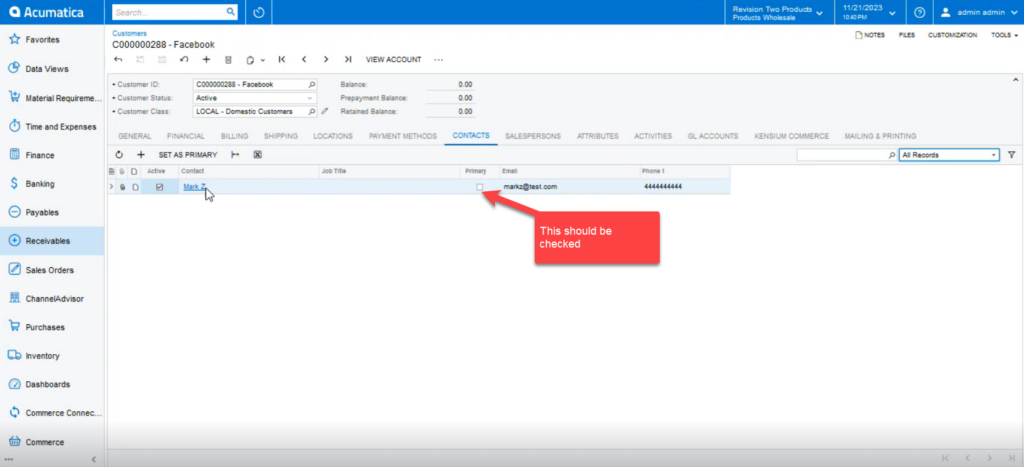
Step 1: On the Customer Screen create a new contact.

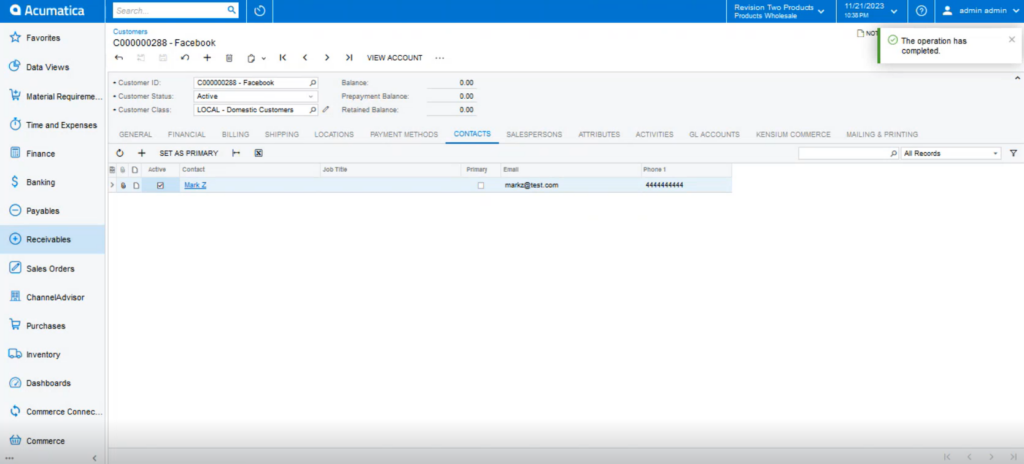
Step 2: The contact will be reflected on the grid.
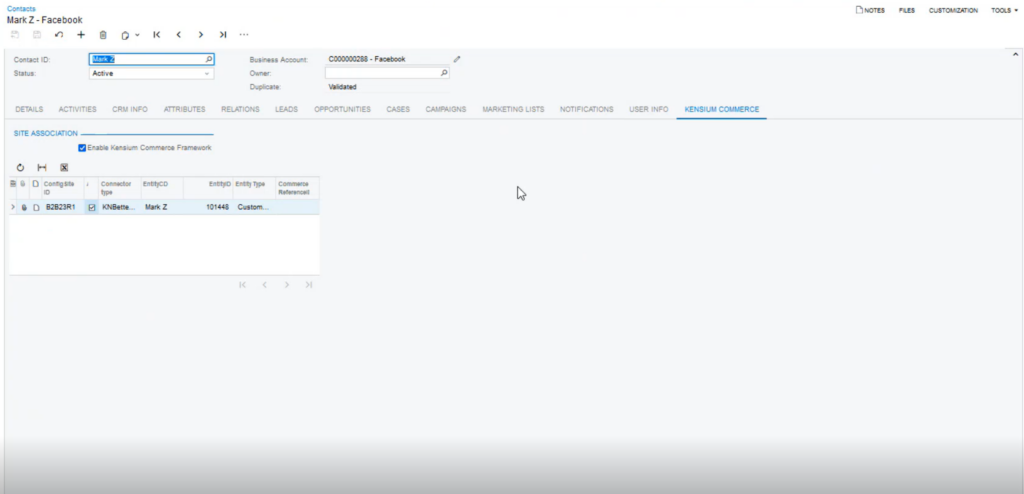
Step 3: Click on the Contact a new pop-up will appear. You will be able to view an option for [Kensium Commerce]. Click on Kensium Commerce Check Enable Kensium Commerce Framework under the site association. You need to enable the Connection Type.
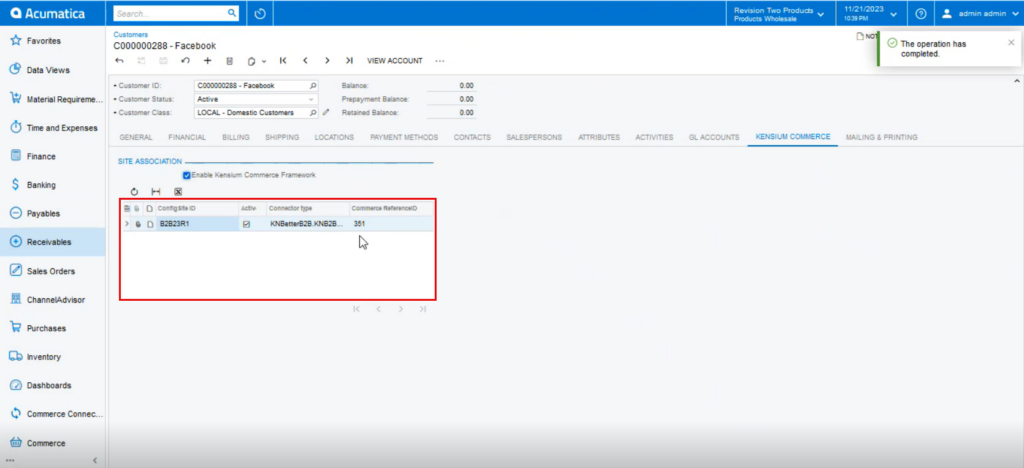
Step 4: Once the customer, contacts and location are synced the commerce reference ID will be generated and updated under the Commerce Reference ID.
Step 5: Go to the Customer Log and you will be able to view the customer contact synced.

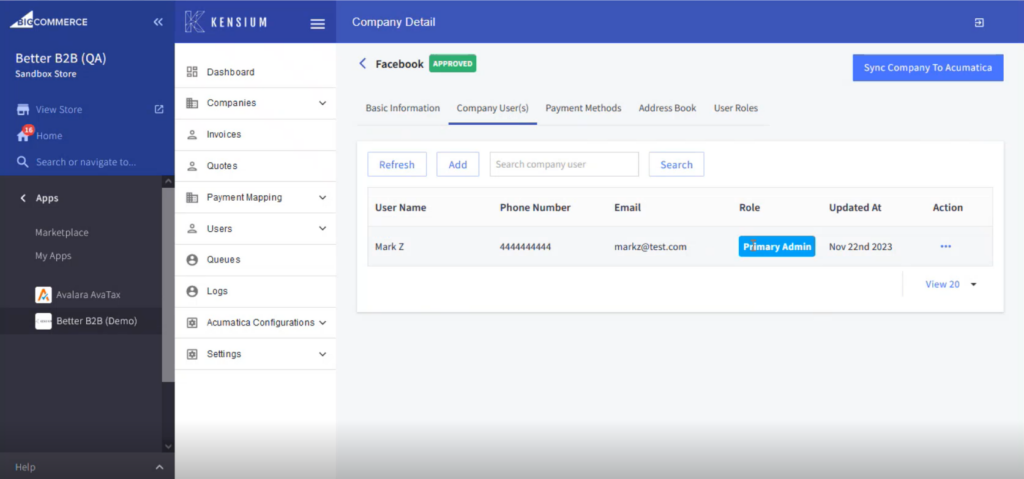
Step 6: Go to the B2B app and click on [Company]. Click on the [Company User(s)] you will be able to see the Username synced from Acumatica. Here the user role is [Primary Admin].
Step 7: The primary contact check box should be checked in Acumatica then only you can view the same as a Primary User Admin.