


Steps to add Payflow payments via the Cash Sales screen in Acumatica
- Go to the left navigation menu of the Acumatica ERP and click Receivables.
- On Receivables workspace, click Cash Sales.
- Click on the (+) button.
- Select a customer.
- Select the payment method.
- Select Payflow payment method.
- Select the cash account.
- Go to the details tab.
- Add at least one item.
- Add the quantity.
- Add the unit price.
- Click Save.
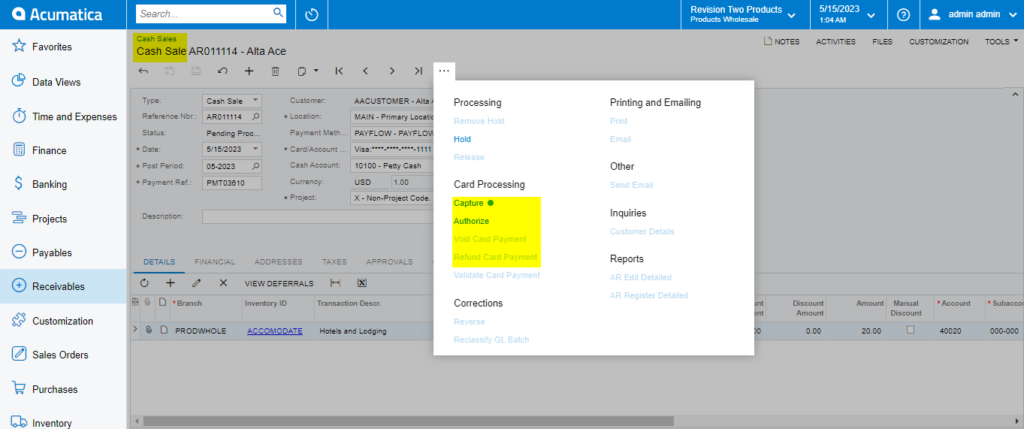
- Click the Actions menu to perform one of the following actions:
- Email Invoice/Memo form.
- Send an e-mail.
- CC Enter the payment.
- CC Authorize Payment.
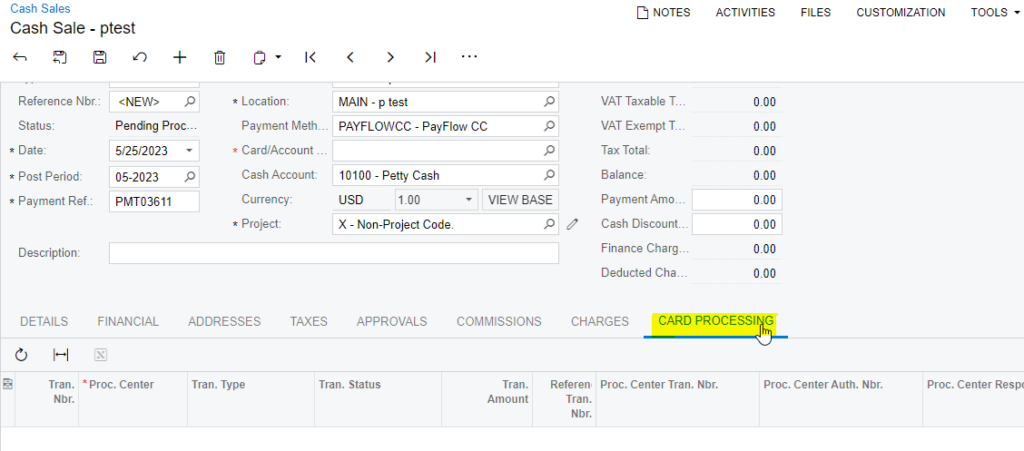
- Click the Credit Card Processing Information tab to view the payment transaction details.
- Click on the actions menu to perform the following actions Authorize, Capture and Void.
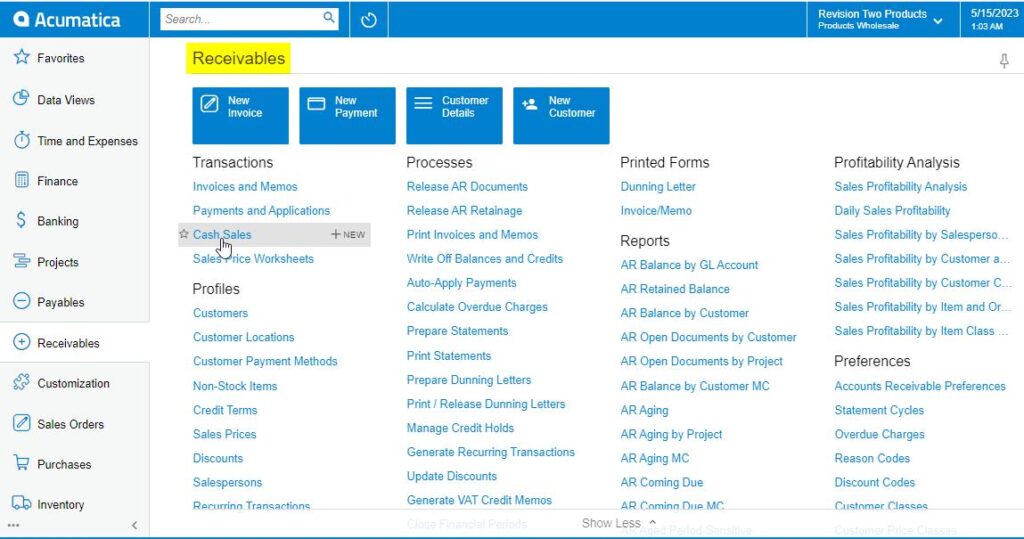
Cash Sales on Receivables Workspace Screen
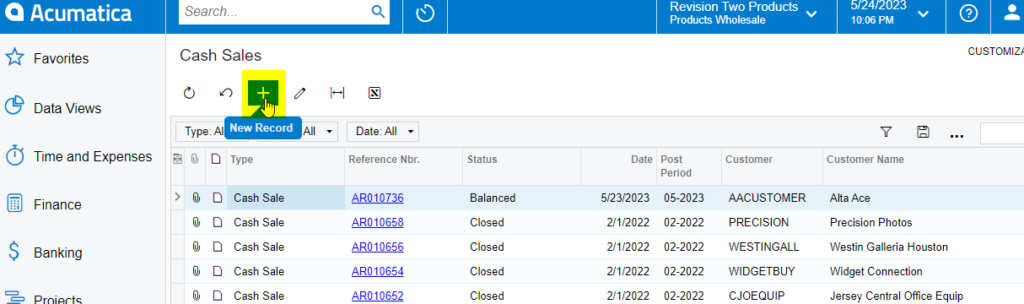
Cash Sales Screen
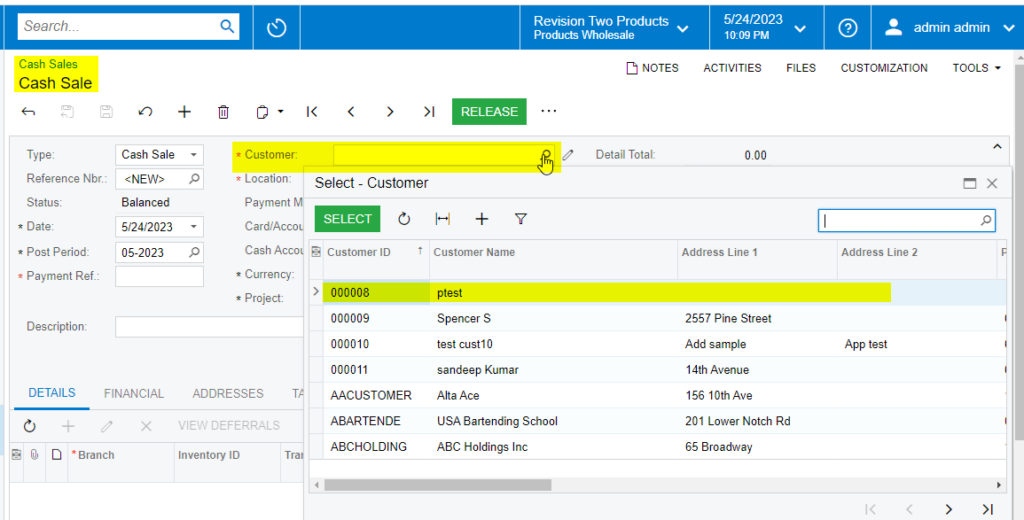
Selecting a Customer on Cash Sales Screen
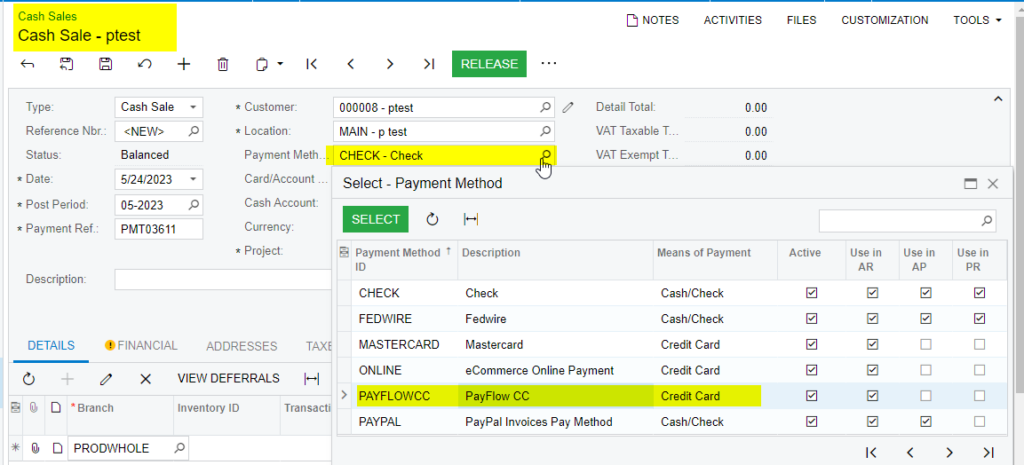
Selecting Payflow as Payment Method
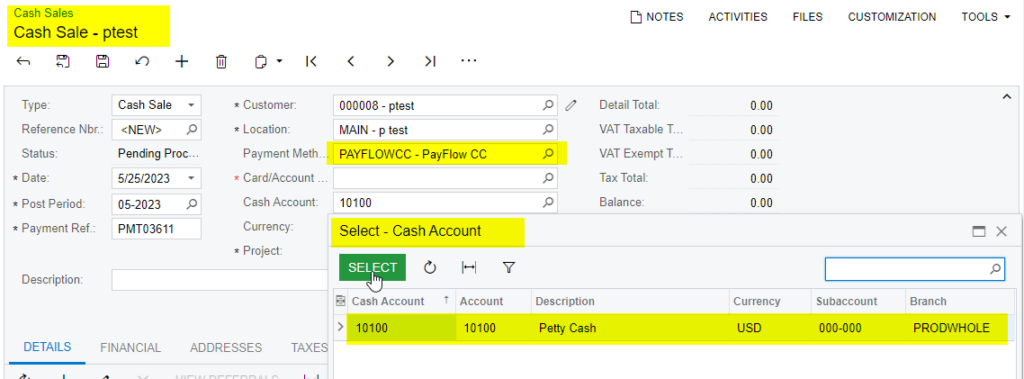
Selecting cash account
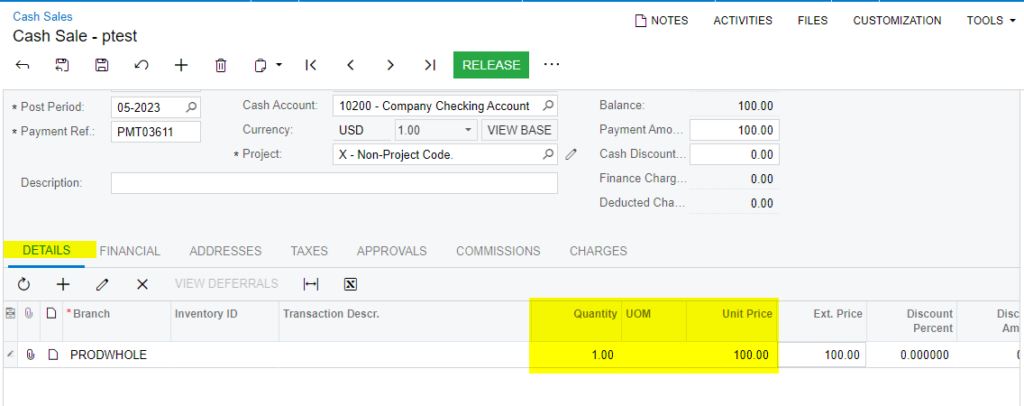
Details tab adding the Quantity and Unit Price
Cash Sales screen
Card Processing on Cash Sales screen
Authorize Action on Cash Sales Screen
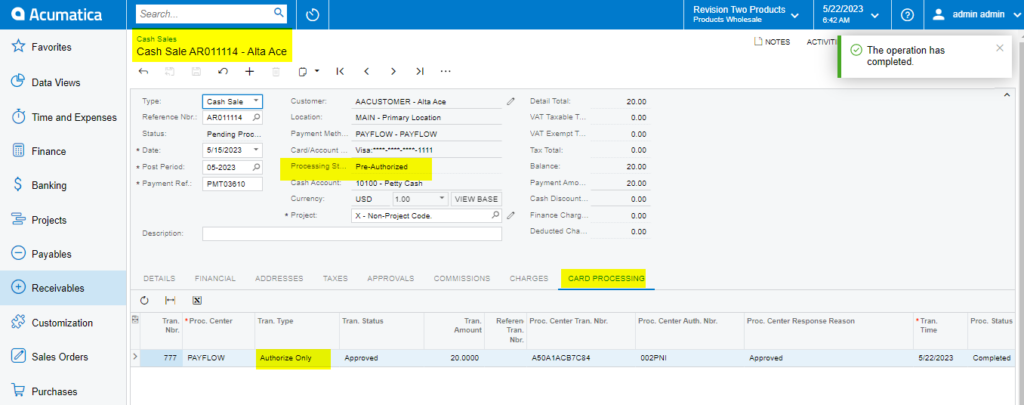
Authorize Action on Cash Sales screen
Capture Payment by Cash Sales
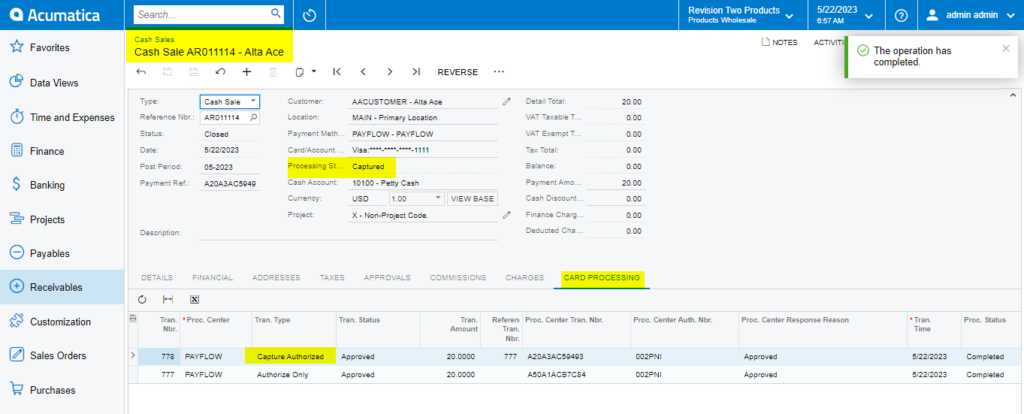
Capture Payment on Cash Sales screen
Void On Cash Sales Screen
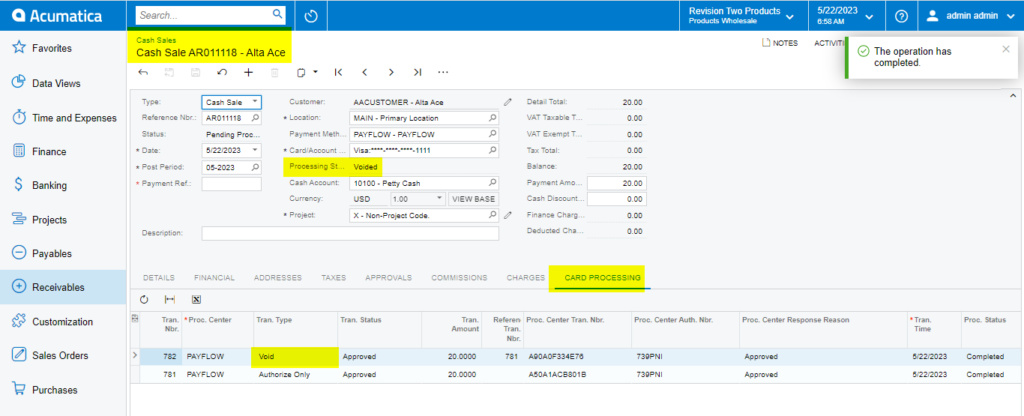
Void on Cash Sales screen