


Steps to Assign a Payment Method in Acumatica
- Navigate to the Banking workspace and click Payment Methods under Preferences.
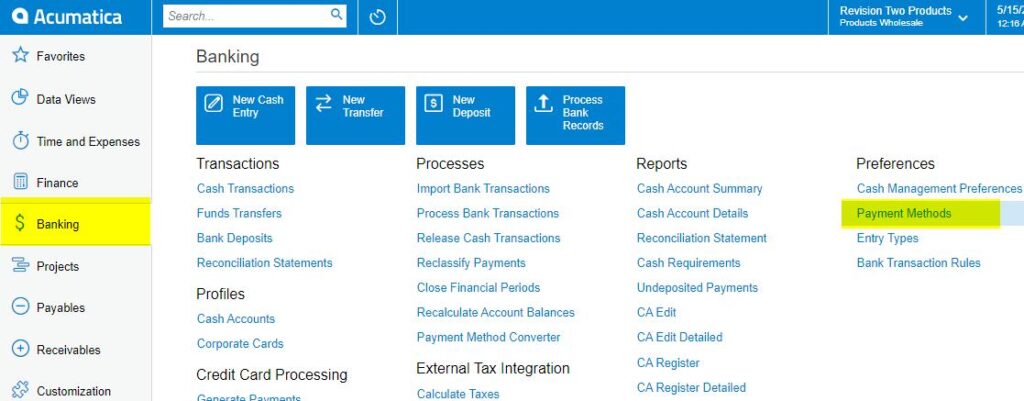
Payment Methods in Acumatica
- The Acumatica platform directs you to the Payment Methods screen.
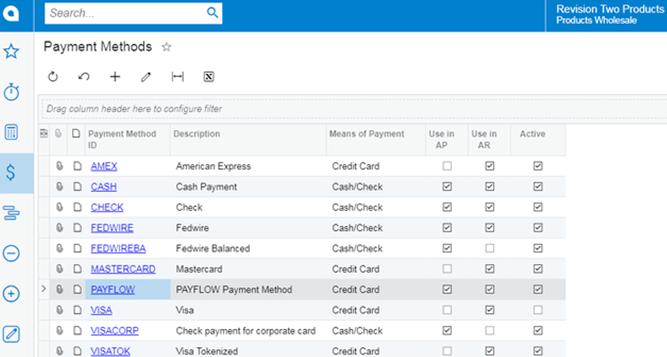
Payment Methods Screen
-
- Click the (+) button to add a new payment method.
- Click the search icon and enter “PAYFLOW” or any as the value in the Payment Method ID field.
- Check the box for Active field.
- Select Credit Card in the Means of Payment field.
- Enter a Description for the new payment method.
- Select the Use in AP checkbox.
- Select the Use in AR checkbox.
- Select the Require Remittance Information for Cash Accounts checkbox.
- Go to the Allowed Cash Accounts tab.
- Click the (+) button.
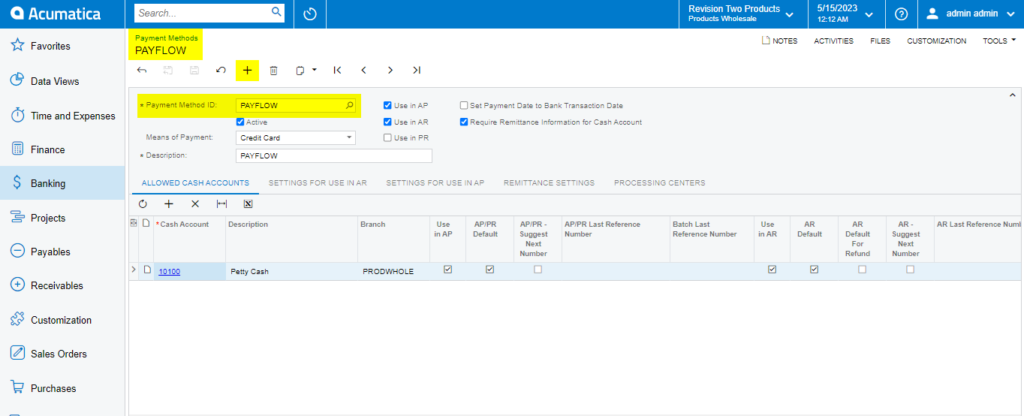
Allowed Cash Accounts Tab Process
- Select a Cash Account.
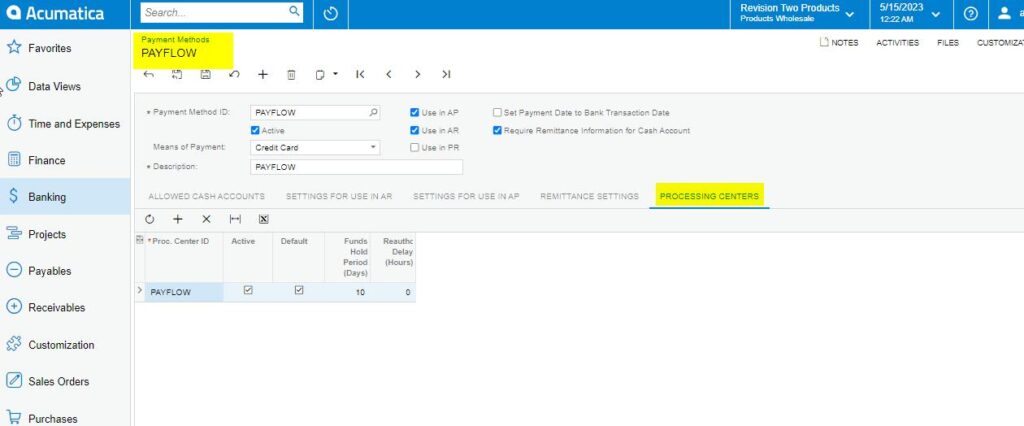
- Go to the Processing Centers tab.
Payment Methods Tab
- Select the (+) button and choose the name of the recently created Processing Center.
- Go to Settings for Use in the AR tab. Select the Integrated Processing checkbox.
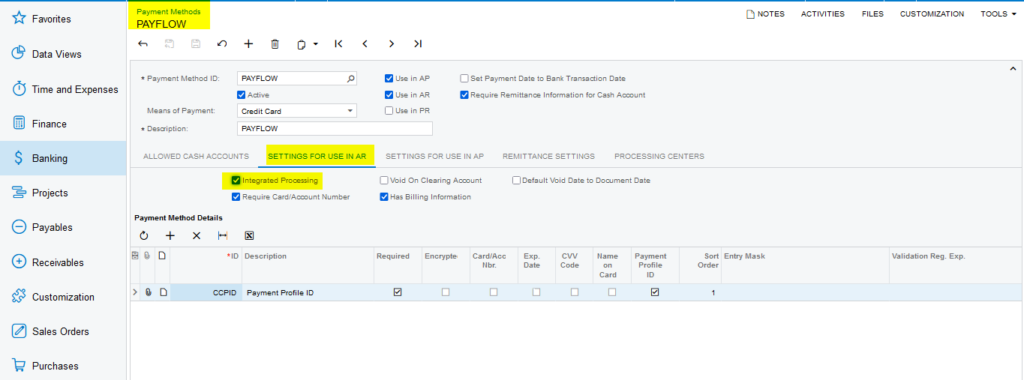
Settings in AR tab
- Click Save.
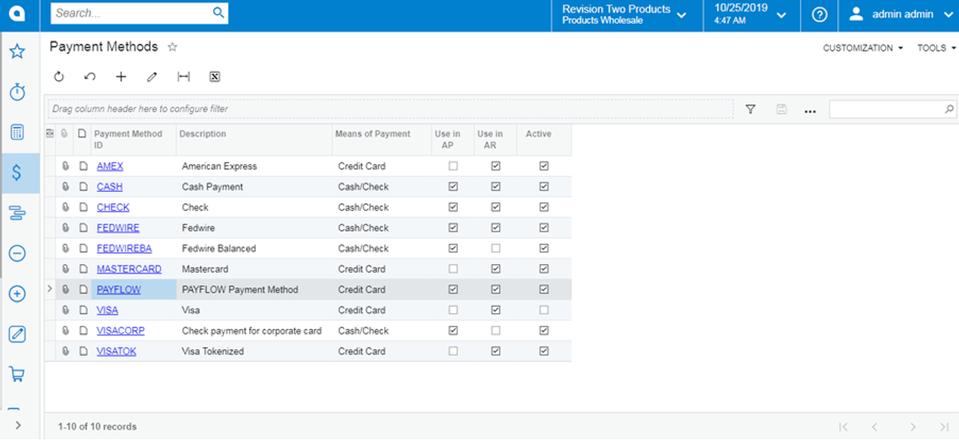
- Return to the Processing Center screen and verify the new payment method is listed on the Payment Methods tab.
Payment Methods Tab