Picking Containers
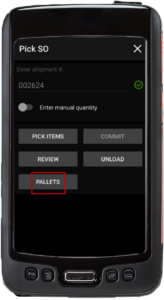
The user will be able to create new containers which can store all the items picked in the current pick shipment and after committing the pick so, a new container will be created in Acumatica, by default the containers screen will show (none) value in the current container field, it means, there is not any container created to be assigned to the current pick SO


1. New Container Button
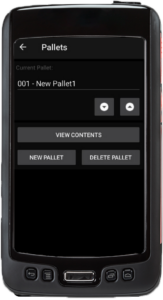
The user can create a container by pressing the New Ctnr button, after pressing this button, the current container field will be filled by a consecutive container number 001-New container 1, 002-New container 2, etc…

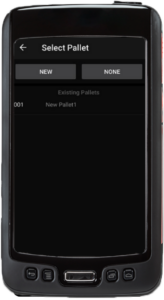
After a container is created, the user can navigate through all the containers by press up/down arrow buttons under the current container field or just by pressing on the container field and the user will be able to choose a list of the containers available, at this point the user can delete or review the contents of the selected container.
2. View Contents Button

Users can be able to see all the entries done for the selected container by pressing the view contents button.
3. Delete Container Button
Users can delete the current container selected; this includes deleting all the information added to the current container.
