Creating Shipment
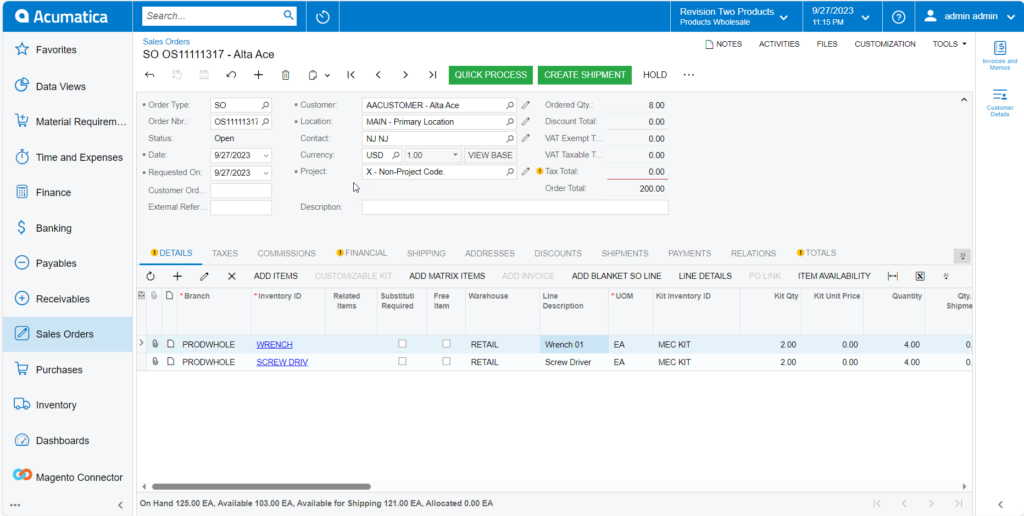
To create a shipment, click on the [Create Shipment] tab from the sales order as shown in the following screenshot.
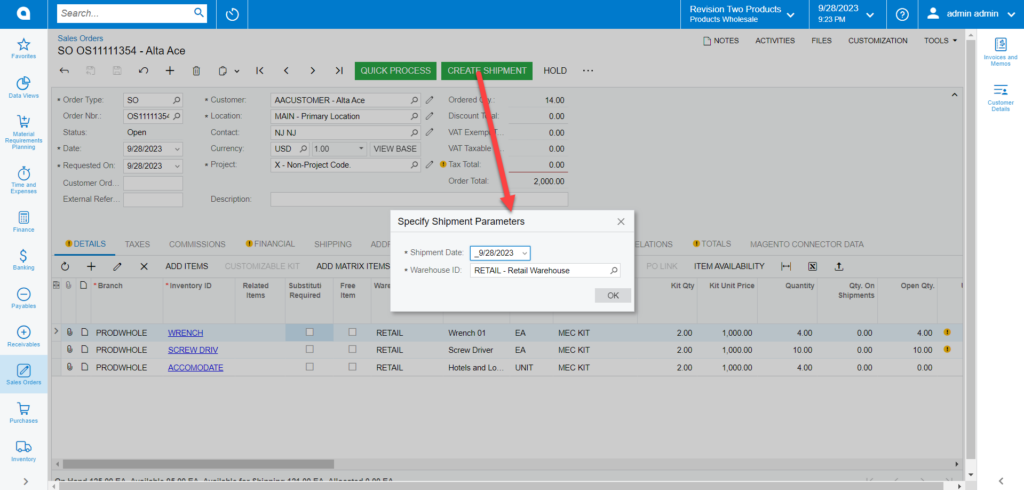
By clicking on the [Create Shipment] tab a pop-up will appear on the screen [Specify Shipment Parameter] on the Sales Order screen. This includes the following as shown below:
- Shipment Date: You can choose the date from the calendar on the cart button.
- Warehouse ID: Select the Warehouse ID.
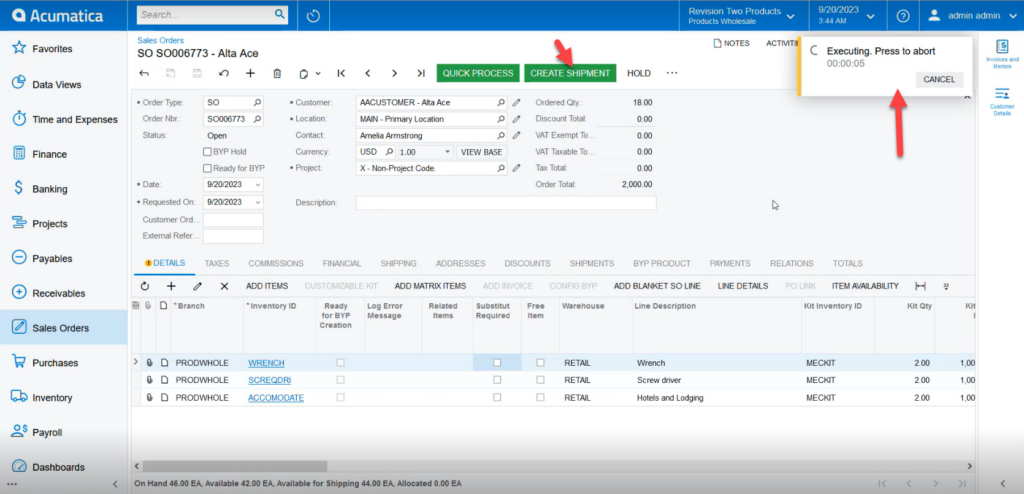
Clicking on [OK] the application will show the progress at the top right-hand corner of the screen as shown in the following screenshot.
Once the process is complete within Acumatica you will be able to view the following screen.
![Option for [Confirm Shipment]](/wp-content/uploads/2023/10/Option-for-Confirm-Shipment--1024x491.png)
You will be able to view an ellipse […] button followed by [Confirm Shipment]. You need to click on the ellipses button you will get a smart panel with the following option.
- Processing
- Labels
- Pick List
- Other
- Printing and Emailing
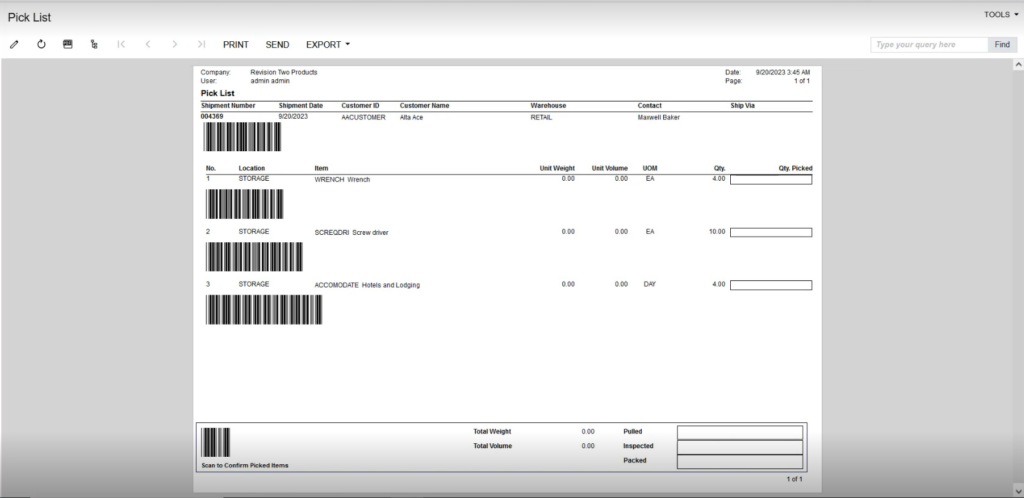
Under the Printing and Emailing click on the [Print Pick List] and you will be redirected to [Pick List].

Based on the selection of Report Setting [Child/ Parent/Both] the [Pick List] will show the values.