Steps to Install
- You need to click on the [Import] button on the Customization Projects.
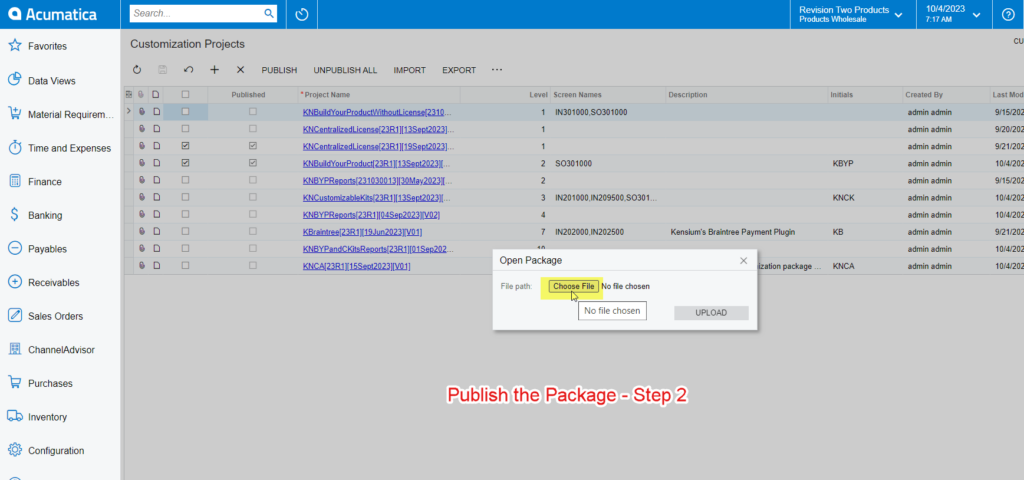
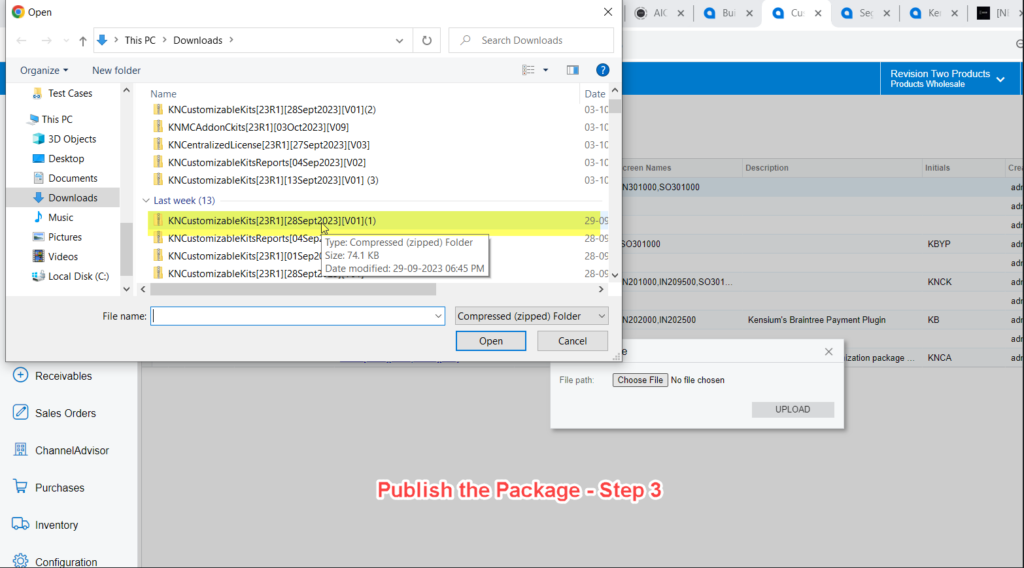
- You will be redirected to the following screen to choose the file and open the package.
- You need to choose the file from the local drive.
- After selecting the file, you need to [Upload] the file.
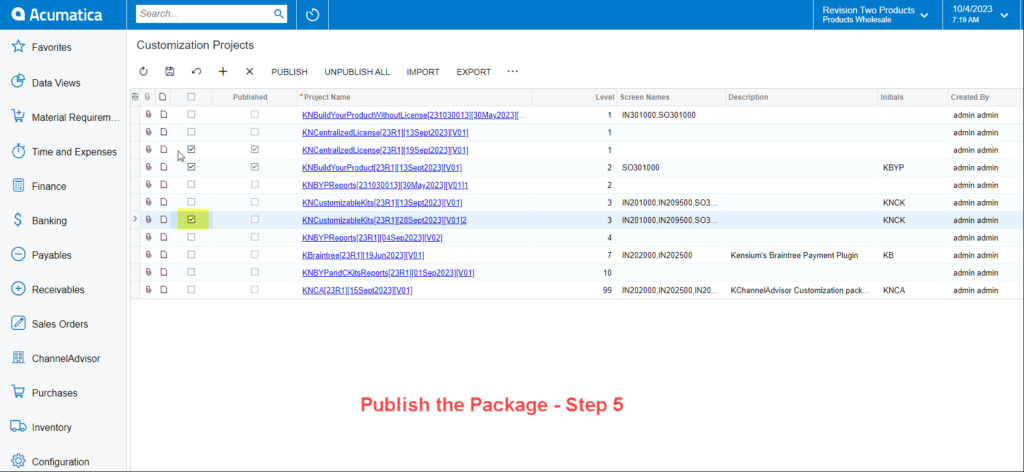
- Check the box against the respective file in the [Customization Projects] screen.
- Save the selected file in the [Customization Projects].
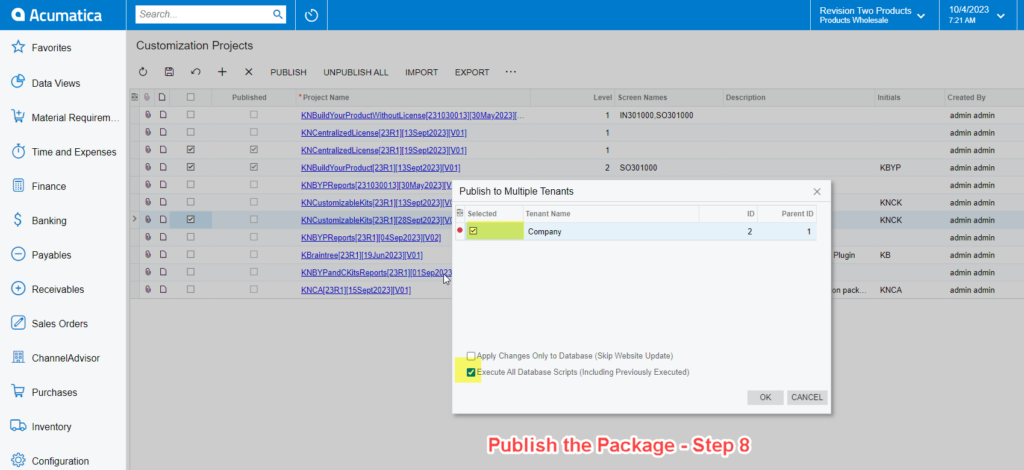
- Click on the ellipses […] button a smart pop-up will appear on the screen. Under the [Publish] option you need to click on [Publish to Multiple Tenants].
- From the [Publish to Multiple Tenants] select the Company where the ID=2 and Patent ID =1. Check the box to [Exclude All Database Scripts (Including Previously Executed)].
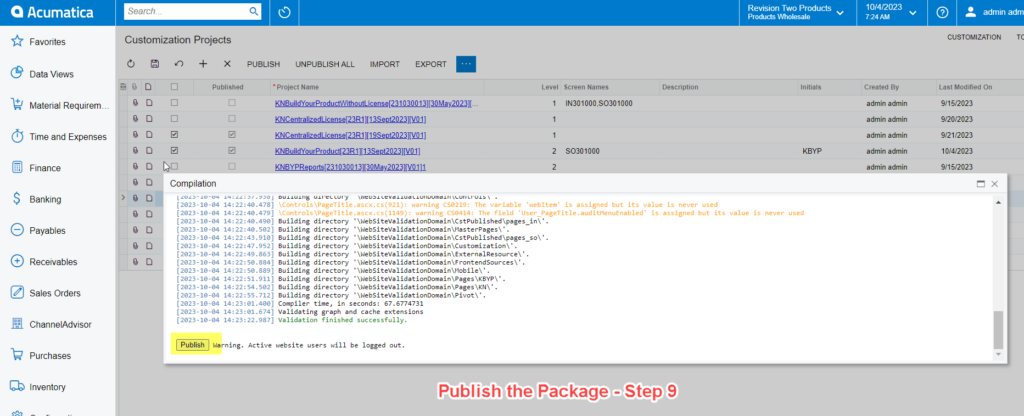
- The Compilation will start progressing on the window as shown below:
- Click on [Close Compilation Pane] once it’s complete.
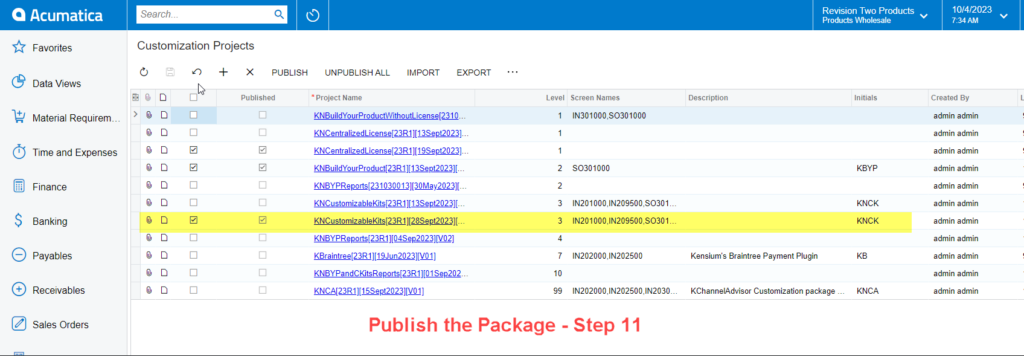
- The process of packaging published is complete now and you should be able to see the screen names under the [Customization Projects].
![Click on the [IMPORT] button](/wp-content/uploads/2023/10/Click-on-the-IMPORT-button-1024x393.png)
![Click on [Upload] after selecting the file](/wp-content/uploads/2023/10/Click-on-Upload-after-selecting-the-file-1024x441.png)
![[Save] the file](https://docs.fusionrms.com/wp-content/uploads/2023/10/Save-the-file-1024x472.png)
![Click on the [Publish to Multiple Tenants]](/wp-content/uploads/2023/10/Click-on-the-Publish-to-Multiple-Tenants-1024x478.png)