


Establishing Customer Sync Schema
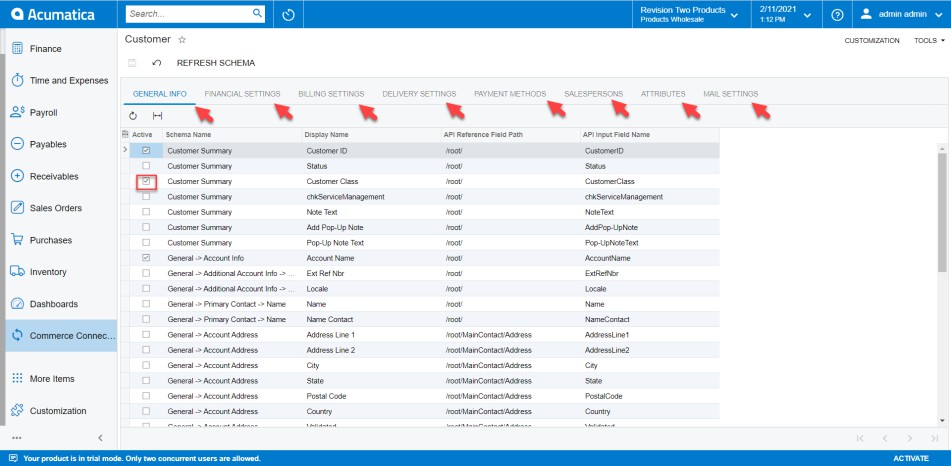
Navigate to the Commerce Connector workspace and select Customer under the Schema Management section. Note there are two extra columns in this schema management: API Reference Field Path and API Input Field Name. This contains the direction and destination of the selected field using Acumatica’s API framework. These are fields that can be modified to the needs of a user based on the schema that are being synced.
- Click [Refresh Schema]
- Select the tab of schema to enable.
The tabs are:
- General Info
- Financial Settings
- Billing Settings
- Delivery Settings
- Payment Methods
- Salespersons
- Attributes
- Mail Settings
- Toggle the [Active box] on for all Schema and Display Names applicable.
- Click [Save].
The selected schema will be active for syncs between the commerce platform and Acumatica.