


Steps for Creation of Virtual Card
- PAY BY AMEX button will be enabled in the check and payments screen.
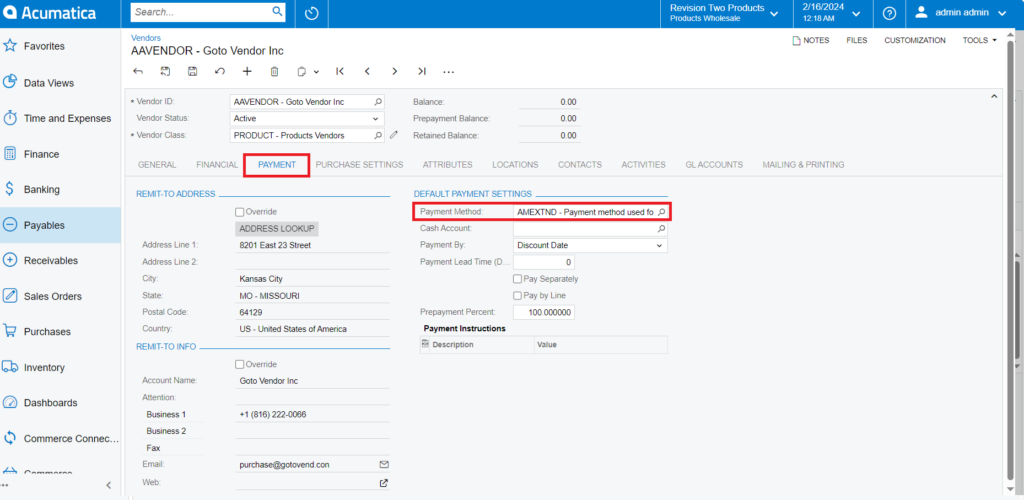
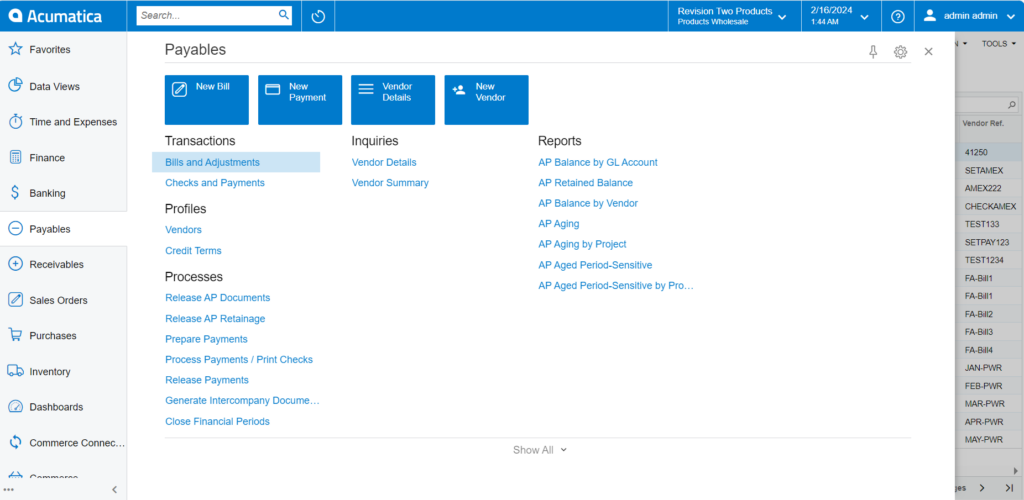
- Vendors Screen: Navigate to Vendor screen and create a new vendor.
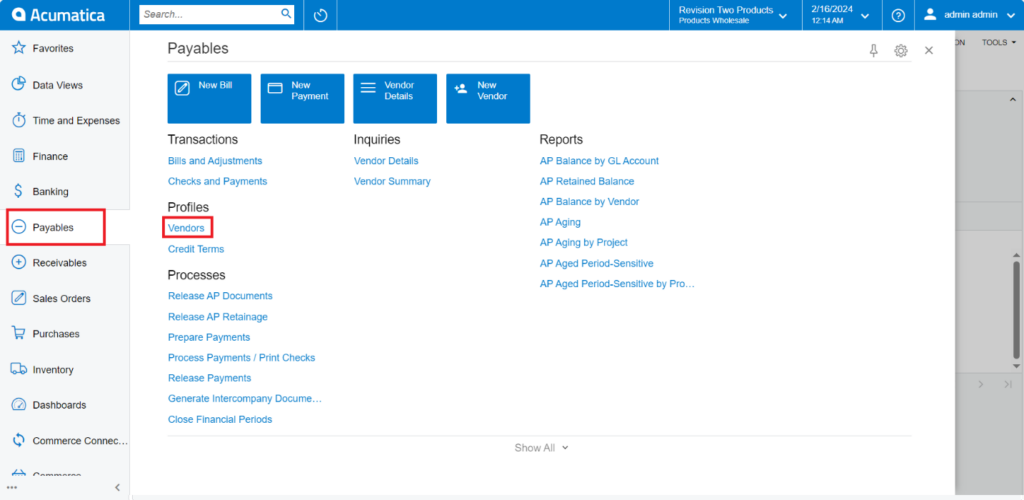
- Associate the AMEX payment method with the respective vendor, add the Payment method and Cash Account in Payment Tab.
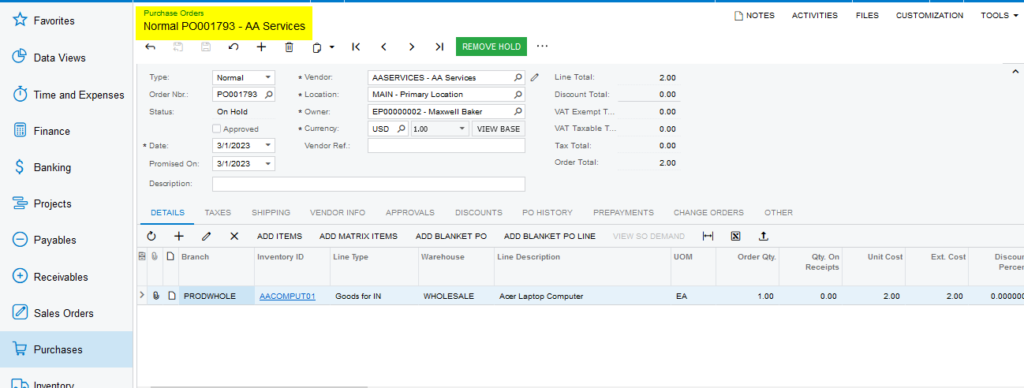
Purchase Order Screen:
- Navigate to Purchase order screen
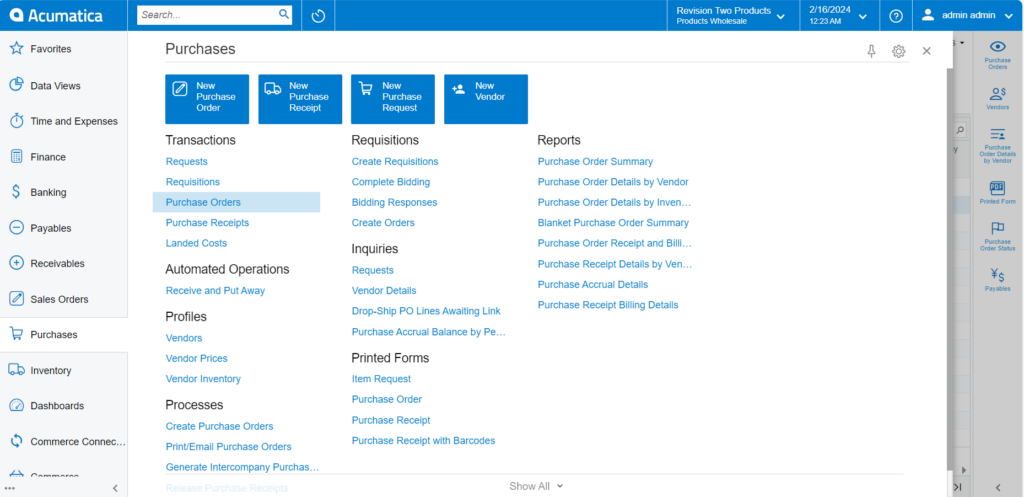
- Create a purchase order for the vendor AMEX payment method is associated.
- Add the Vendor and Inventory ID and Click on Save.
Purchase receipts screen:
- Navigate to Purchase receipts screen.
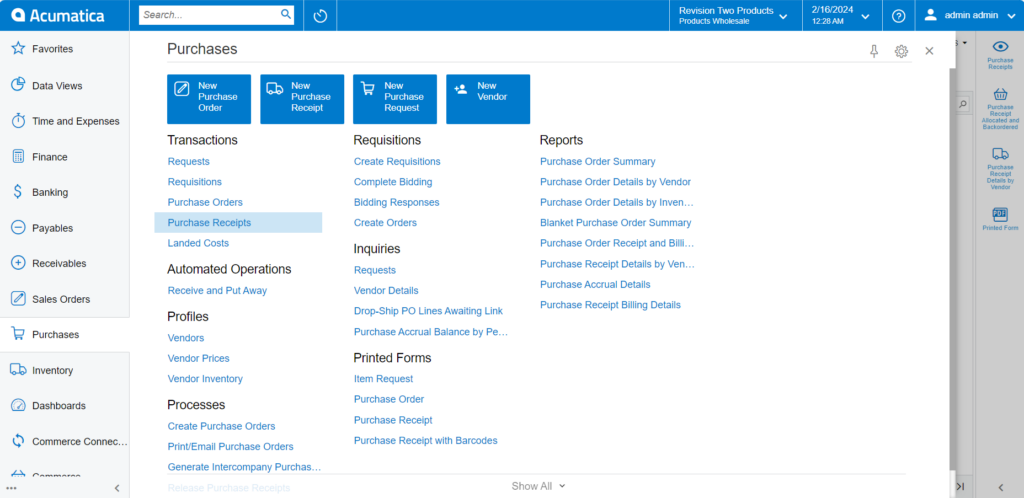
- Create and purchase receipt and release the receipt for the same and create bill for the order.
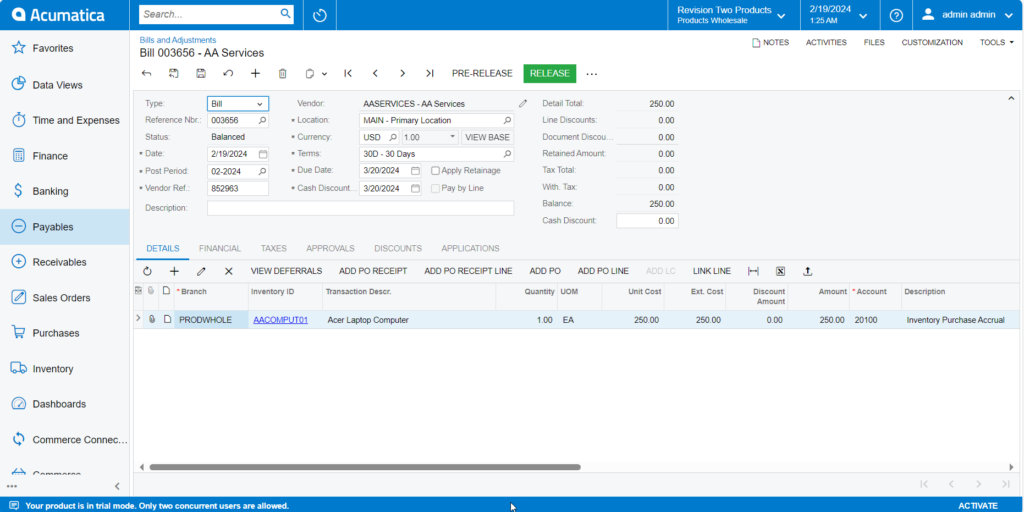
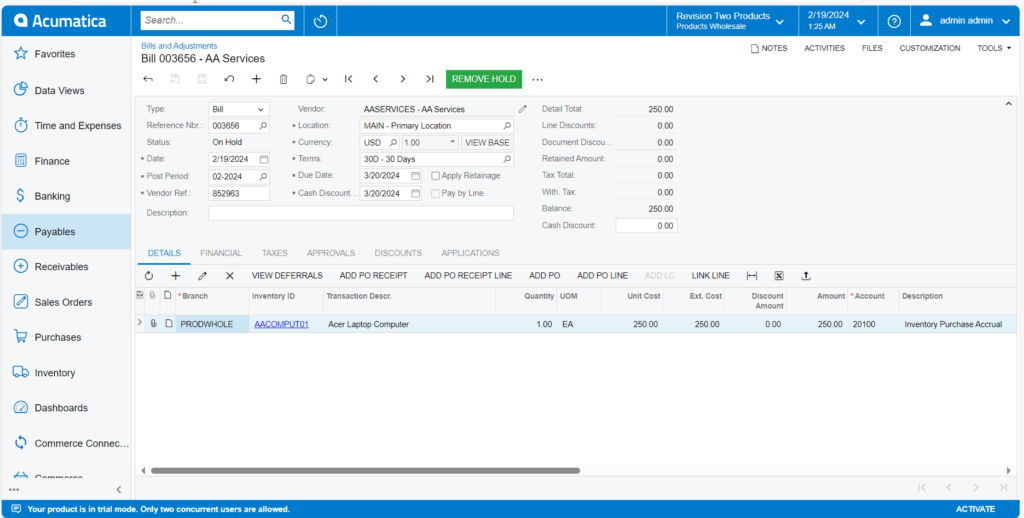
Bills and Adjustments screen:
- Navigate to Bills and Adjustments screen.
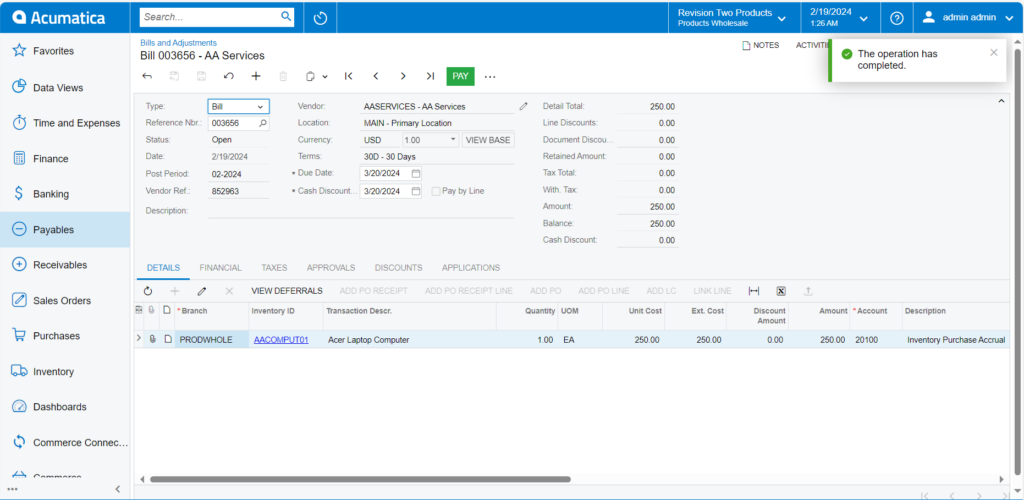
- Create payment for the bill and click on [Remove Hold] then click on Pay Action
- status for the payment which will change to balanced status
Checks and Payments screen:
- Navigate to Checks and Payments screen.
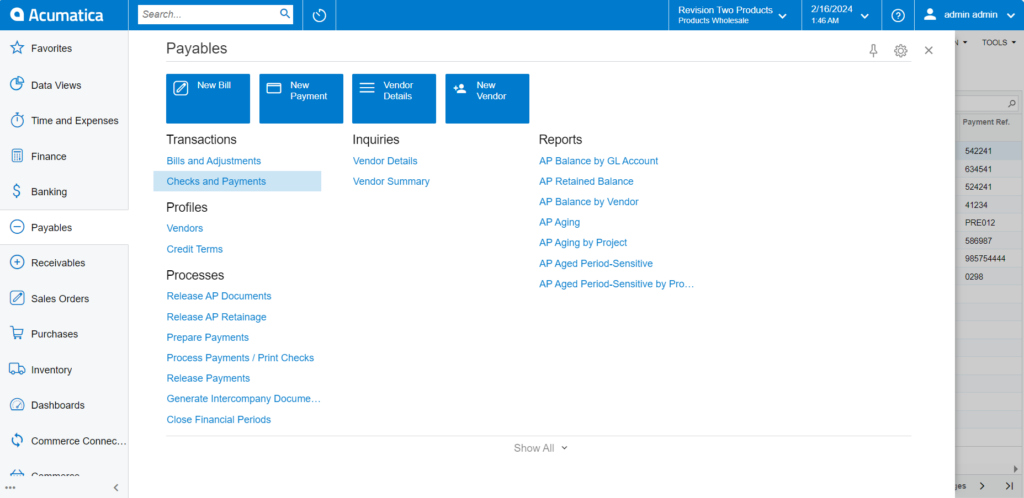
- In Checks and Payments screen click on Pay by Amex Action
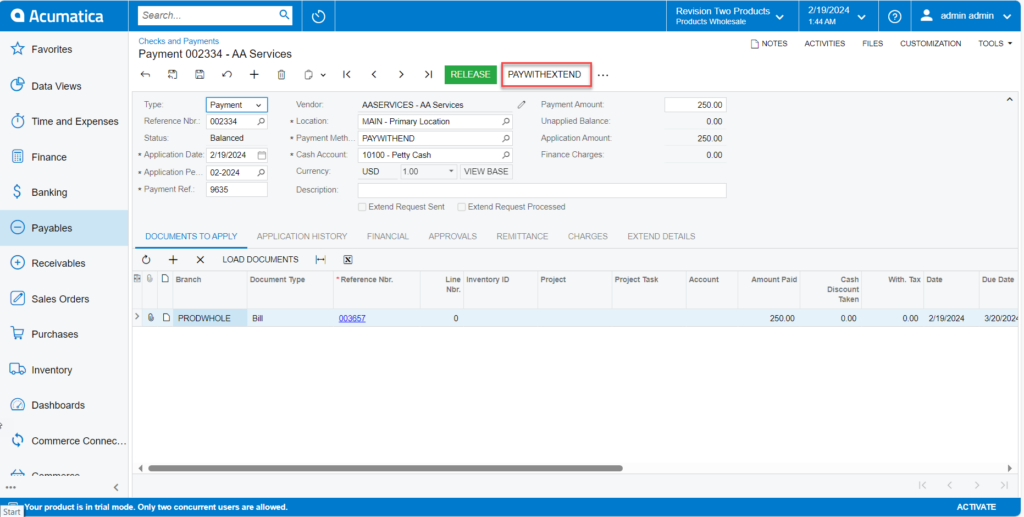
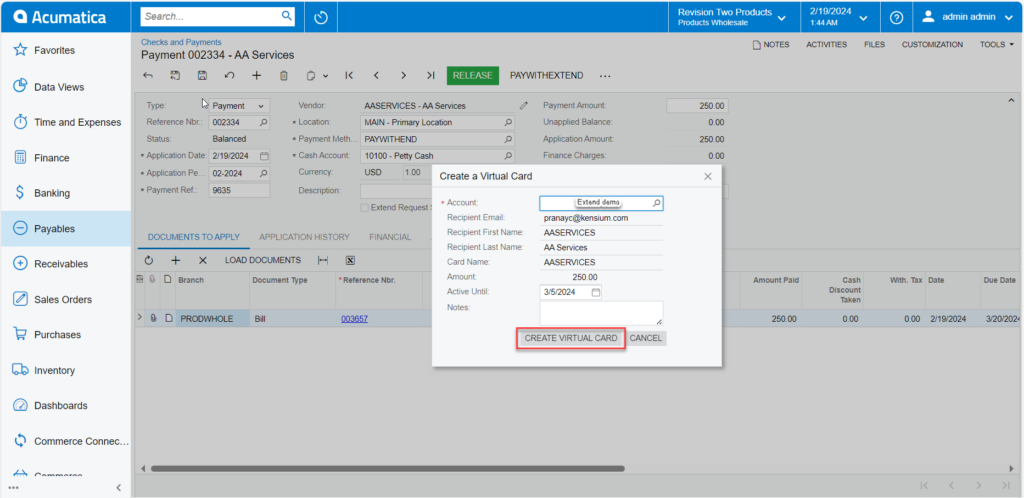
- To pay with Extend, click the button. A pop-up page with a virtual card will appear. Select the account and verify the vendor’s details.
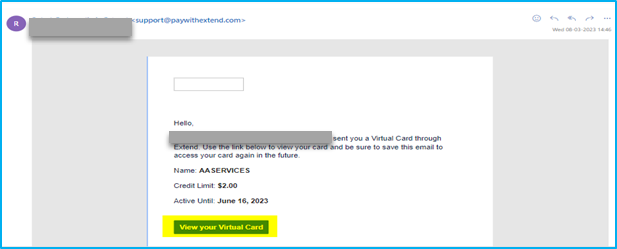
- Create a virtual card and receive an automatic email from the extended support team.
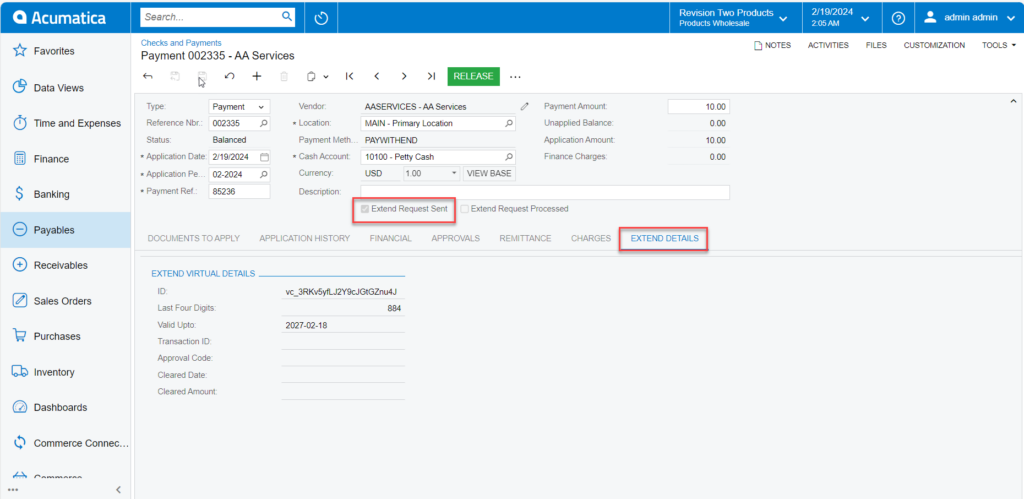
- A new tab titled “Extend details” will appear on the Checks & Payments screen, displaying virtual card info.
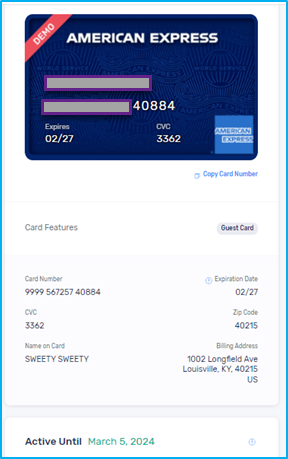
- Click on the view virtual card link in the email from the extend support team.
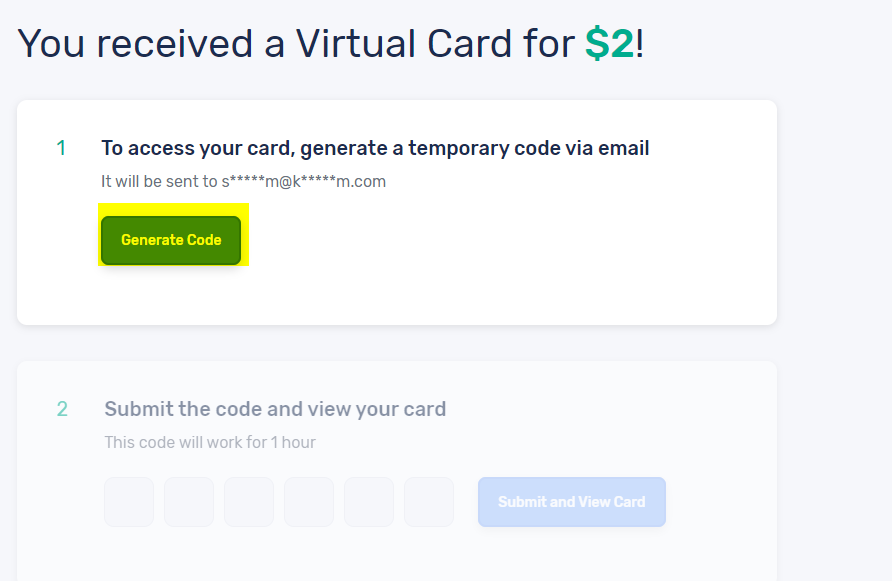
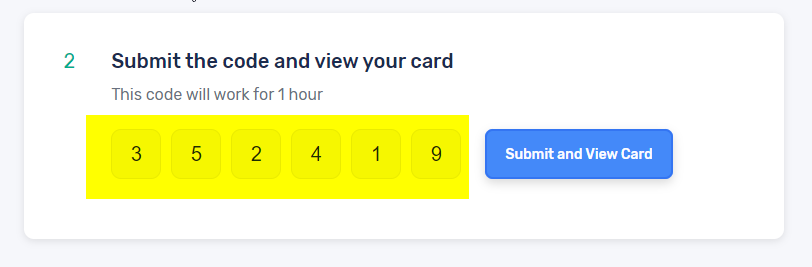
- After creating a virtual card, click on Generate code to receive an email containing the code.
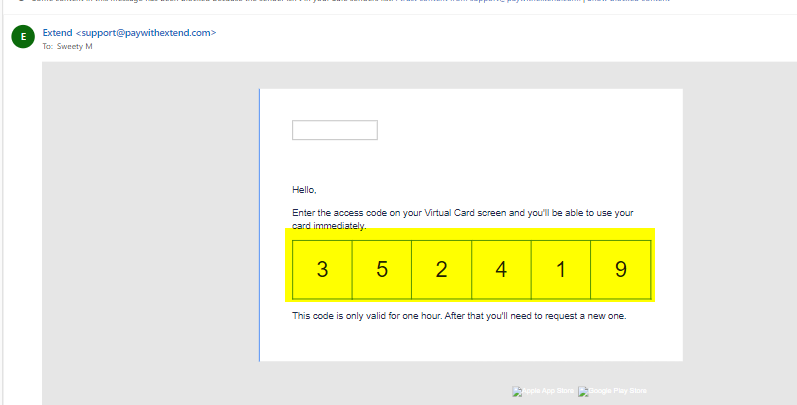
- Enter the code and click submit to view the virtual card.

Note: If the payment method is EXTEND, the user will not be able to release the payment, and an alert message will appear.