


Installing The Connector Package
The first step to installing the feature is to run the latest version of the KCF package.
To begin, the following pre-requisites are necessary for the installation and configuration of the Kensium Commerce Framework:
- The latest version of the Commerce Basic package.
- Save the .zip file of the KCF package to the local hard drive.
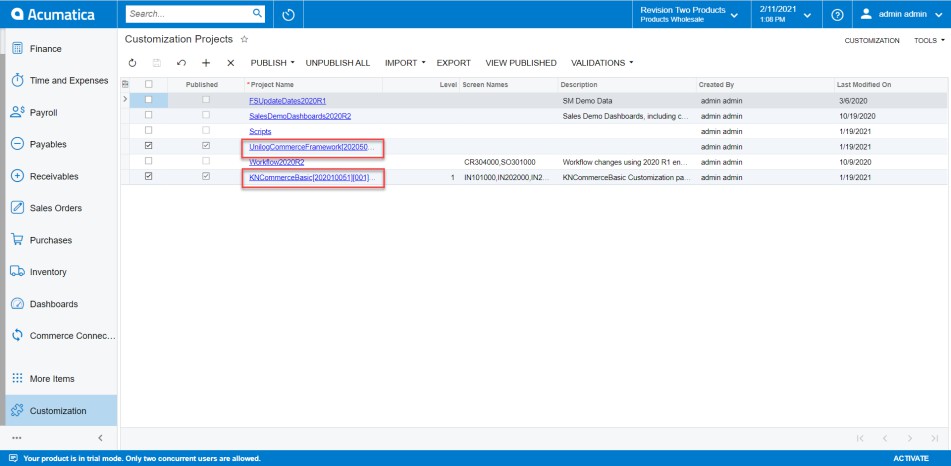
- Navigate to the [Customization] workspace.
- Click [Customization Projects].
- Click the [Import] button.
- Select [Import New Project].
- Select the KCF Package .zip file from a local folder.
- Click [Upload].
- In the Levels column, indicate the level at which the package needs to be published.
- Toggle on the box(es) of the packages that need to be published.
If a package is already published in the instance that needs to remain published, the package should have a level value associated with it, and the box should be toggled on prior to publishing.
- Click the [Publish] button.
- Click [Save].
Note: The package can be obtained through a VAR using the Acumatica portal, through an Account Manager by contacting the Acumatica Helpdesk, or through the Acumatica public site.
If the packages must be published to multiple companies:
- Click the down arrow on the [Publish] button.
- Select [Publish to Multiple Tenants].
- When the Publish to Multiple Tenants pop-up screen appears
- Select the checkbox(es) for the company name(s) to publish the package(s).
- Click [OK].
- After installing the customization package, the connections must be established between Acumatica and the Commerce package.