


Classification Mappings
The practice of transferring Acumatica classifications to Rithum Connector Classifications is known as classification mapping. This key step guarantees that products are correctly classified based on their Acumatica classifications when they are offered on marketplaces via Rithum Connector.
Create Item Class and Classification in Acumatica and Rithum
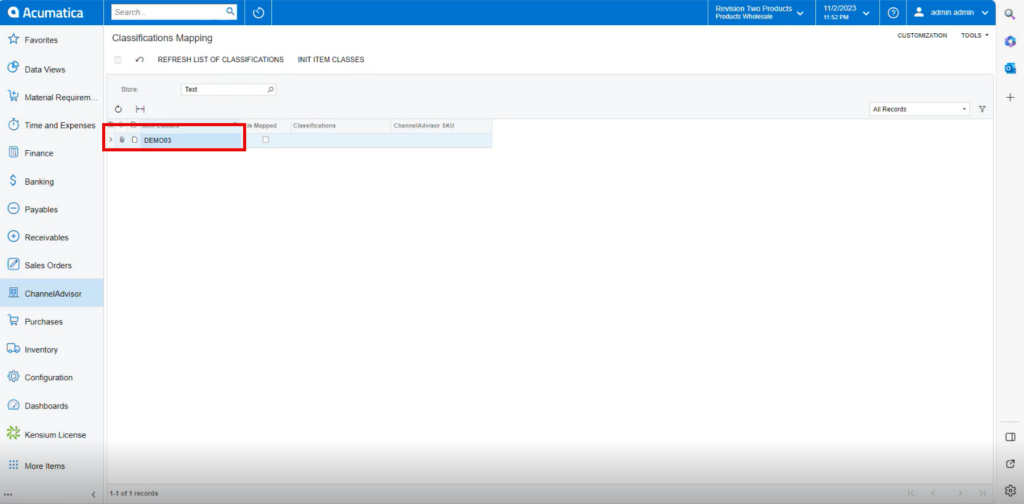
You need to navigate to the left panel of Acumatica and click on [Rithum] then click on [Classifications mapping] under [Preferences].
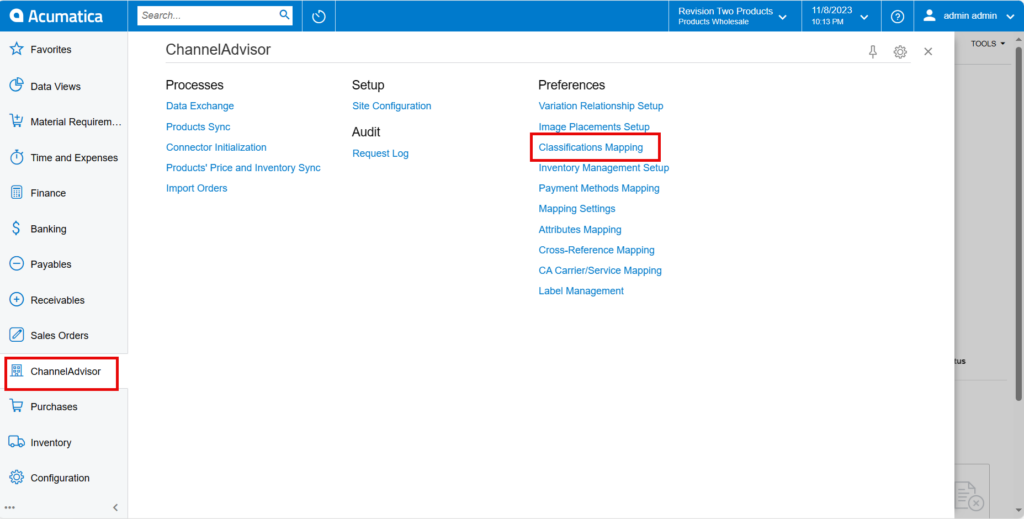
- You will be redirected to a [Classification Mapping] screen.
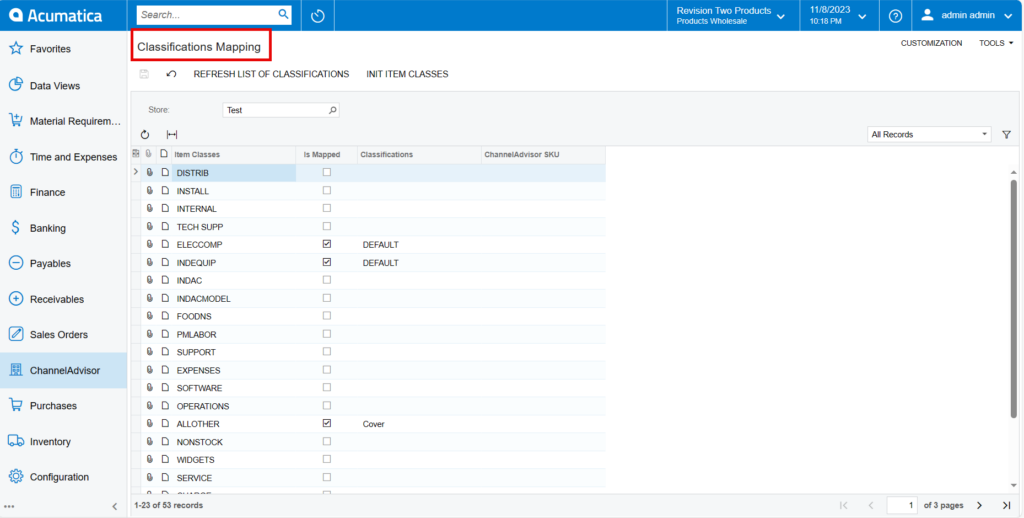
Upon opening the screen, you can view.
REFRESH LIST OF CLASSIFICATIONS: If you create any item class in Rithum Connector it will be available in Classification in Acumatica.
INIT ITEM CLASSES: If you create any item class in Acumatica it will synchronize to Acumatica and will be available in Item Classes.
- You need to select the store from the [Store] selector.
Creating Item Classes
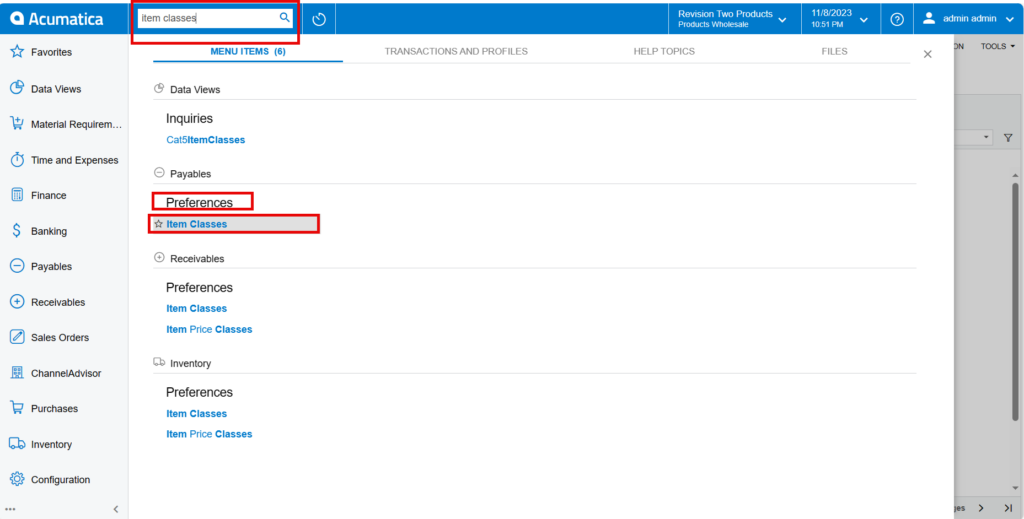
You need to search for [Item classes] in the Global search bar. Click on [Item classes] under [Preferences] then you will be redirected to item class screen in Acumatica.

- You need to enter the name of item classes in [Class ID].
- You must provide the description of the item class in the Description Field.
- In the General settings and unit of measure add the following details
- General Settings
- From the drop- down select the Item type
- From the drop- down select the Valuation Method
- Search for Tax Category from the existing options
- Search for Posting Class from the existing options.
- Search for Lot serial class from the existing options
- Search for Price class from the existing options
- Search for Default Warehouse from the existing options
- Search for Availability Classifications from the existing options
- Unit Of Measure
- Search for Base Unit from the existing options
- Search for Sales Unit from the existing options
- Search for Purchase Unit from the existing options
- Click on [Save]
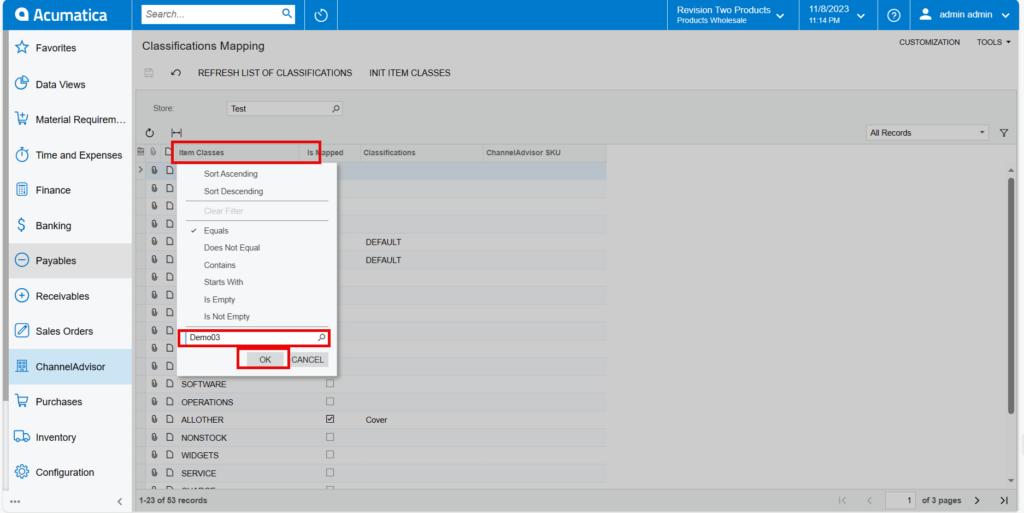
- Navigate to Classification mapping and click on refresh and click on [INIT ITEM CLASSES] and search for created item class in the [item classes].
- Click on [OK].
- You can view Created [Item Class] in [Item Classes] in Acumatica.
Creating Classification in Rithum Connector
You need to Navigate to the Rithum Connector and click on [Classifications] under the [Products].
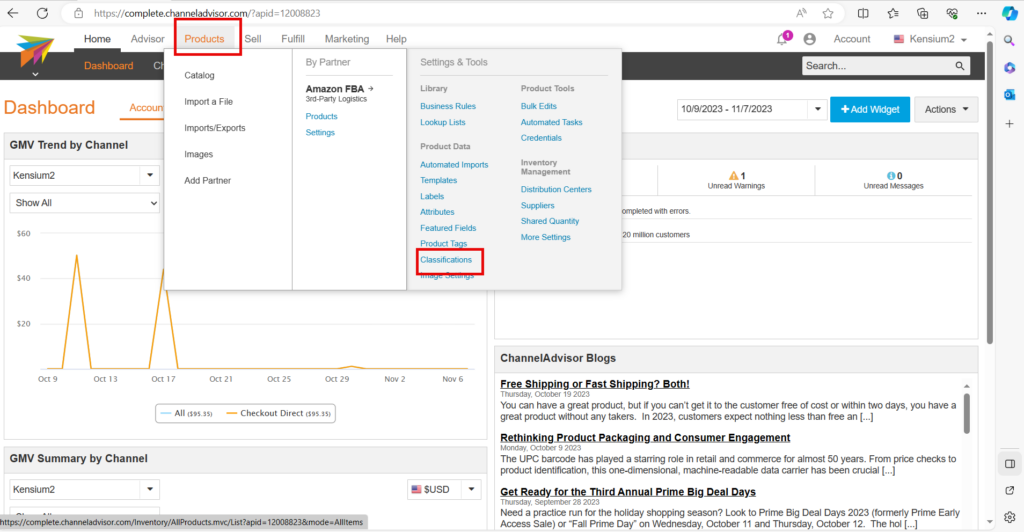
- Upon clicking [Classifications], you be redirected to [Classification Details] page.
- Click on [Create New Classification].
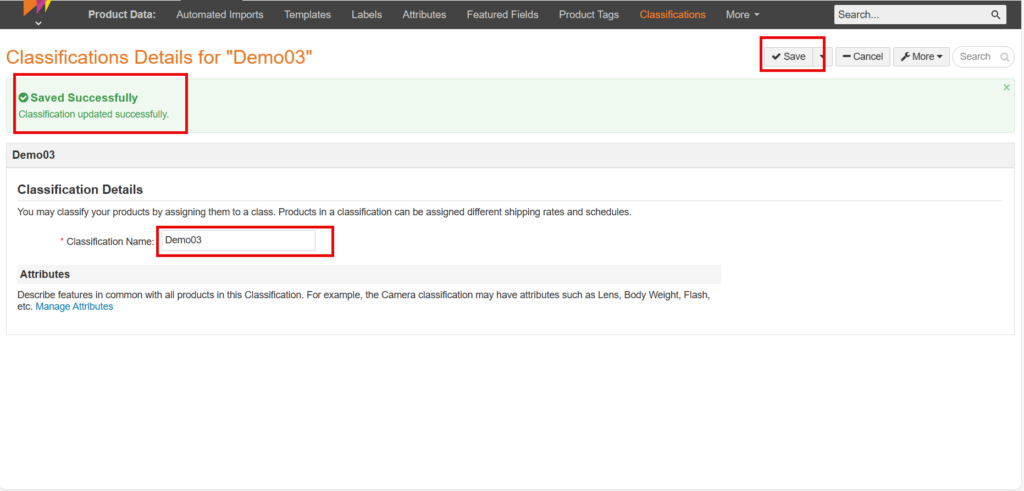
- You need to enter the [Classification Name].
- The Classification Name must match with item class in Acumatica.
- Click on [Save].
- You can view a validation message labeled [Saved Successfully] on the screen.
Mapping Classification in Acumatica
- You need to Navigate to left panel of Acumatica and click on [Rithum Connector] then click on [Classifications mapping] under [Preferences].
- Click on [Refresh List of Classifications].
Upon clicking Refresh, it will update the [Classifications list] from Rithum Connector.
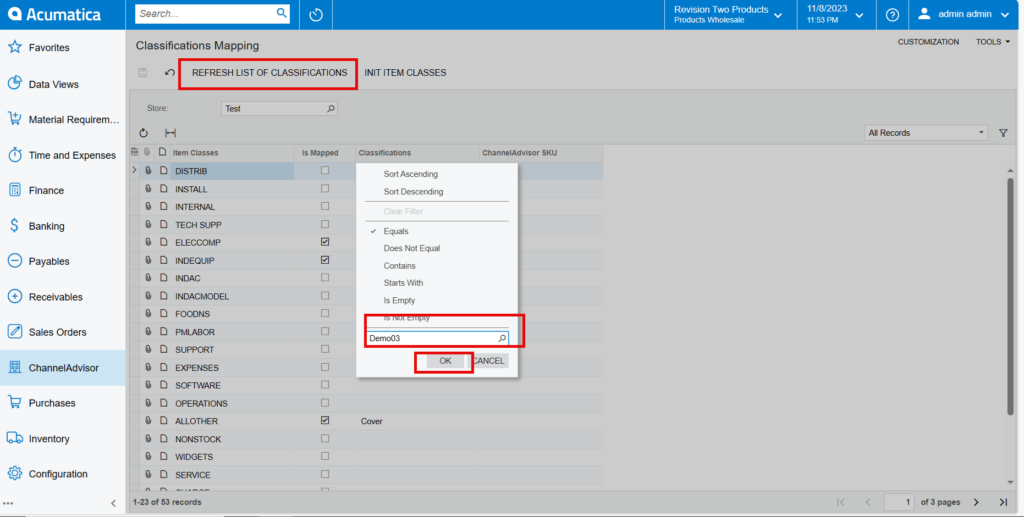
- You need to search for the created classification that corresponds to the item class, From the list.
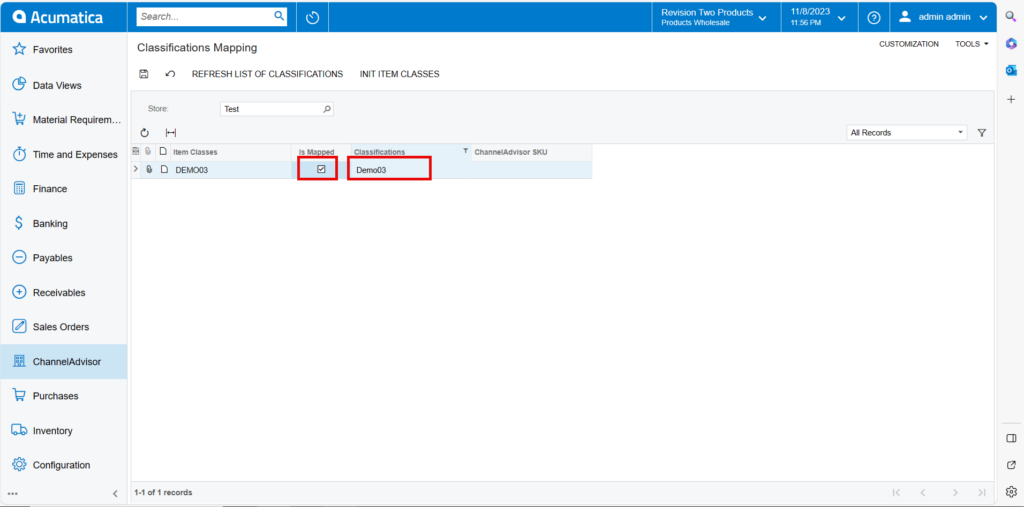
- You can view Created [Item Class] under [Classifications] in Acumatica.
- To perform the sync, the classification name MUST be entered EXACTLY as it appears in Rithum Connector.
- You must Enable the [Is Mapped] radio buttons to synchronize the stock item from Acumatica to Rithum Connector.
- Click on [Save] to establish the connection between Item Classes and Classifications.
- In the Rithum Connector SKU field, enter a base SKU (Store Keeping Unit) for the Classification.
- Entering a SKU into this field will become a base SKU for reference to this Classification. All Attributes for that classification will be mapped to this base SKU.
- Click on [Save].